Fluffy Buttermilk Dinner Rolls


Hiya! Don't usually post on the weekends but I have been a little too exuberant in my pre-Thanksgiving test run and with less than a week before Thanksgiving, I'm left in the somewhat panicky state of having too many recipes and too little time to get them out to you--hence this Saturday post and the frantic writing of this Friday afternoon when I should be cleaning my house!! But dust and crummy floors are worth it, because these Fluffy Buttermilk Dinner Rolls are just too good not to share! They're light, tender, slightly sweet and surprisingly easy to make. Definitely something to be thankful for!!
Let me explain how convinced I am of the utter stellarness of these buttermilk beauties! My husband generally works in the basement in his little makeshift office (I know, total non-sequitur but I promise I'll eventually get to the point) and whenever I make something new during the day, I head down there with a sample of it which he proceeds to gesture his thanks for (he's usually on the phone) and then I head upstairs to somehow get a better shot of it, munch away on it or do penance on the elliptical for all those little bites I took! Several hours later when he emerges from "the cave" (as we affectionately call it) he gives me the verdict. When I brought down a sample of these rolls for him to try, it only took about 2 minutes before he was back upstairs, empty plate in hand, asking if he could have another one with eyes that worshipped the ground I walked on. Ah, the way to a man's heart! Now if that isn't a ringing endorsement for the stupendousness of these little rolls, I don't know what is! Told you I'd get to the point eventually--and now it's time to get to how to make these rolls!!
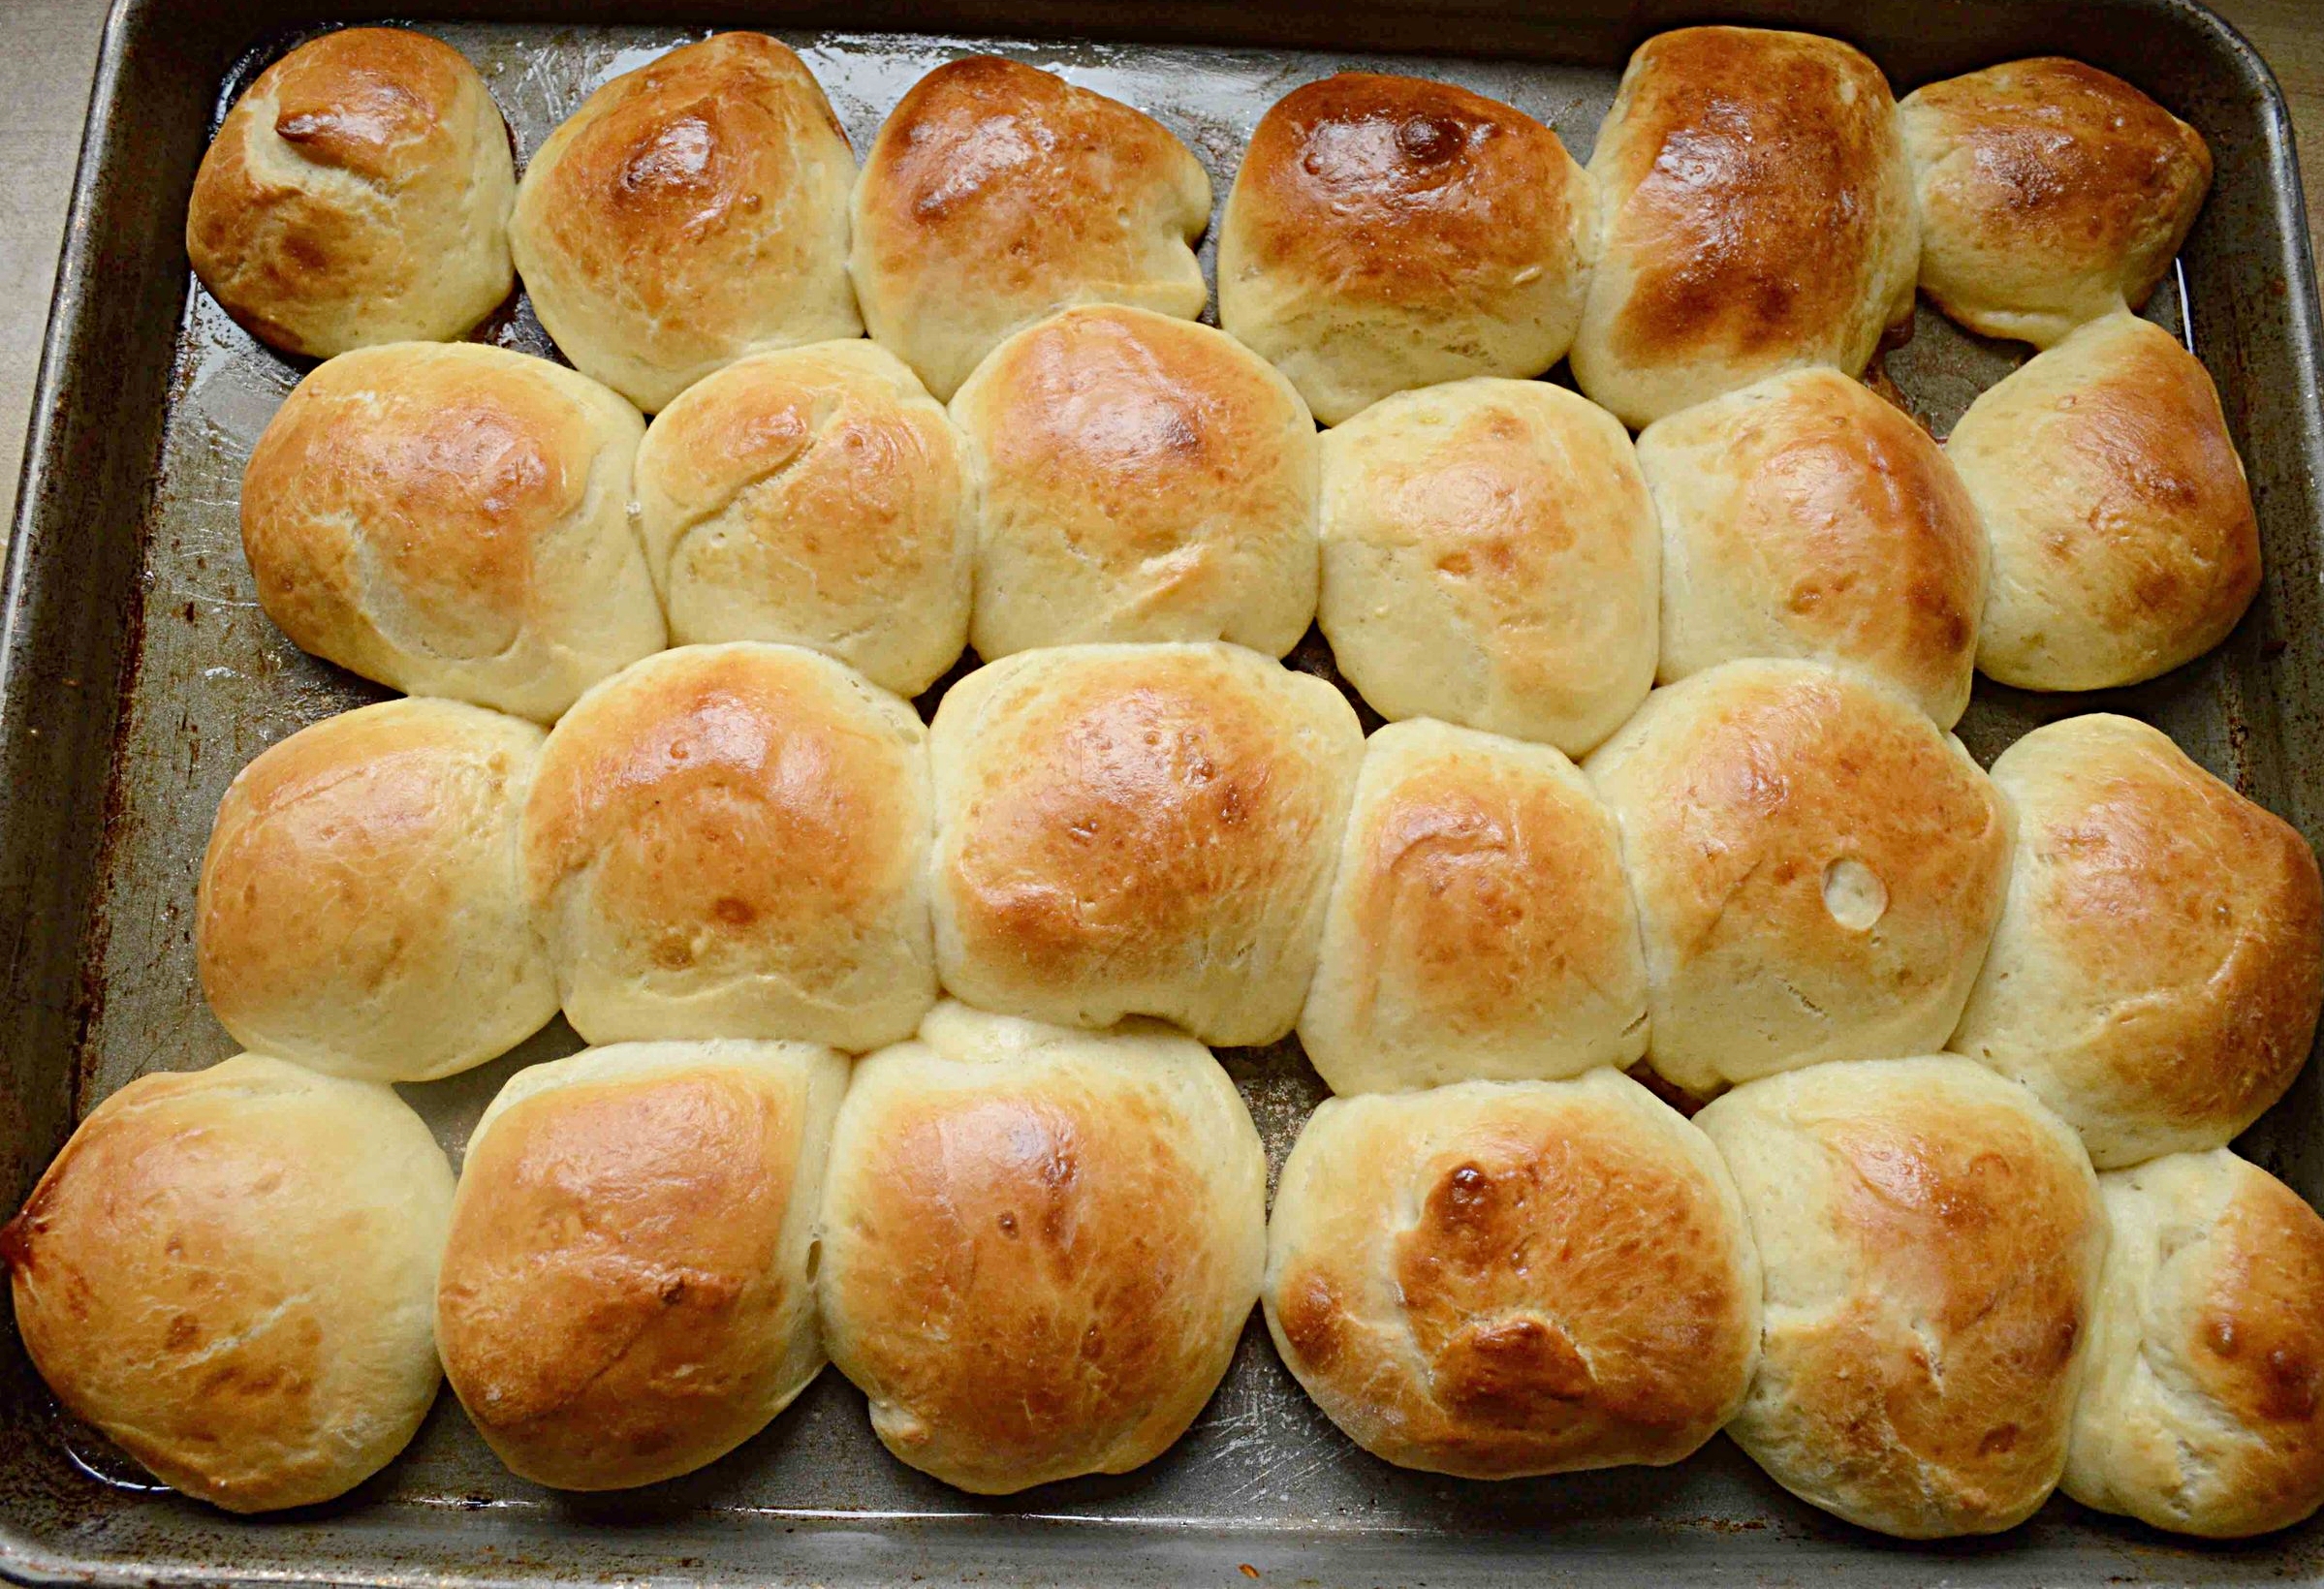
If you're lucky enough to have a stand mixer with a bread hook attachment, now's the time to use it. It makes the kneading of this easy-peasy and virtually hands-free (you can do it without one, you just have to have patience mixing the ingredients by hand and doing some significant kneading.) Once the dough's been made and risen, you divide it into 24 little balls, brush them with an egg wash and bake. The whole process takes several hours but most of that is just letting the dough rise.

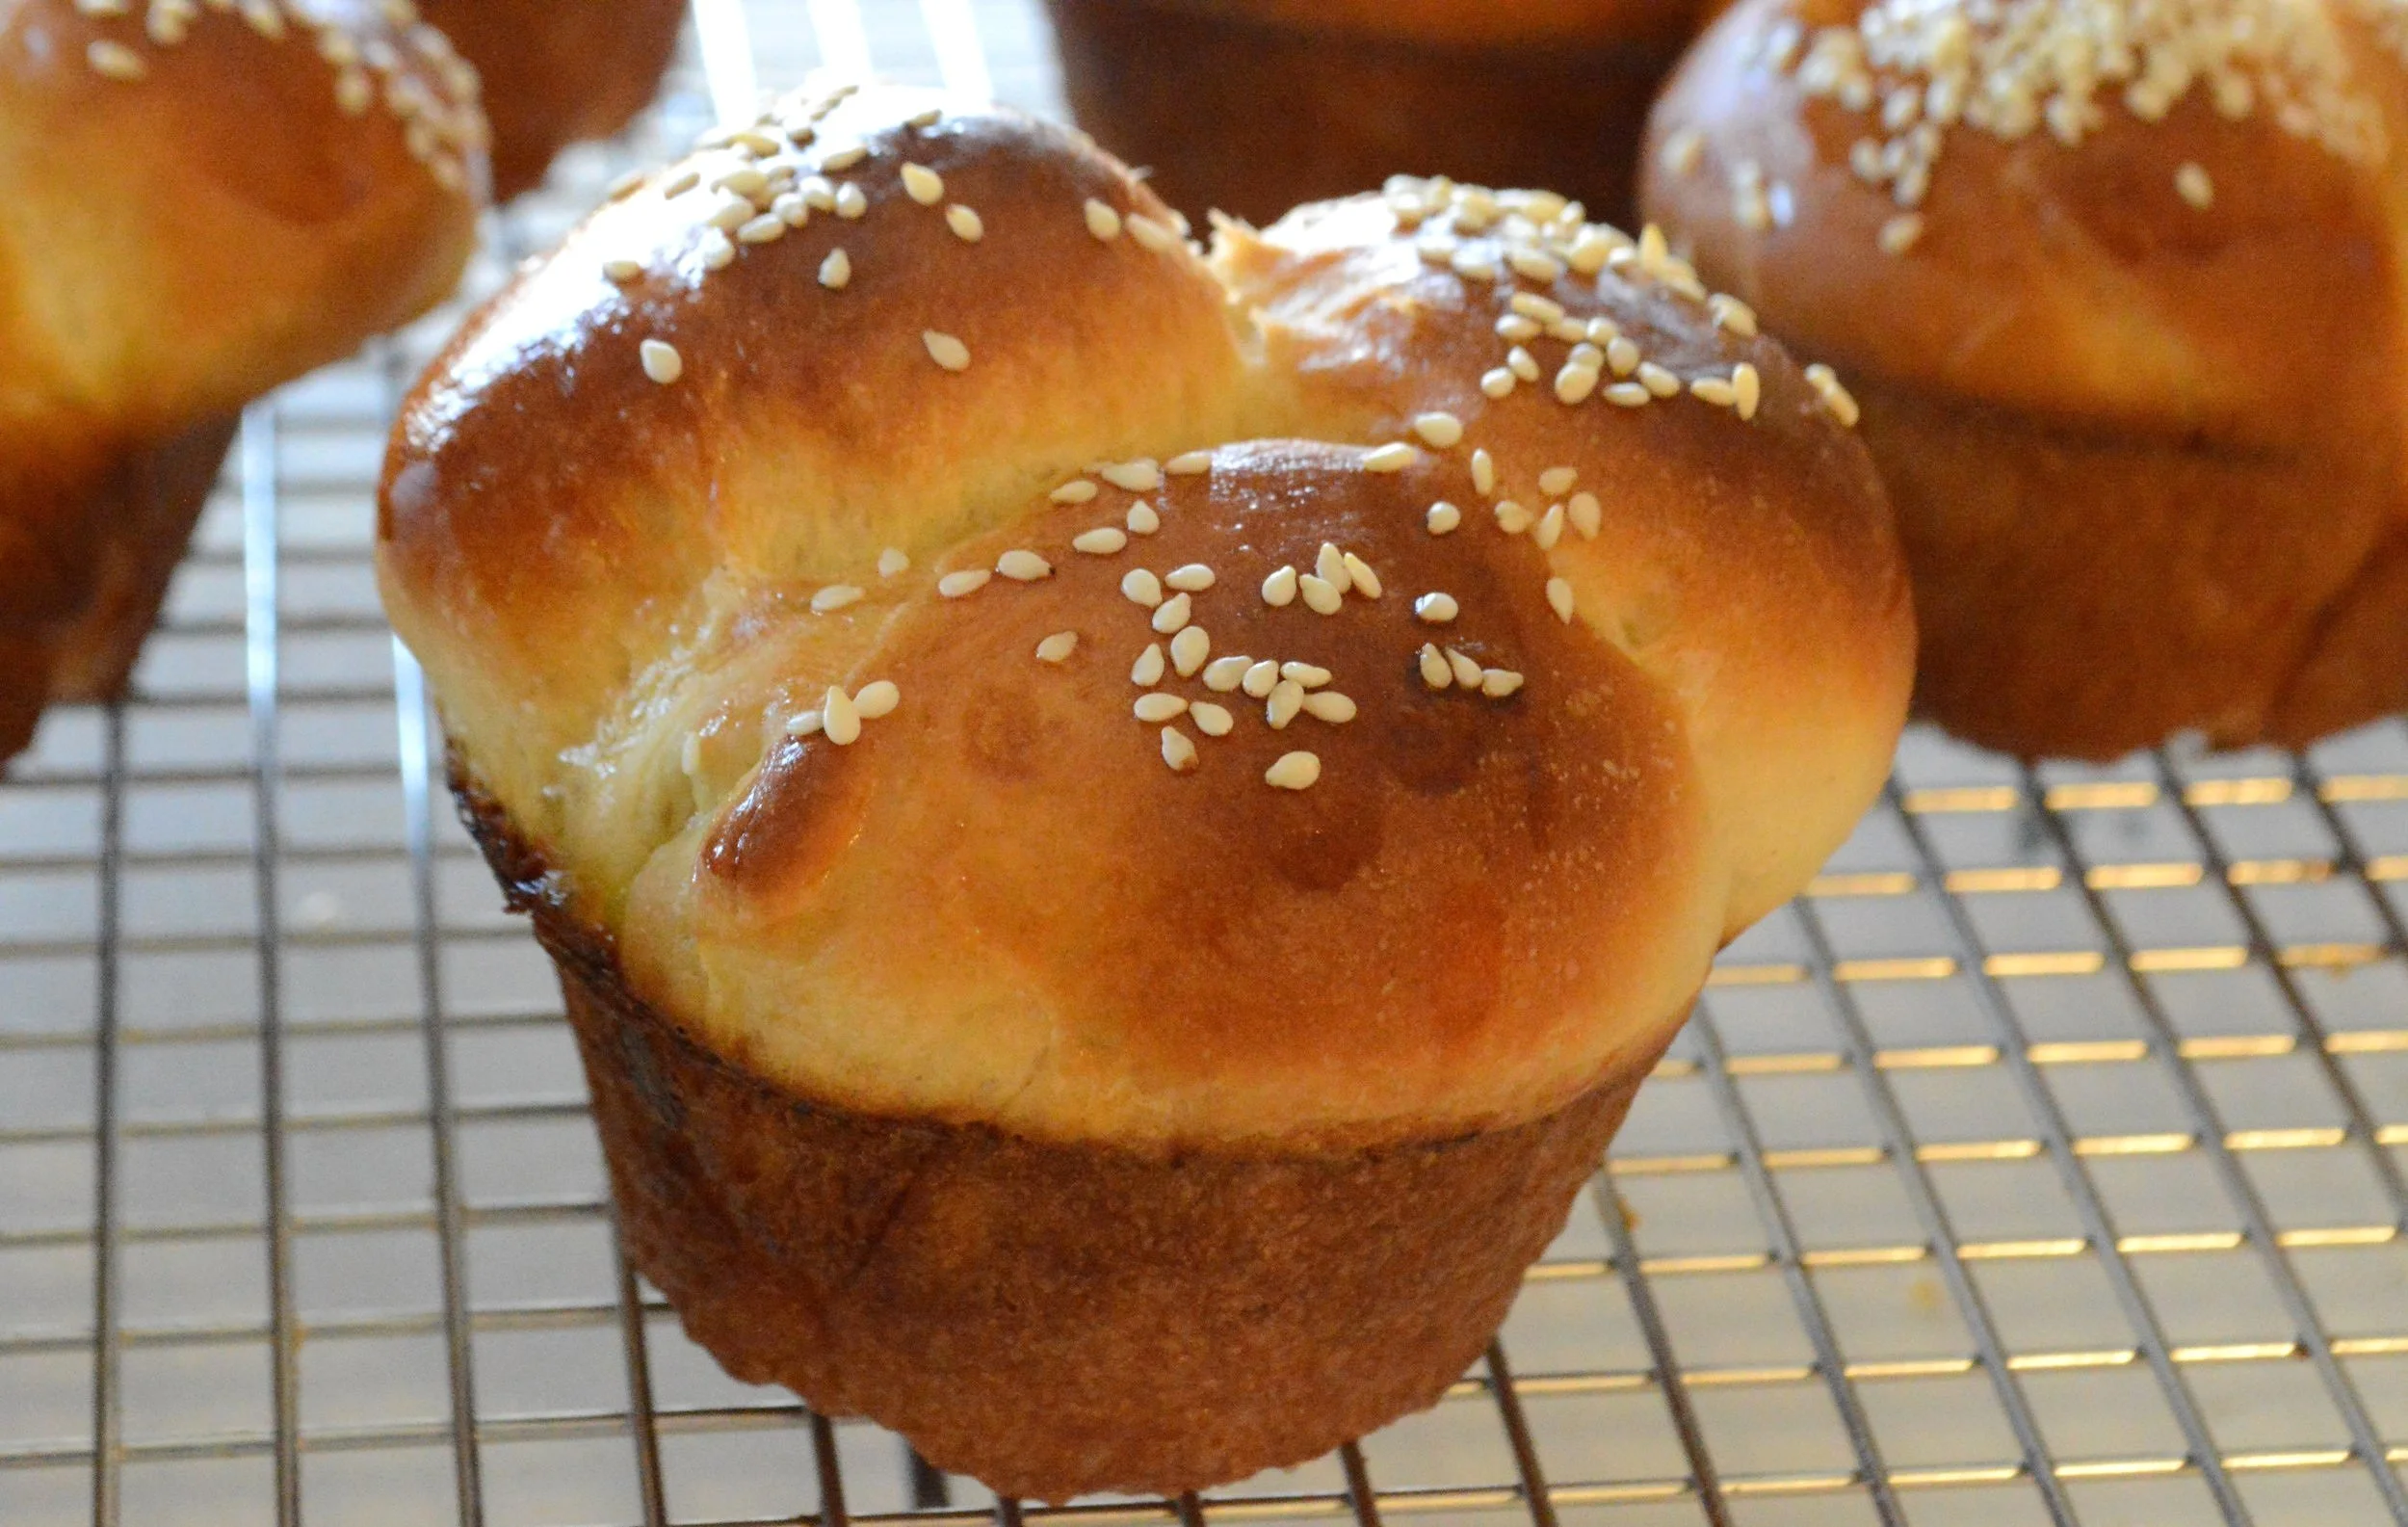
And when you pull that pan out of the oven, you are rewarded with soft, fluffy, buttery rolls that are amazing on their own and heavenly with a bit of good butter melting in!!

Up to now, we haven't been a big roll family on Thanksgiving, but I think it's time for the start of a new tradition!! Have a great rest of the weekend and let me know what you're making for the holiday. I'd love to know!!

Fluffy Buttermilk Dinner Rolls
Makes 24 rolls
Prep Time: About 15 minutes to make the dough, then several hours of chilling and shaping; Bake Time: 16-20 minutes
Ingredients
- 4 cups unbleached, all-purpose flour
- 1/4 cup sugar
- 1 tablespoon instant yeast
- 2 teaspoons salt
- 1 1/2 cups buttermilk, well-shaken
- 5 tablespoons unsalted butter, room temperature, plus more for buttering the bowl and pan
- 2 teaspoons maple syrup
- 1 large egg, lightly beaten with a pinch of salt to make an egg wash
The Recipe
1. If using a stand mixer, attache the dough hook--you can make this dough by hand but it's worlds easier to use a mixer to knead it for you. Add the flour, sugar, yeast, salt, buttermilk, butter and syrup to the mixing bowl and mix on low speed until blended together, about 2-3 minutes. Turn the speed to medium and mix for a full 7 minutes. The dough should come together but be somewhat sticky--it should stick to the bottom of the bowl as you take it out.
2. Lightly flour a board or work surface and your hands and transfer the dough to the board. Knead it a few times until it's soft and supple and form it into a large ball. Don't wash the board yet.
3. Lightly butter a large bowl. Place the dough in the bowl, turning it to coat it with the butter. Then cover tightly with plastic wrap and let it rise in a warm area for 1 1/2-2 hours, until doubled in size. Sometimes if the house is cold, I will turn the oven on to the lowest temperature it will go and set the bowl right next to it.
4. Lightly butter a rimmed baking sheet.
5. Transfer the dough back to the floured board and use a bench scraper or sharp knife to cut the dough in half and then into quarters. Then cut each quarter into 6 equal pieces so you wind up with 24 pieces. Shape each one into a ball and place the balls about an inch apart in rows of 6 by 4 on the prepared pan. Cover loosely with plastic wrap and let rise in a warm place for about an hour, or until doubled in size.
6. When you are ready to bake the rolls, make sure the oven rack is in the middle of the oven and preheat to 375ºF. Using a pastry brush, brush each of the rolls gently with the egg wash, making sure to cover the sides. Bake for 16-20 minutes, until golden brown. Remove from the oven and let cool slightly before serving. You can definitely make these a day ahead, store them well covered at room temperature and reheat before serving. Leftovers can be stored at room temperature for up to 5 days.
Enjoy!
Note: Recipe adapted from Back in the Day Bakery Made with Love by Cheryl and Griffith Day.