Easy Blueberry Cobbler

Busy, busy days coming up! It's tag sale week at our house--actually, the tag sale will be happening on Saturday, but we've been cleaning out our basement, attic, garage, closets--pretty much the entire house, all weekend for it. Yep, just as temperatures are skyrocketing here on the East Coast--brilliant decision, no? But, after helping my mom clean out her house before she moved, we realized that it was high time to stop holding onto things we no longer need or use or can reliably identify! And after making 4,000 trips up the basement stairs, we have all decided that minimalism is the way to go! Sorry, you're getting an earful, but all of this is to explain that I'm going to be keeping it fairly simple around here this week, as my hands are mainly busy sorting out old baby clothes, 100 piece puzzles that only seem to have 99 now and crumbly artwork someone made 15 years ago. But simple doesn't mean that we're trading deliciousness, like this wonderfully tasting but barely-any-effort-or-time-taking, Easy Blueberry Cobbler!
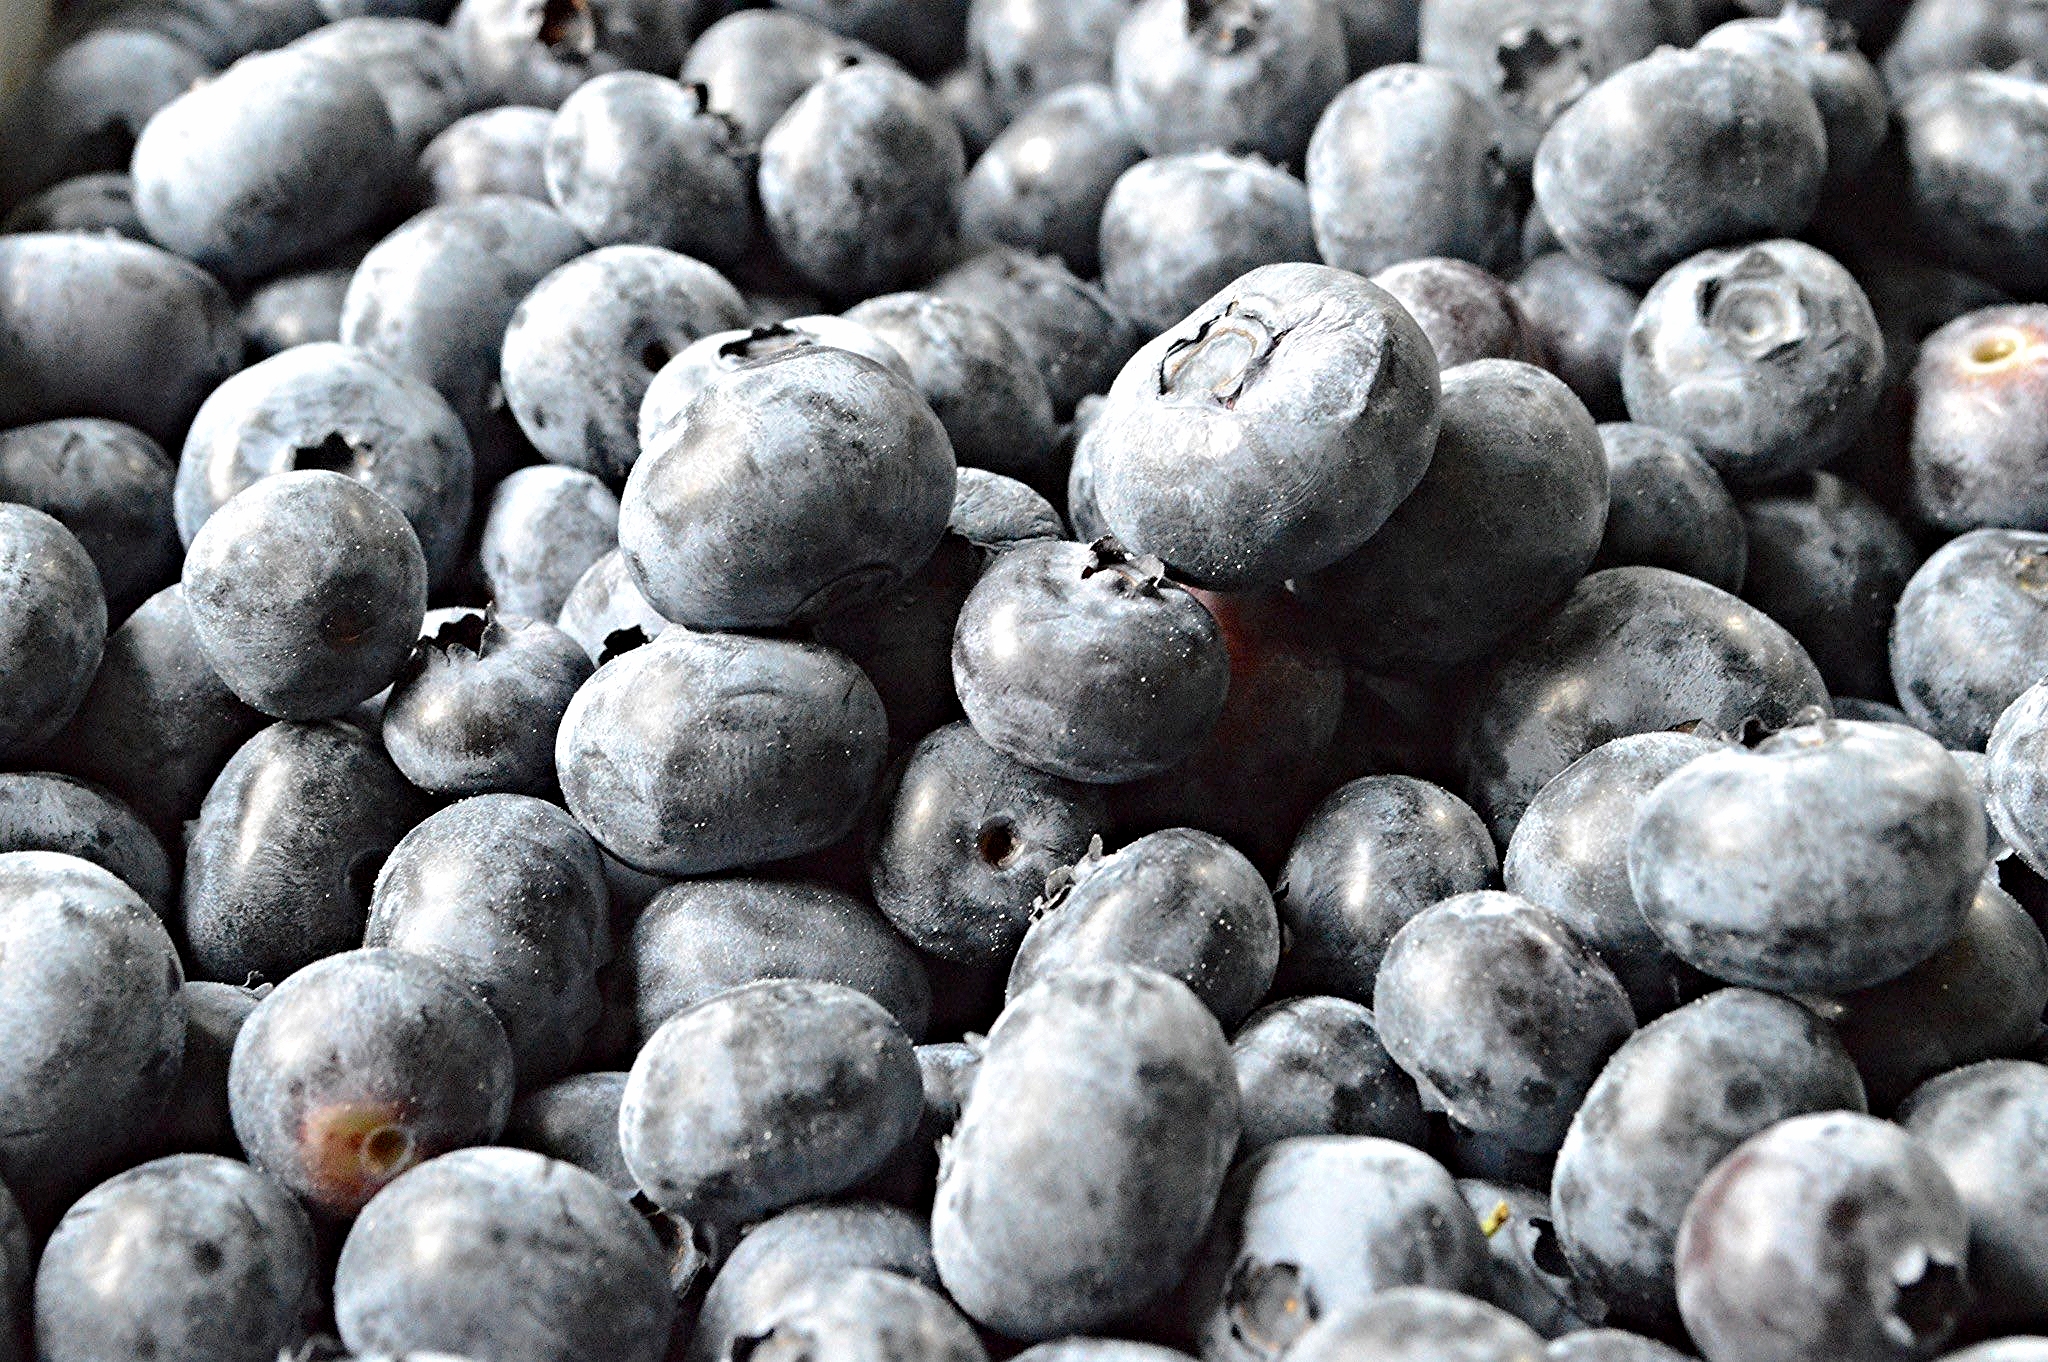
Last week on a whim, my daughter and I went blueberry picking and we got a wee bit carried away. See, we picked 11 pounds of berries, but hey, we got the discounted price! And the berries are fabulous--tart, sweet, and explosively juicy--we've been throwing them on top of yogurt, I made up a batch of blueberry muffins, I foresee a pie in the future...just forewarning you that blueberry related foods may seem to overwhelm these pages in the coming days.

Anyway, back to this cobbler--it's pretty much the perfect summer dessert. I've been making it for years, people love it and it's always stupendous. Even if you've never baked anything before, I promise that this will come out perfect and people will be begging you for the recipe!
You start by melting some butter in a baking dish right in the oven.

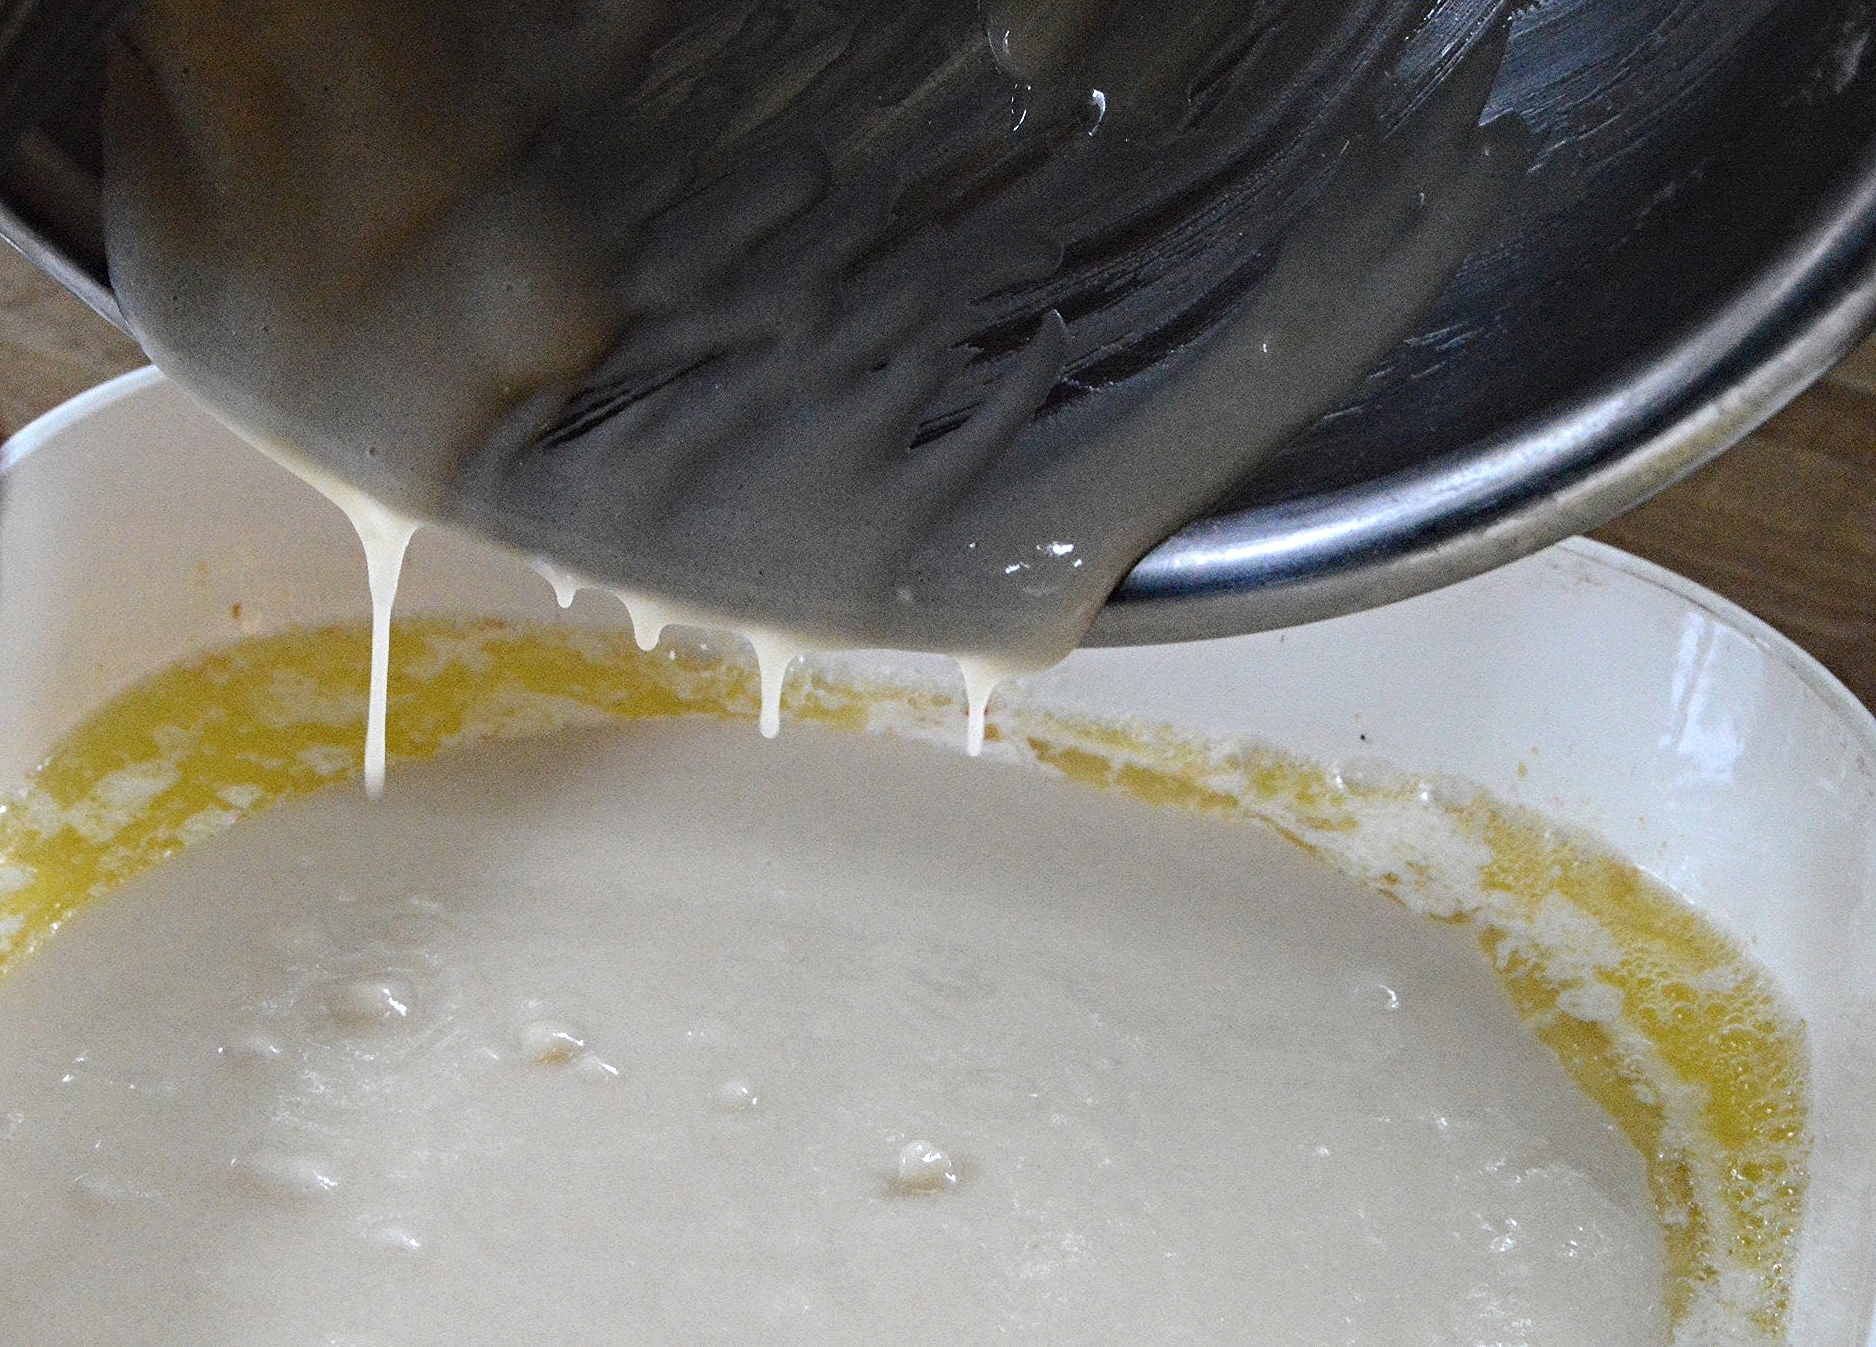
Meanwhile, you sift together flour, baking powder, salt and sugar, adding some milk in the process. Then you remove the baking pan with the now-melted butter from the oven and pour the batter on top of it.
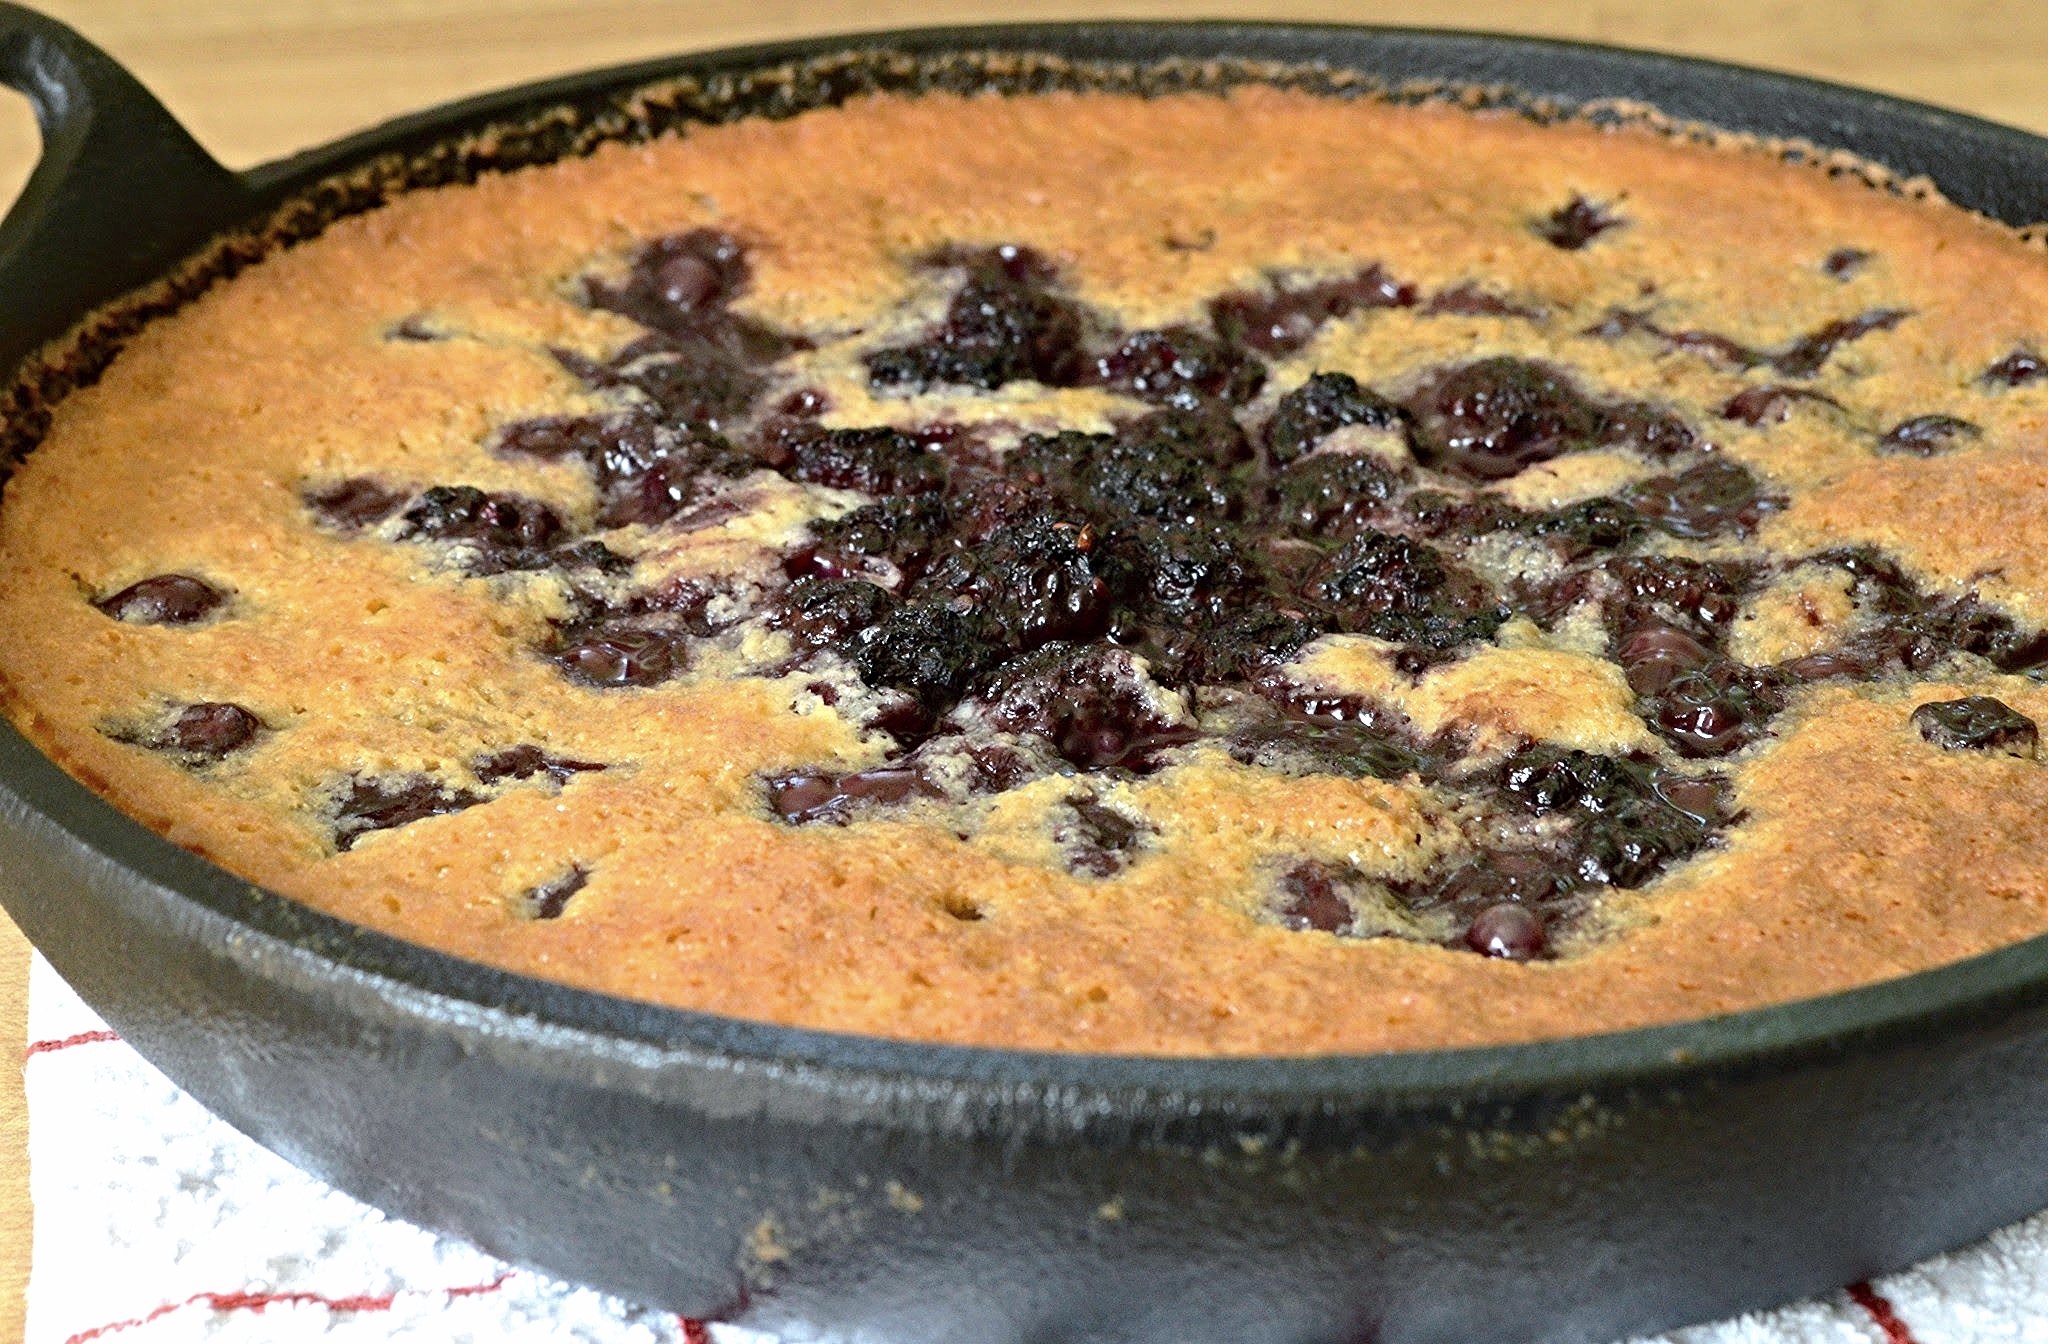
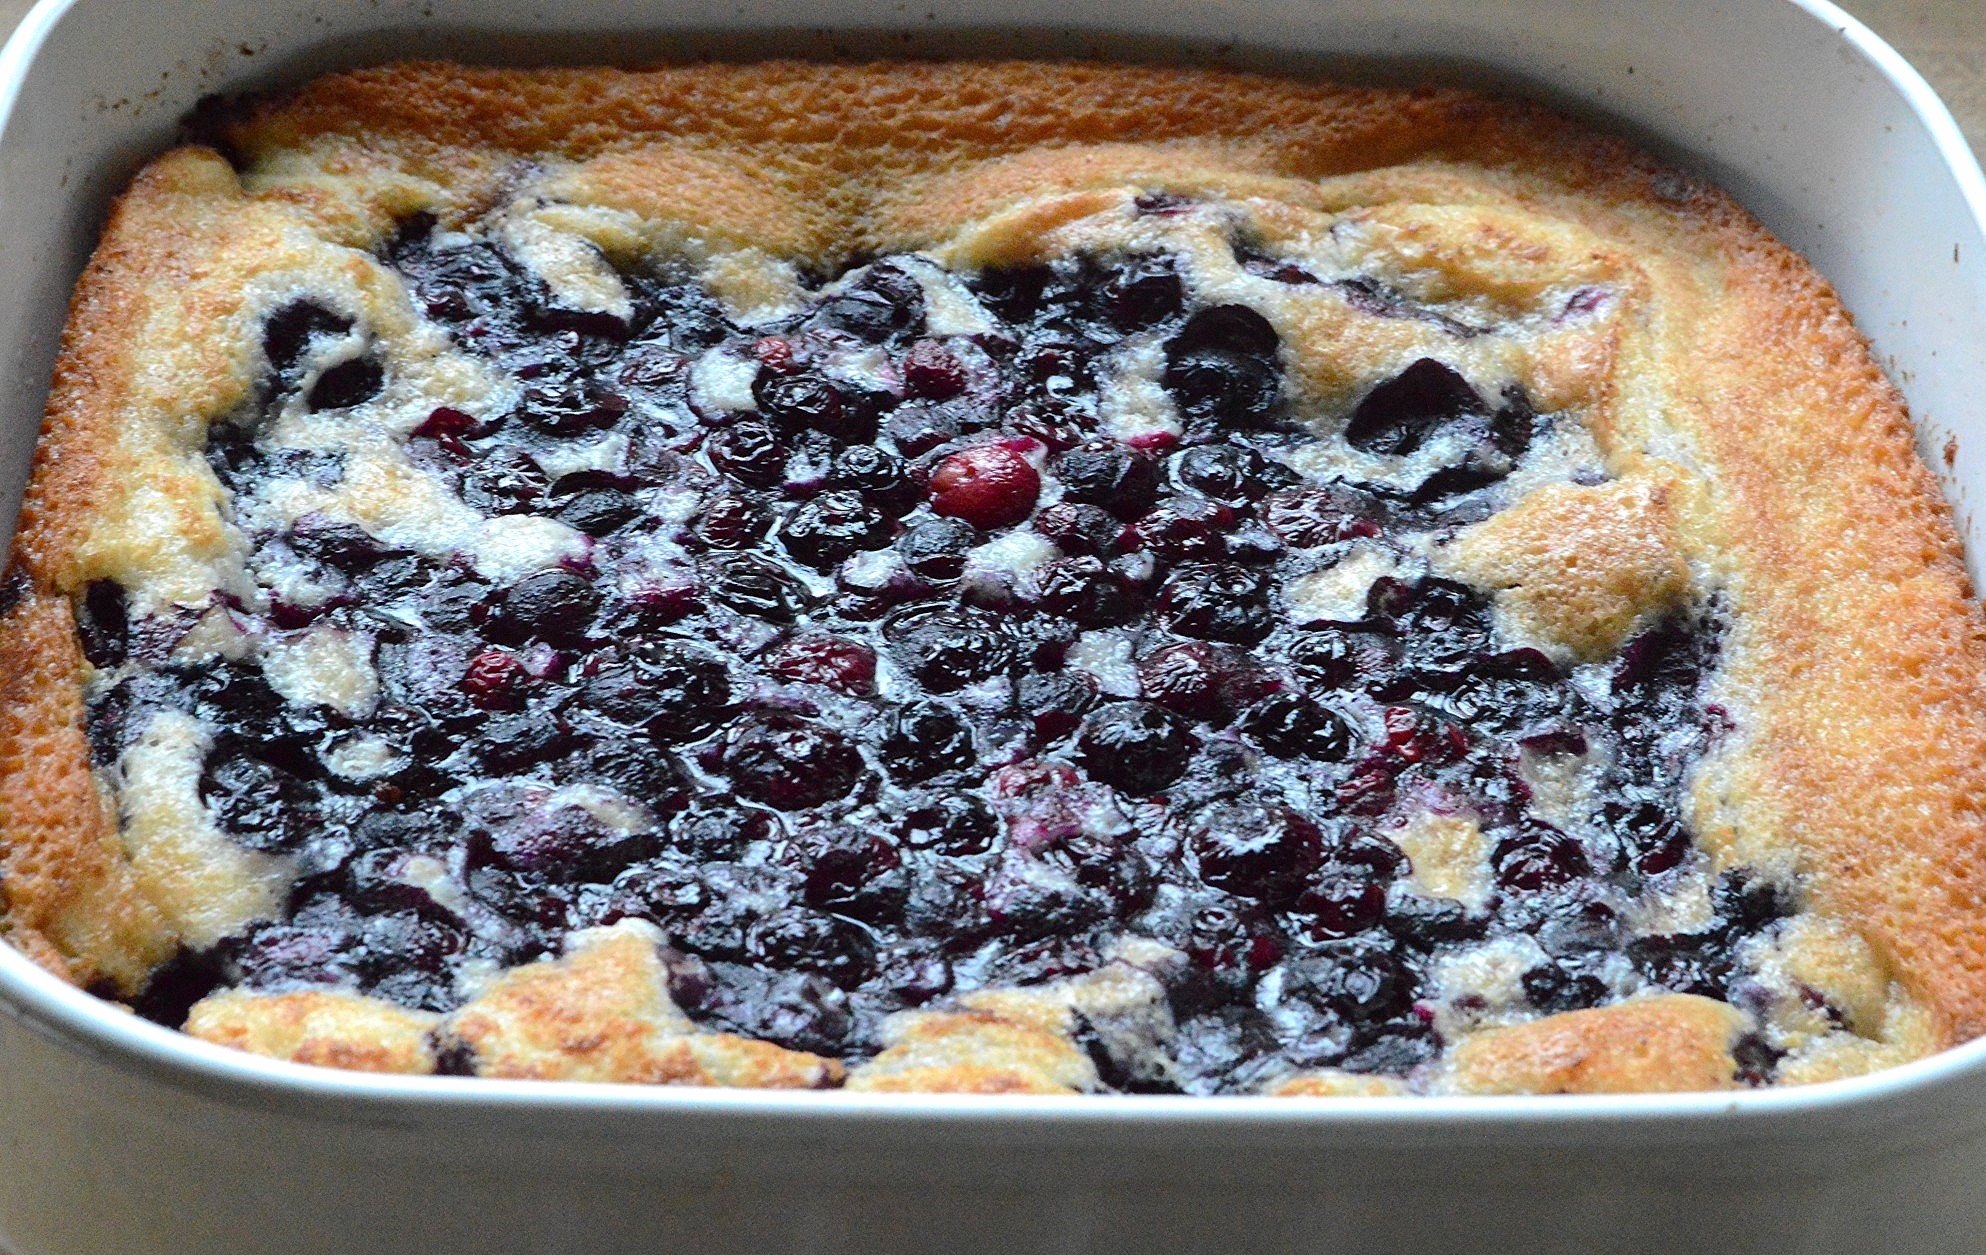
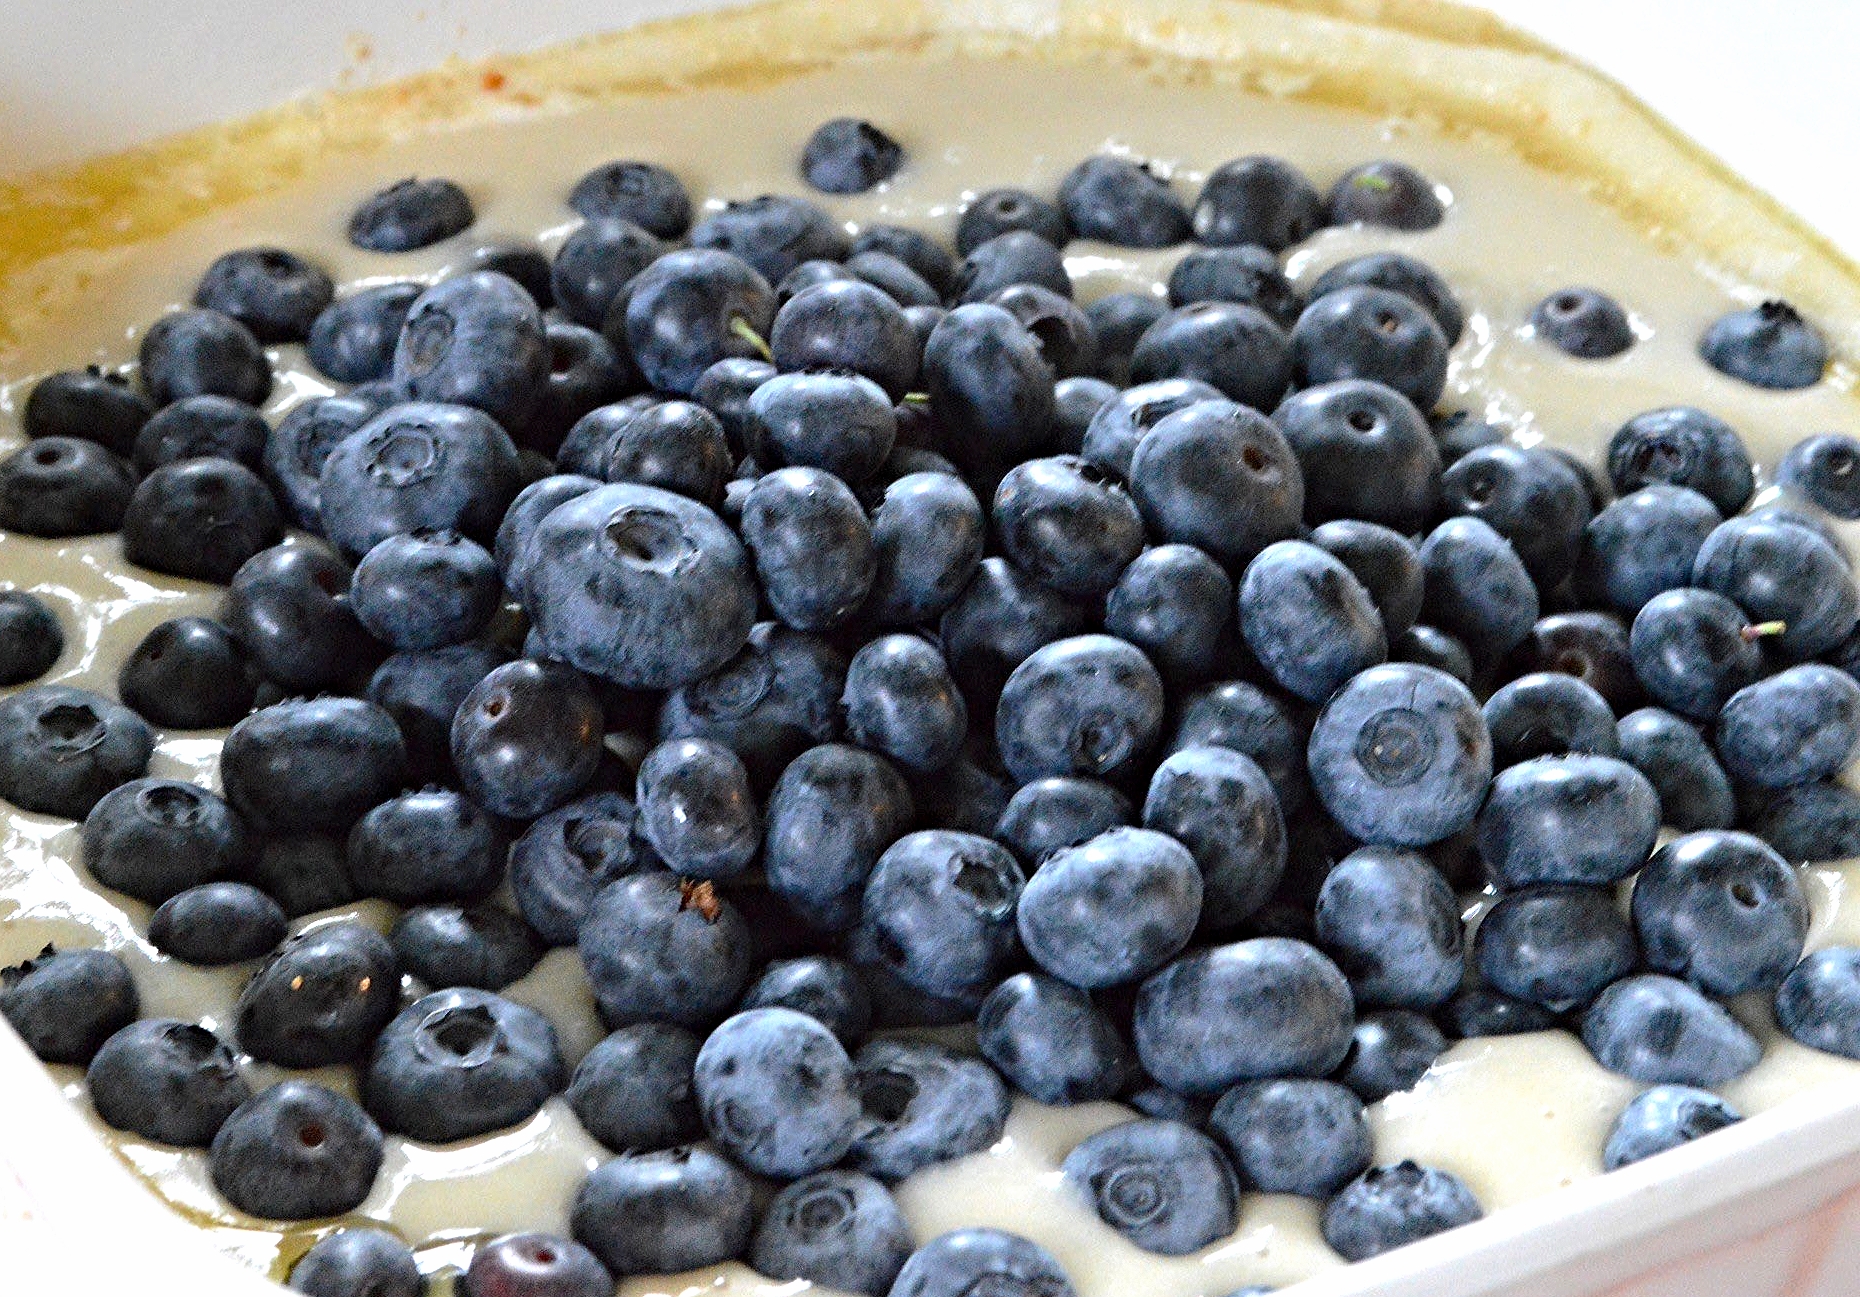
Next all you do is dump 2 cups of blueberries into the center of the batter and, without stirring or spreading, pop the dish into the oven and bake for about 40 minutes.
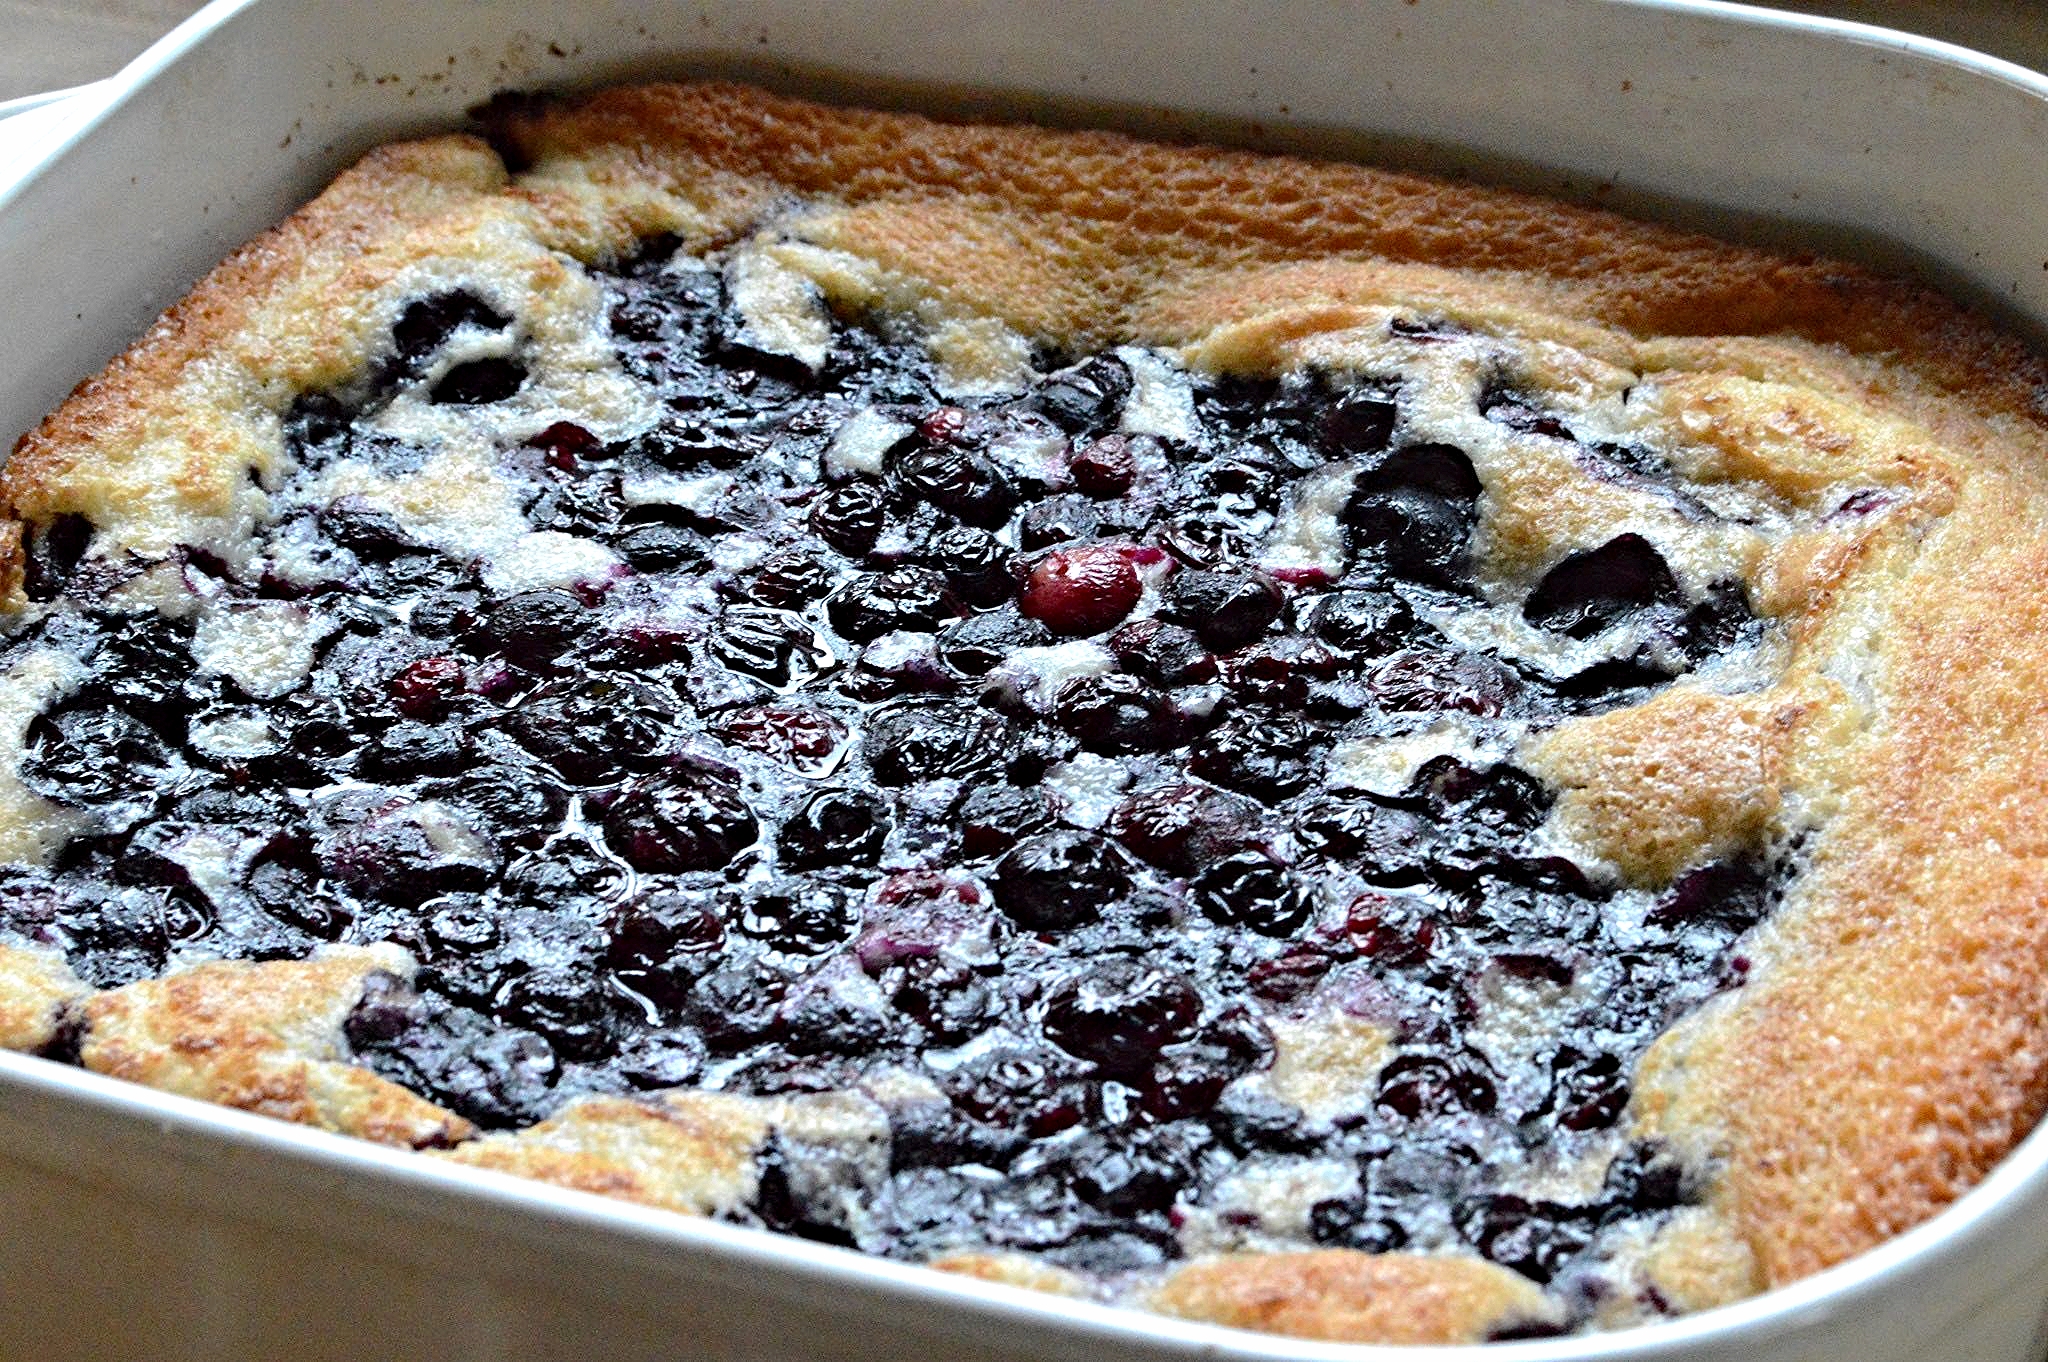
The cake is buttery and slightly sweet with a delightfully golden chewy crust and the berries are both mushy and firm at the same time and unbelievably juicy. It's wonderful on it's own or with a scoop of good vanilla ice cream or whipped cream. And, while I'd like to wax on and on about how fantastic this is, there simply isn't time, so try it for yourselves and let me know...and of course, if you're in the neighborhood, stop by our tag sale and help us get rid of some of our junk, I mean, wonderful treasures!

Easy Blueberry Cobbler
Serves 4-6 people
Prep Time: 10 minutes; Bake Time: 35-40 minutes
Ingredients
- 6 tablespoons unsalted butter
- 1 cup unbleached, all-purpose flour
- 2 teaspoons baking powder
- 1/2 teaspoon salt
- 1 cup sugar
- 2/3 cup milk ( I used 1 % and it was great, but feel free to use whole if you have it)
- 2 heaping cups blueberries
- Vanilla ice cream or whipped cream (optional)
The Recipe
1. Preheat oven to 375ºF and place the butter into an 8 -inch square or 2 quart baking dish. Place into the oven and allow the butter to melt.
2. While butter is melting, sift together the flour, baking powder and salt into a large bowl. Stir in the sugar. Add the milk and whisk just until the batter is combined.
3. Remove the baking dish with the melted butter from the oven and pour the batter over the butter, but do not stir. Pour the berries in a mound directly into the center of the dish over the batter and do not spread out or stir. Bake in the middle of the oven for 35-40 minutes, until cake is golden brown and berries have broken down and are very drippy.
4. Serve cobbler warm as is or with a scoop of good vanilla ice cream or whipped cream.
5. Store leftovers in an airtight container in the refrigerator for 3-4 days. They're wonderful cold or reheated.
Enjoy!
Note: Recipe adapted from a very old issue of Gourmet Magazine.