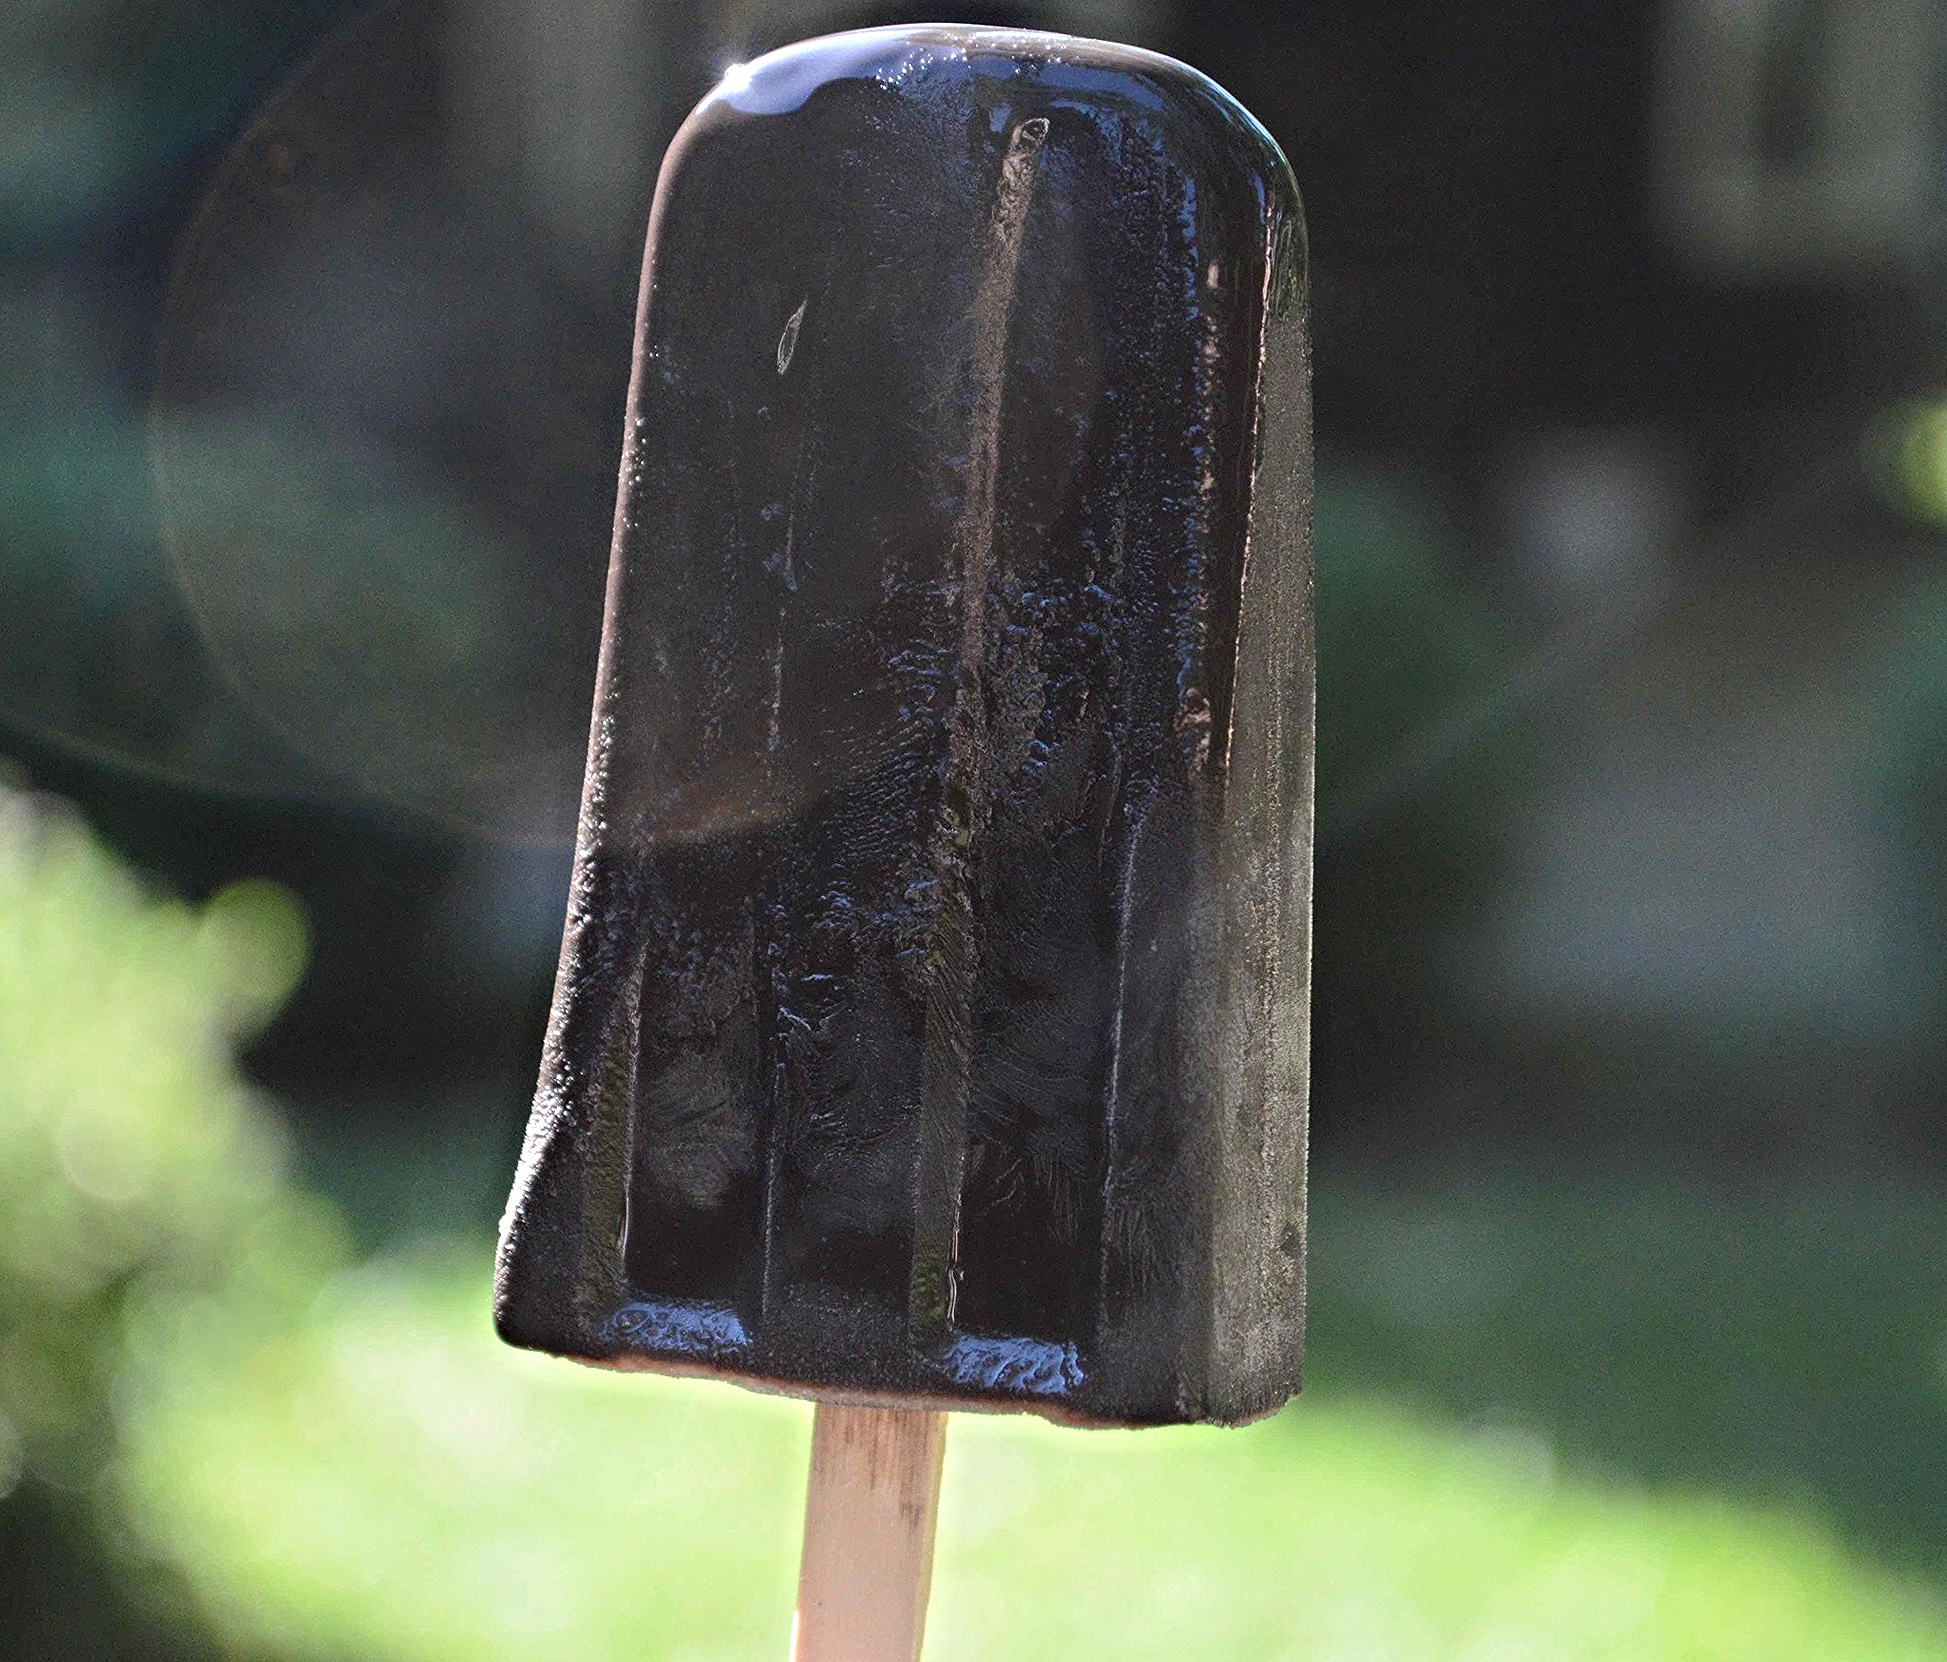
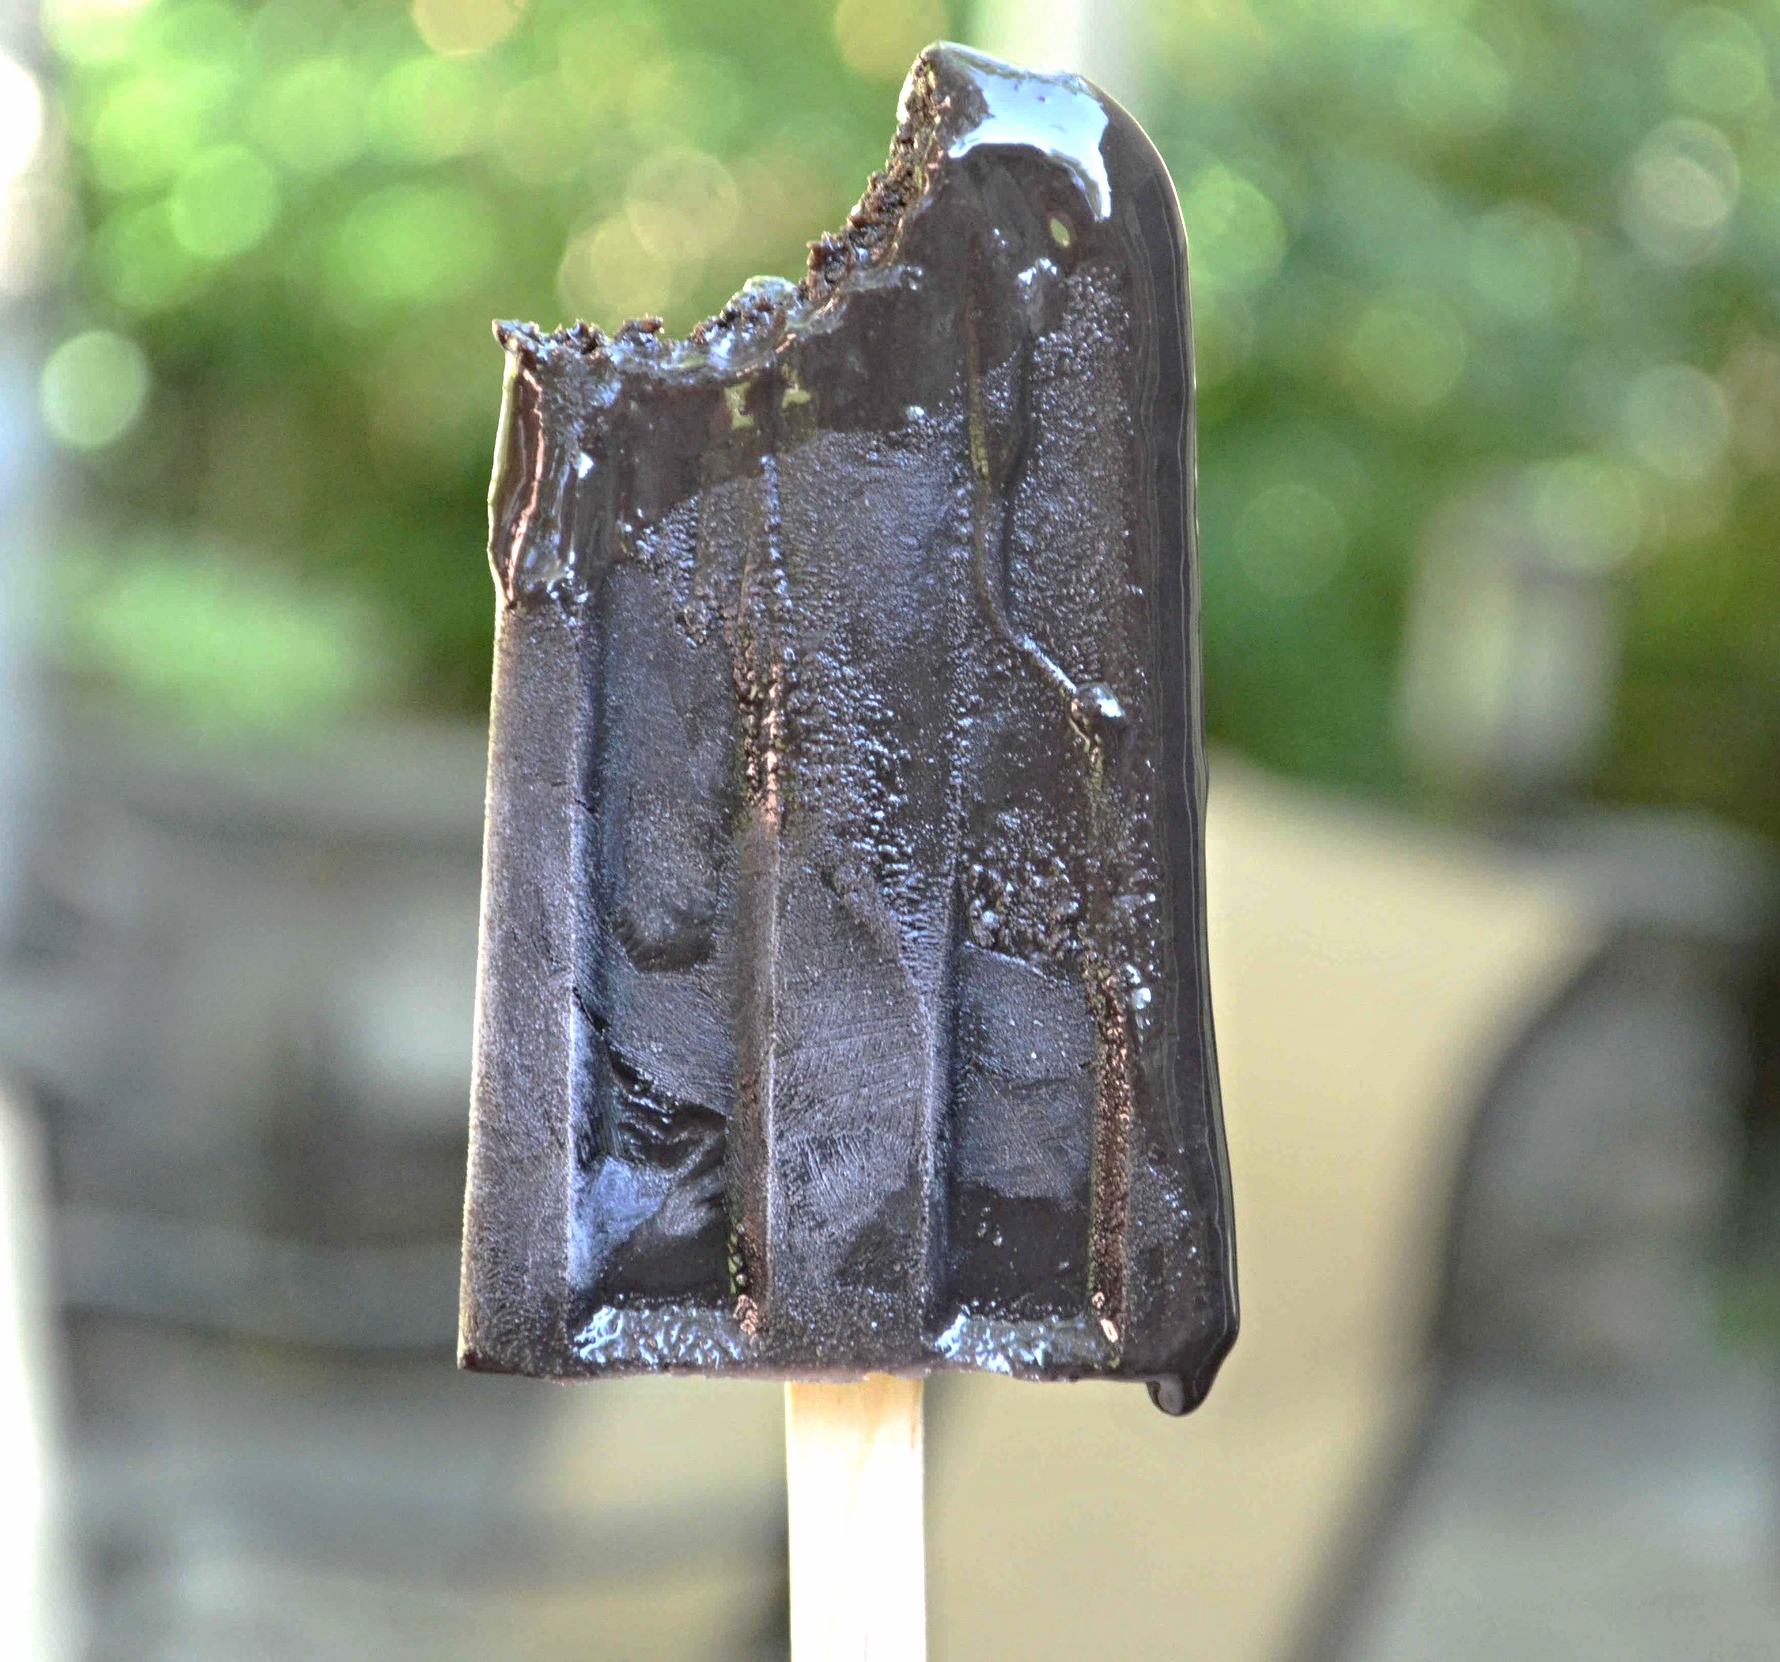
Easy Homemade Fudgesicles
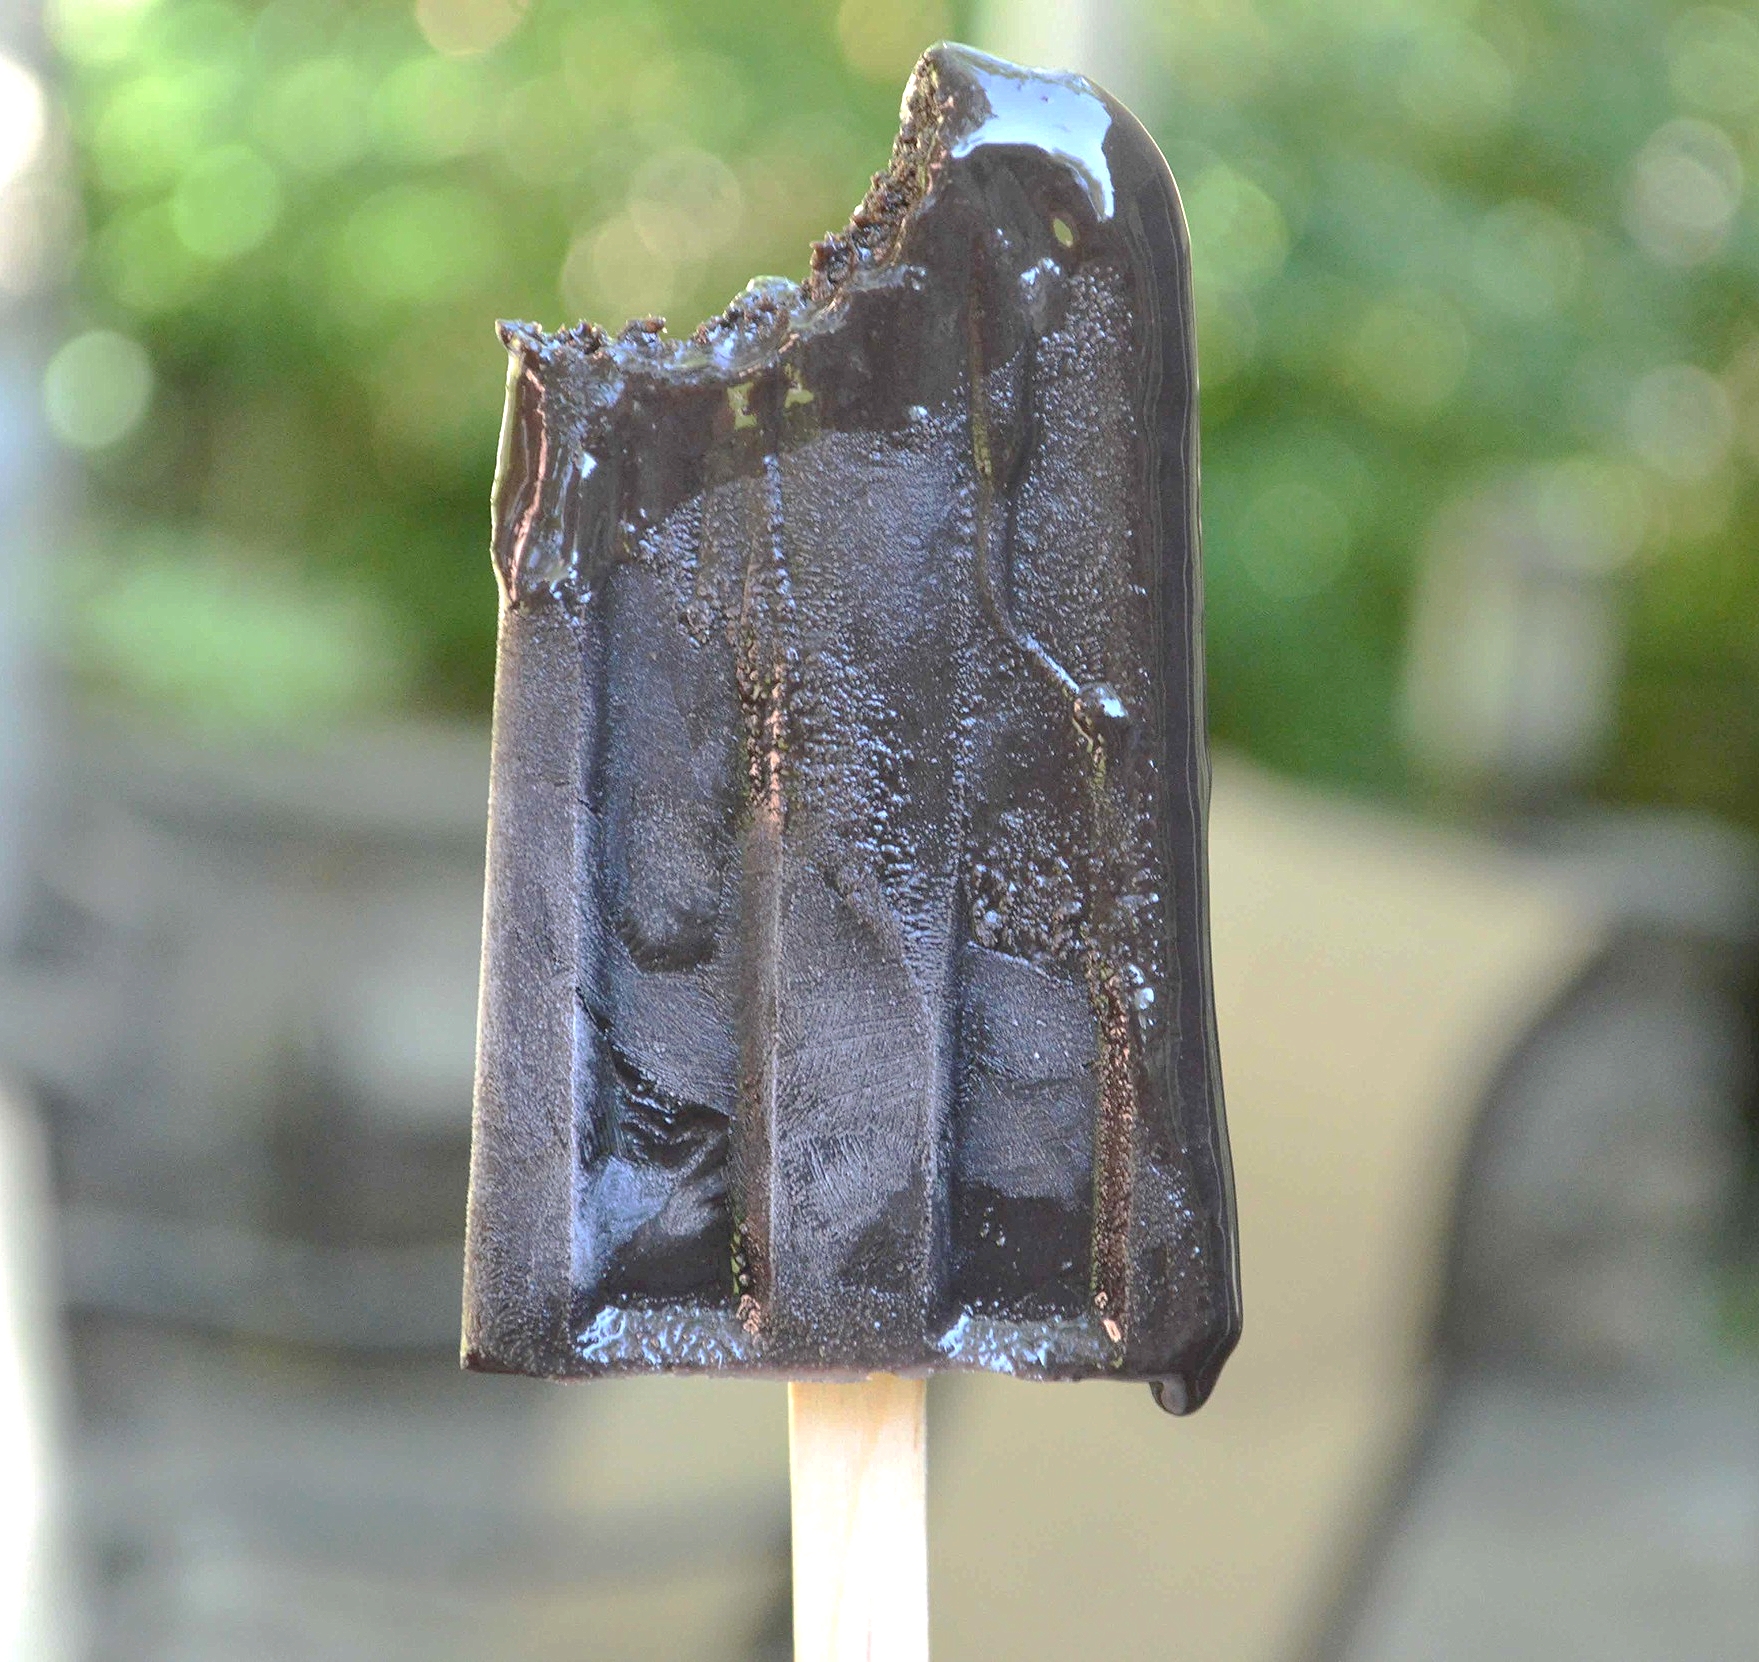

Don't you just want one right now? And sure, you could run to the store and pick up a box, but I promise you that they won't taste half as good as these! And they'll be filled with lots of stuff that you don't need like guar gum, carrageenan and polysorbate 65...whatever those are! Plus these take only a few minutes to prepare with ingredients you most likely already have in the house. Seriously, what are you waiting for?!!
Growing up, getting a treat from the ice cream truck, I always gravitated towards the icy refreshing chocolatey goodness of fudgesicles. And while we're on the subject, is the "s" silent or not? I remember a very funny Laverne & Shirley epsiode where they fight about the pronunciation of the word and my friends and I going around and polling people about how they said the word. Ah, the good old days!!

Now back to these pops which are super easy to make and pretty reasonable as far as treats go too. In fact, the lower the percentage of milk you use, the more flavorful and icy they turn out!

Knowing you have one of these to come home to on a hot summer day, just makes all the little bothersome things go away. Somehow life is carefree and perfect again, just like when you were a kid and the ice cream man came down the street dinging his bell and your mom said yes!!
Easy Homemade Fudgesicles
Makes about ten 3-ounce pops
Prep Time: 10 minutes; Chill Time: At least 6 hours and preferably overnight
Ingredients
3/4 cup sugar
3/4 cup unsweetened cocoa powder (either natural or Dutch-process)
1 1/2 tablespoons cornstarch
1/8 teaspoon salt
3 cups milk ( I used 1% but you can use any kind, the lower the percentage the better the pops taste--I haven't tried it with skim or almond milk yet, but I bet it would be good with those too)
1/2 teaspoon vanilla extract
The Recipe
1. In a medium saucepan, mix together the sugar, cocoa, cornstarch and salt with a whisk. Pour in just enough milk to make a smooth paste. Then, whisk in the remaining milk.
2. Over medium heat, bring the mixture to a simmer, constantly stirring with the whisk, making sure to scrape the bottom and sides of the pan. When the mixture begins to bubble at little at the edges, continue to cook for 2 more minutes, whisking all the time.
3. Remove the pan from the heat and stir in the vanilla. Carefully pour the mixture into a glass pitcher or large measuring cup with a spout. If you're using a popsicle mold, carefully pour the mixture into the individual molds, leaving at least 1/4 inch of space at the top so that there's room when the mixture freezes and expands. If your mold has a cover with open spaces for the sticks, cover the mold, insert the sticks and freeze until hard, at least 6 hours or more. If you're using paper cups, fill the cups, cover them, freeze them for a couple of hours until slightly firm and then insert the sticks so that they stand upright. Either way, freeze until completely hard.
4. To un-mold, run the bottoms of the pops under hot water for a few minutes. If you like you can remove all of them at once and wrap each one individually in plastic wrap or wax paper and re-freeze or just remove as many pops at a time that you're planning to eat.
5. Pops last at least 2 weeks covered in the freezer.
Enjoy!
Note: Recipe adapted from Alice Medrich via Food 52.