Chocolate Raspberry Whoopie Pies


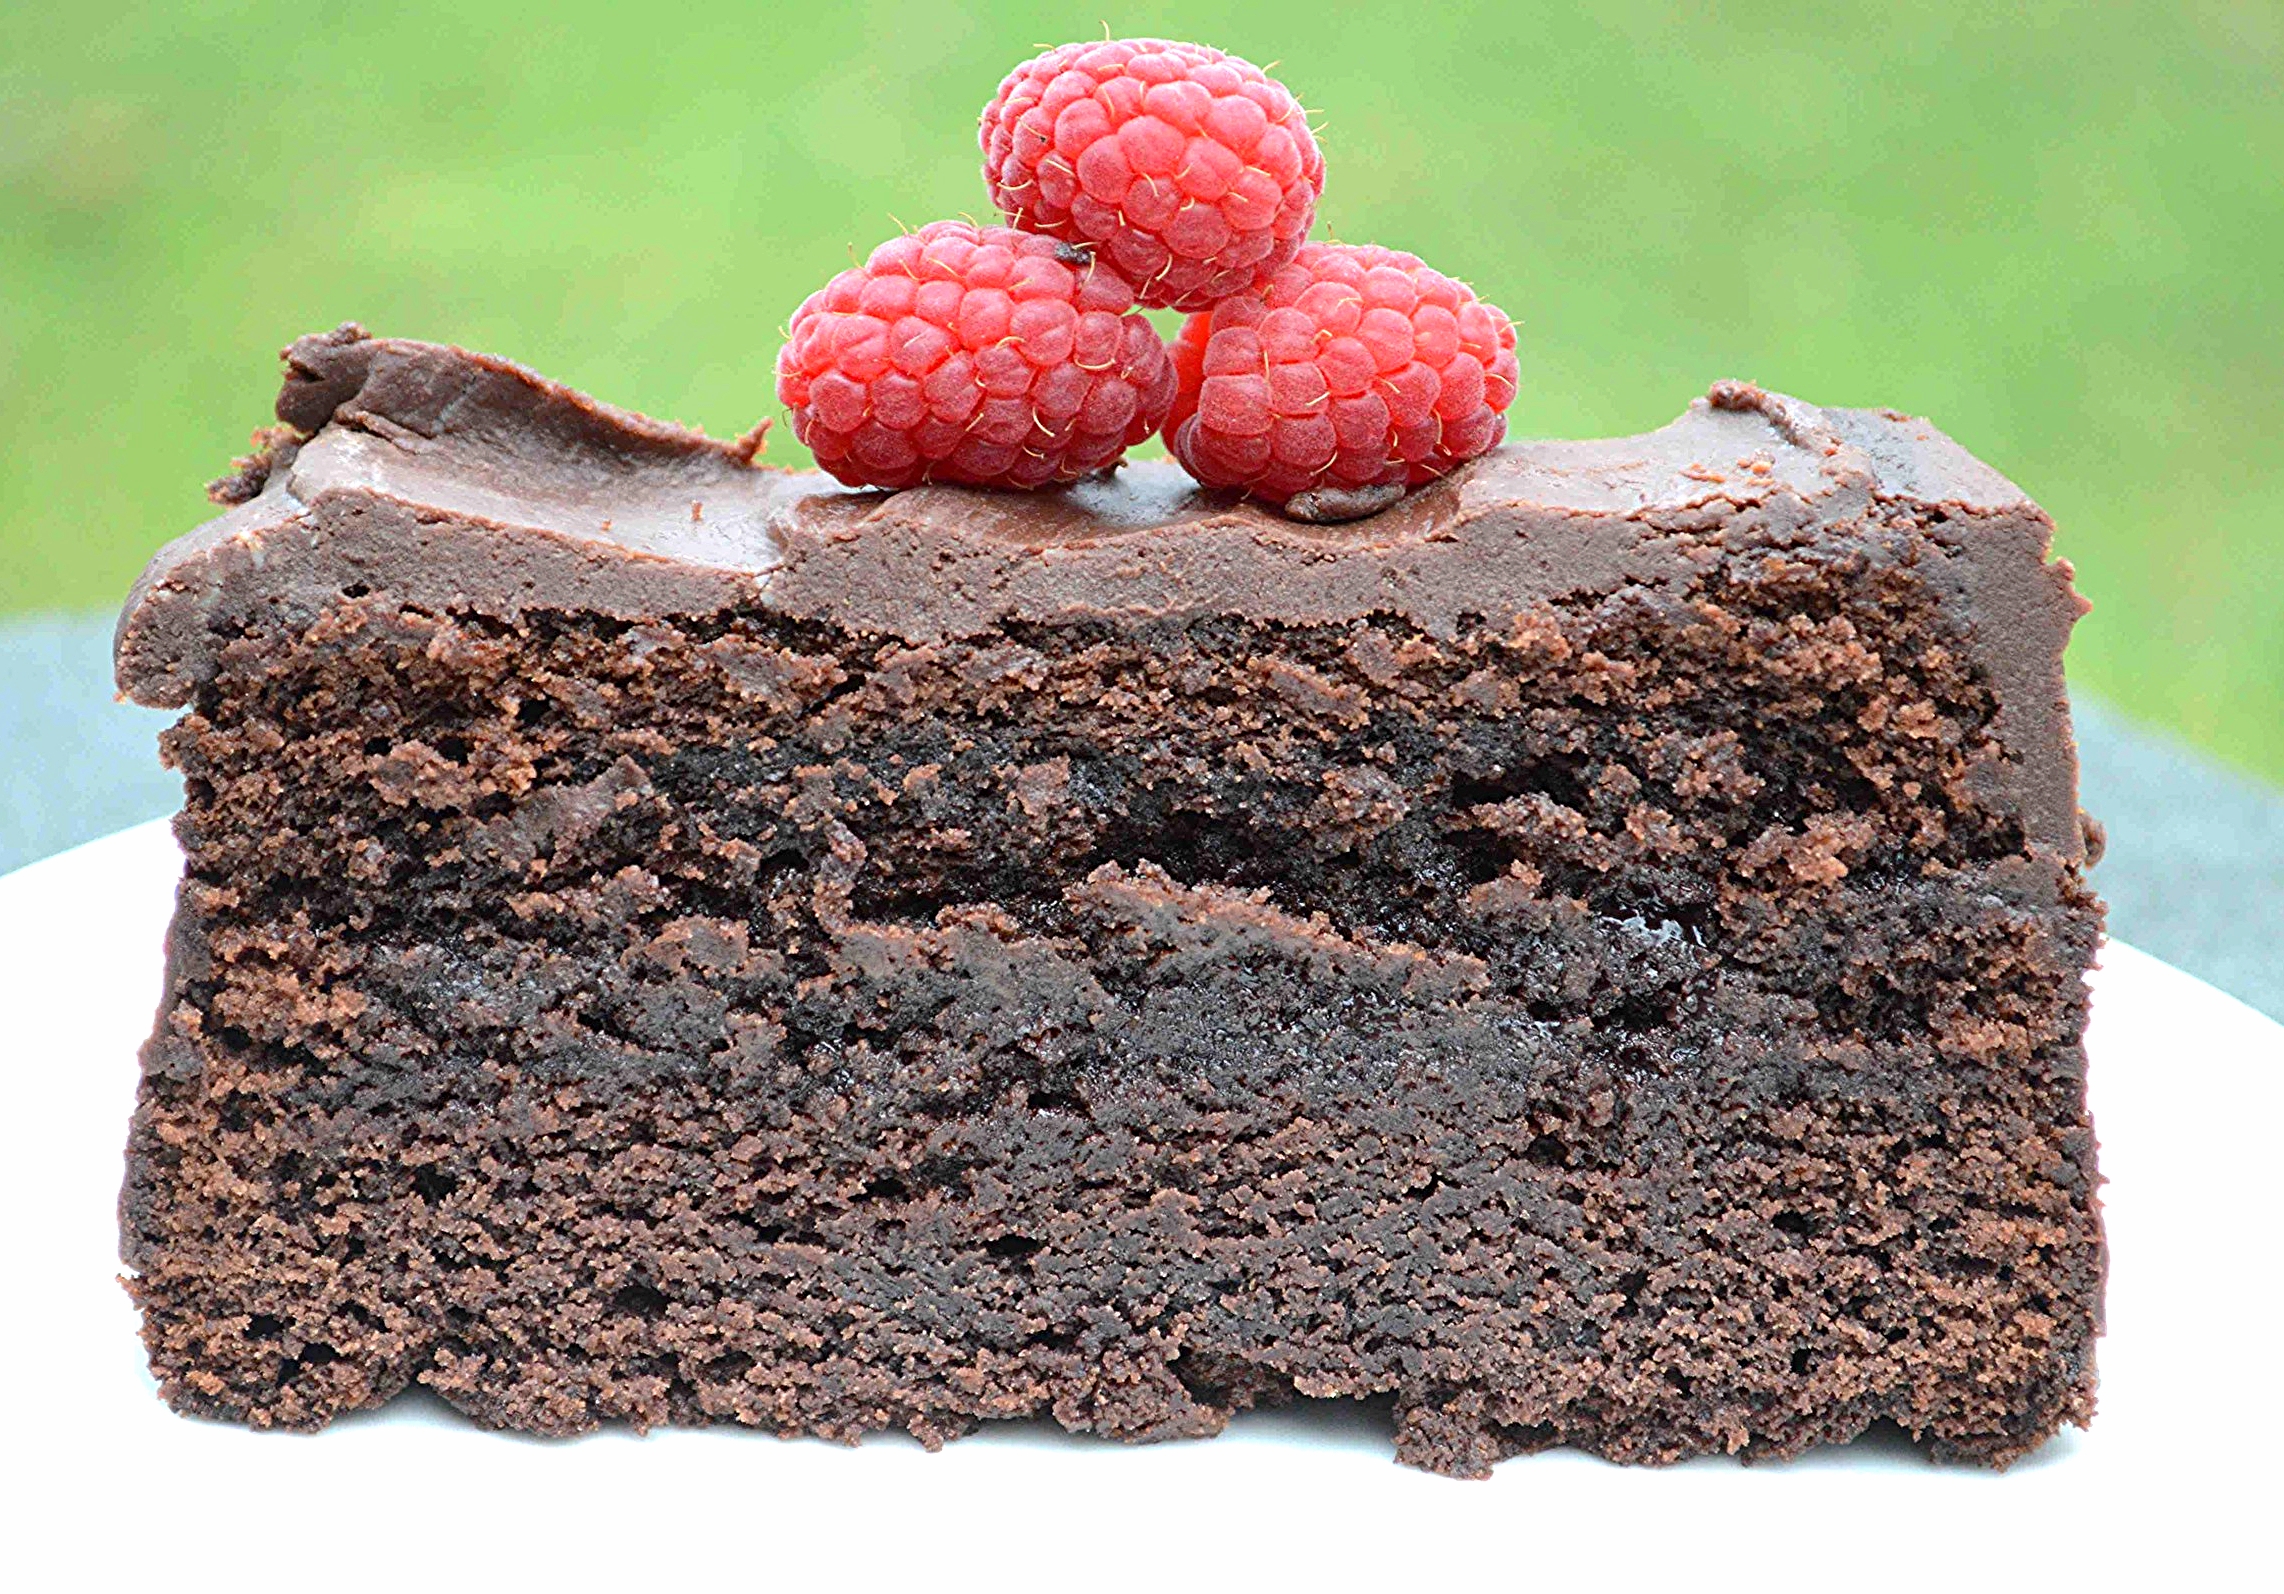
Guys, I'm in love all over again! Tender, not too sweet, deeply chocolate cakes filled with a homemade raspberry marshmallow filling--what's not to love, right? And then there's the cuteness factor. If you're looking for something a little off the beaten path to show those your undying affection for the upcoming holiday, I highly recommend these little cakes, or should I say pies?!!!

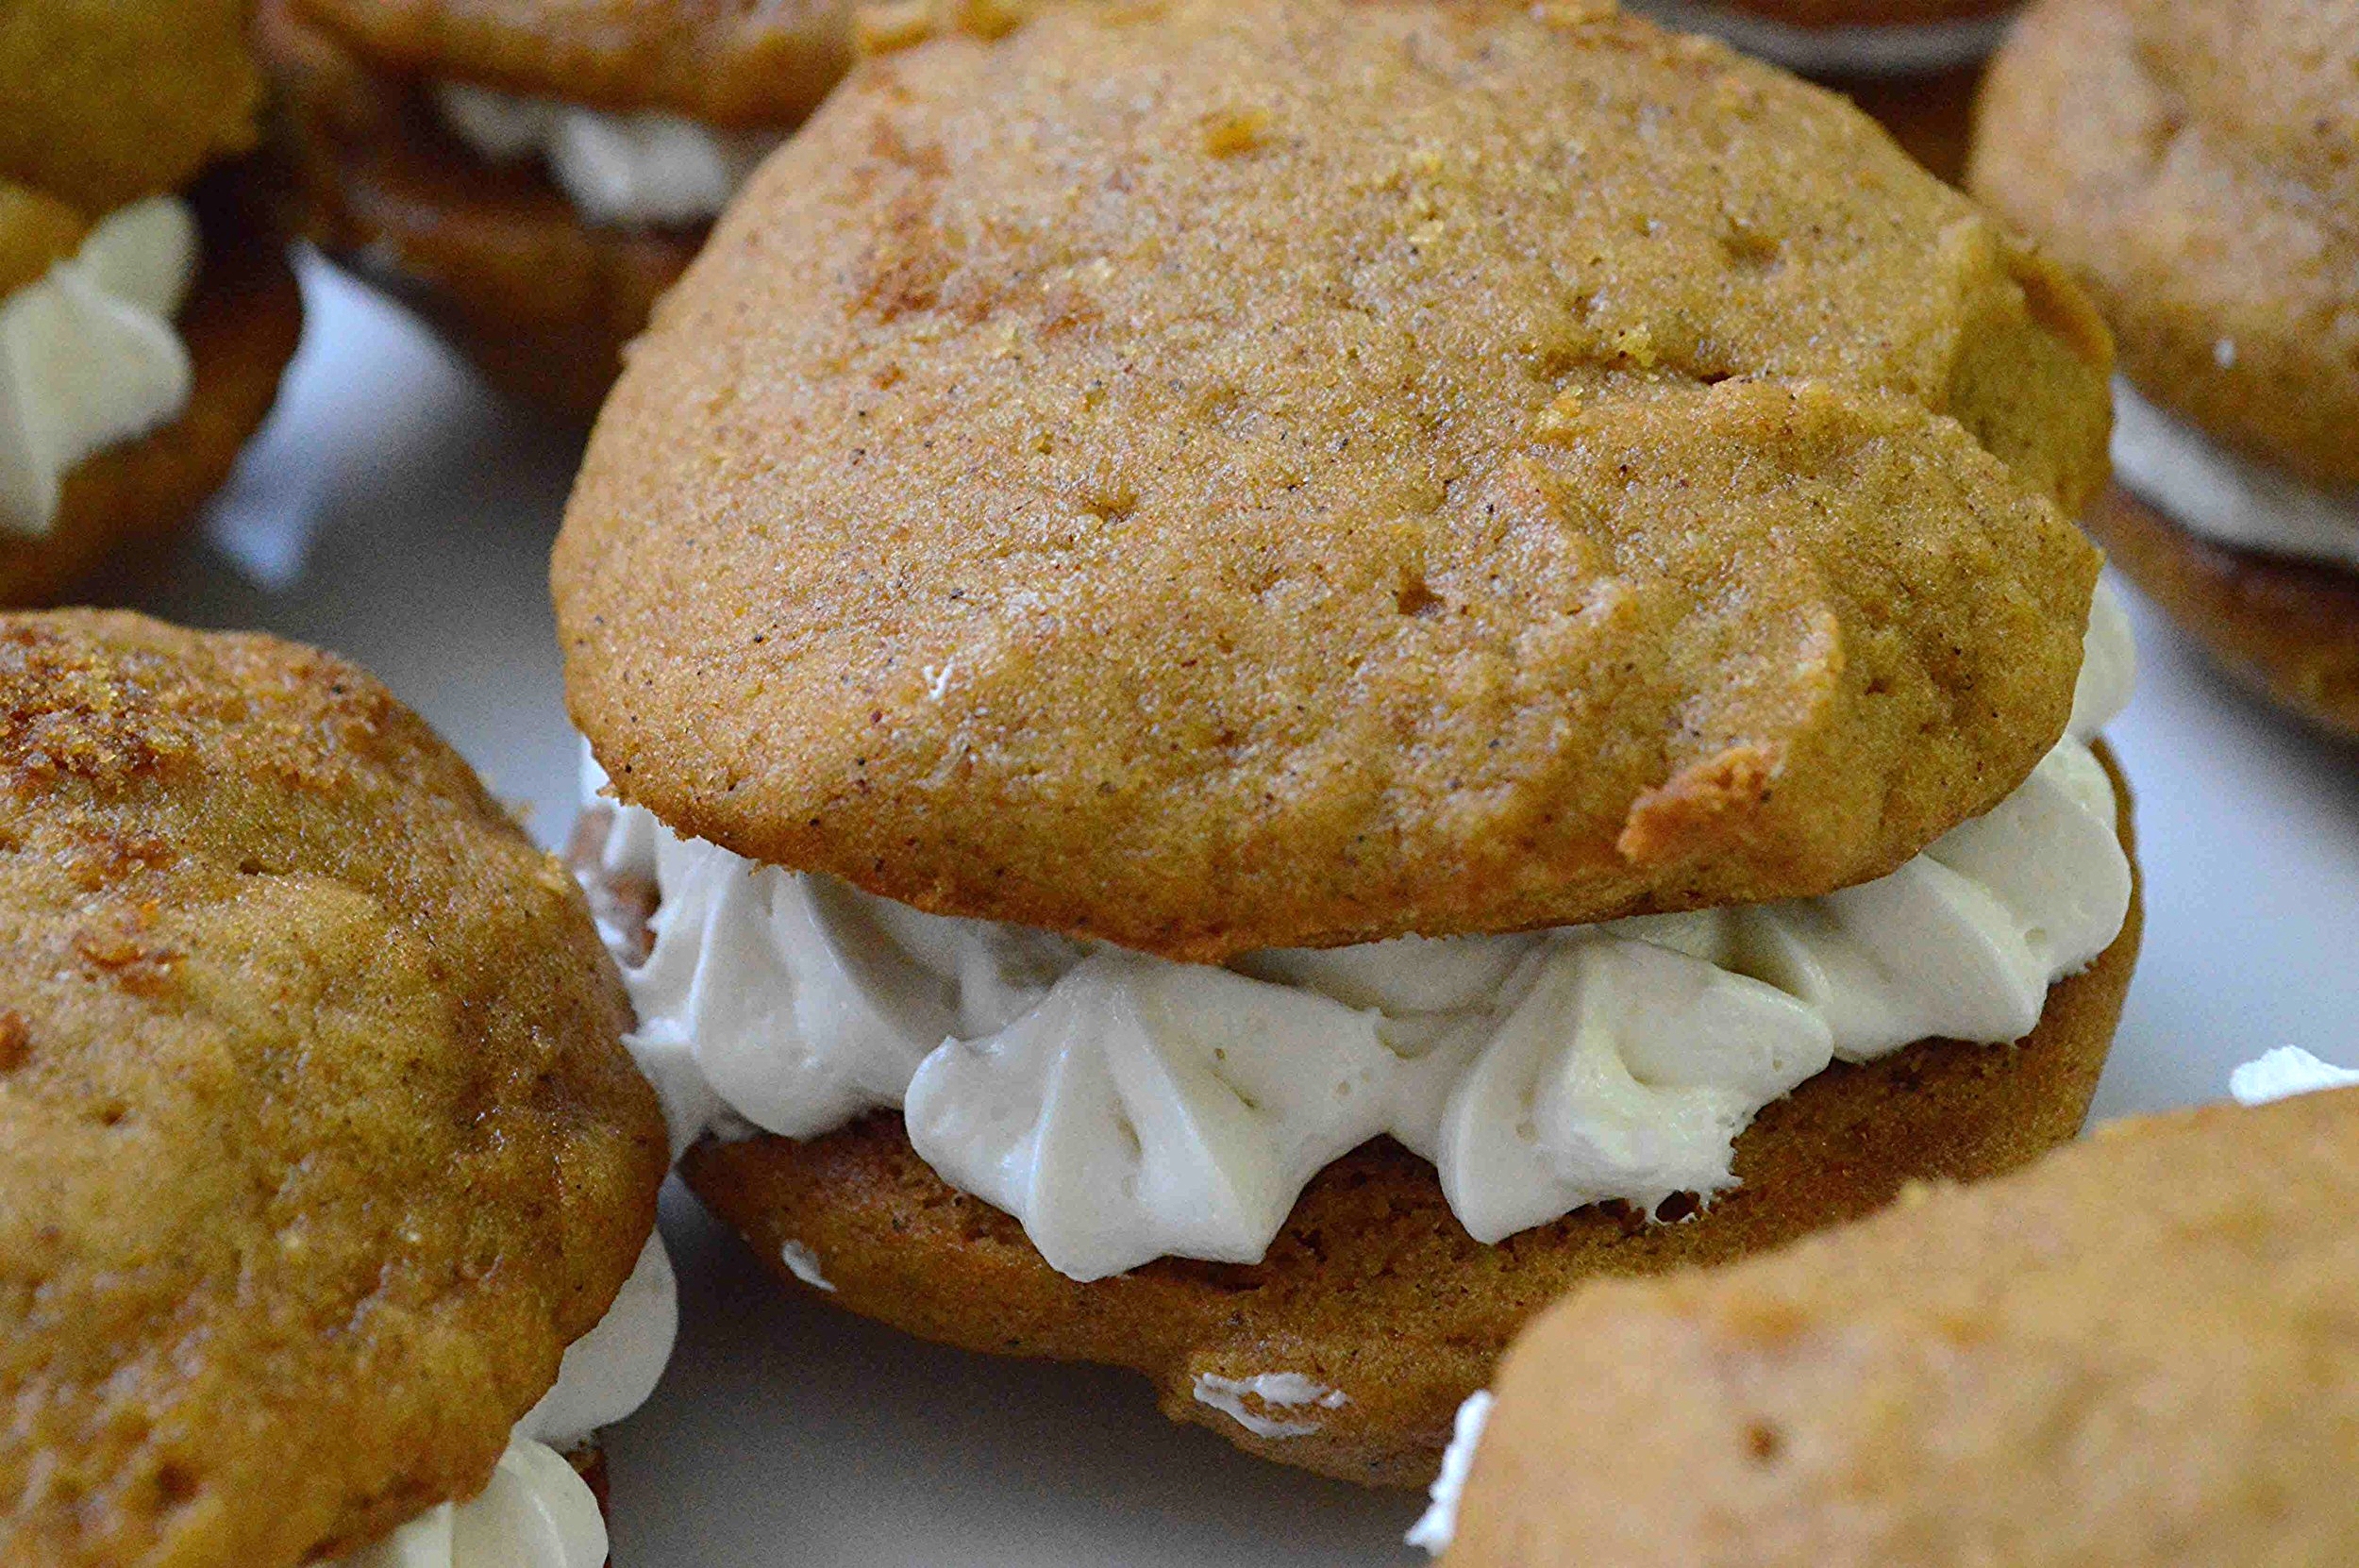
To tell the truth, I've always had a thing for Whoopie pies. I've already shared this pumpkin version and I've been making a classic one for years that I have oddly not shared here yet (must remedy that soon). This pretty-in-pink version, which features the wonderful combo of raspberry and chocolate, is not only a definite keeper but pretty easy in the effort department too! And you can do it in stages, which really helps with time management.
You start by making the mini cakes which bake up quickly.

Then, while those are cooling, you make an intensely flavorful raspberry marshmallow creme, which gets its "raspberriness" from both fresh (or frozen) berries as well as freeze dried berries which you pulverize into a fine powder. Are you familiar with these? I always get mine from Trader Joes, but I have seen them in my regular supermarket too and they provide a huge burst of concentrated natural flavor and color. No need for food coloring or additives here!! They're also pretty yummy and healthy to snack on!

The filling is sticky and just the right balance of tart and sweet, perfectly pairing with the fudgy, dark chocolate cakes. Seriously, these are dangerously, finger-licking good!!


Every bite really hits the bliss point!!

An extra special treat for your extra special Valentine!!

Chocolate Raspberry Whoopie Pies
Makes 9 or 10 whoopie pies
Prep Time for cakes: 15 minutes; Bake Time: 12-14 minutes; Prep Time for filling: 20 minutes; Assembly Time: 10 minutes
Ingredients
For the cakes
- 1 large egg
- 1 teaspoon vanilla extract
- 2 teaspoons instant coffee
- 1/2 teaspoon kosher salt
- 1/2 cup (1 stick) unsalted butter, room temperature
- 1 cup dark brown sugar, packed
- 1 teaspoon baking soda
- 1/2 teaspoon baking powder
- 3/4 cup plus 2 tablespoons Dutch-process cocoa powder
- 1 cup buttermilk, well shaken
- 1 3/4 cup unbleached, all-purpose flour
For the filling
- 2 large egg whites
- 1/4 teaspoon cream of tartar
- 1/8 teaspoon kosher salt
- 3/4 cup granulated sugar
- 1/2 cup corn syrup
- 1/2 cup raspberries (I used frozen and you don't need to thaw them)
- 1/2 cup freeze-dried raspberries, crushed to a powder in a food processor (you can find them at Trader Joe's)
- 4 tablespoons unsalted butter, room temperature, cut into 4 pieces
The Recipe
1. To make the cakes: Preheat oven to 350ºF and line rimmed baking sheets with parchment paper. Set aside.
2. In a small bowl, mix together the egg, vanilla, coffee and salt with a fork, beating until the coffee has dissolved and the mixture is well combined. Set aside.
3. Use an electric mixer (attach the paddle if you have a stand mixer, otherwise the regular beaters are fine) to mix the butter, brown sugar, baking soda and baking powder in a large bowl, beating at medium speed, until the mixture is well blended and creamy and clinging to the sides of the bowl, about 3 minutes (Might be longer with a handheld mixer.)
4. Lower the speed to medium-low and drizzle in the coffee mixture, mixing until well blended. Add the cocoa powder and mix on low speed, raising the speed a bit as the powder is incorporated so you don't wind up with cocoa powder everywhere. Then add half the buttermilk and beat well. Scrape down the sides and add 1 cup of the flour and beat well. Pour in the remaining buttermilk and beat well, scraping down sides again, finally adding the remaining 3/4 cup of flour and beating well.
5. Use an ice cream scoop or a tablespoon to drop large mounds of the batter onto the baking sheets at least 2 inches apart--you should get 18 or 20. Bake one sheet at a time for about 12 minutes, until the tops are cracked a bit and the cake springs back when you gently push down on them. Transfer to a wire rack and allow to cool on the pan on top of the rack, then transfer to the rack, using a spatula to finish cooling all the way. Repeat with the second sheet.
6. To make the filling: Place the egg whites, cream of tartar and salt in the clean bowl of a mixer fitted with the whisk attachment if you have one and turn to high speed, until the whites hold soft peaks. Stop the mixer but leave the bowl there.
7. Place the sugar, corn syrup and whole raspberries into a medium pot and cook over medium-high heat, using a wooden spoon to crush the berries so that they fall apart and release their juices. Cook, stirring frequently, until a candy thermometer reaches 240ºF (soft-ball stage). Turn the mixer back on to medium-high speed and carefully drizzle the raspberry syrup into the beaten whites, trying not to hit the beater or the side of the bowl. When all the syrup is in, turn the mixer to high and let beat for about 10 minutes, until the outside of the bowl feels cool and the mixture is very thick and sticky. Switch back to the paddle attachment, add the raspberry powder and mix on low speed. Turn the speed to medium and add the butter, one piece at a time, waiting until the previous piece has disappeared until you add the next one. Scrape down the sides of the bowl and give it one last mix.
8. To assemble the whoopie pies: Hold one pie bottom facing up and spread about a rounded tablespoon of the filling on. Top with the flat bottom of another pie, sandwiching everything together. Repeat with remaining cakes. Serve immediately or make these a day ahead and store well covered at room temperature. After that, leftovers can be stored in an airtight container in the fridge.
Enjoy!
Note: Recipe adapted from Marbled, Swirled and Layered by Irvin Lin.