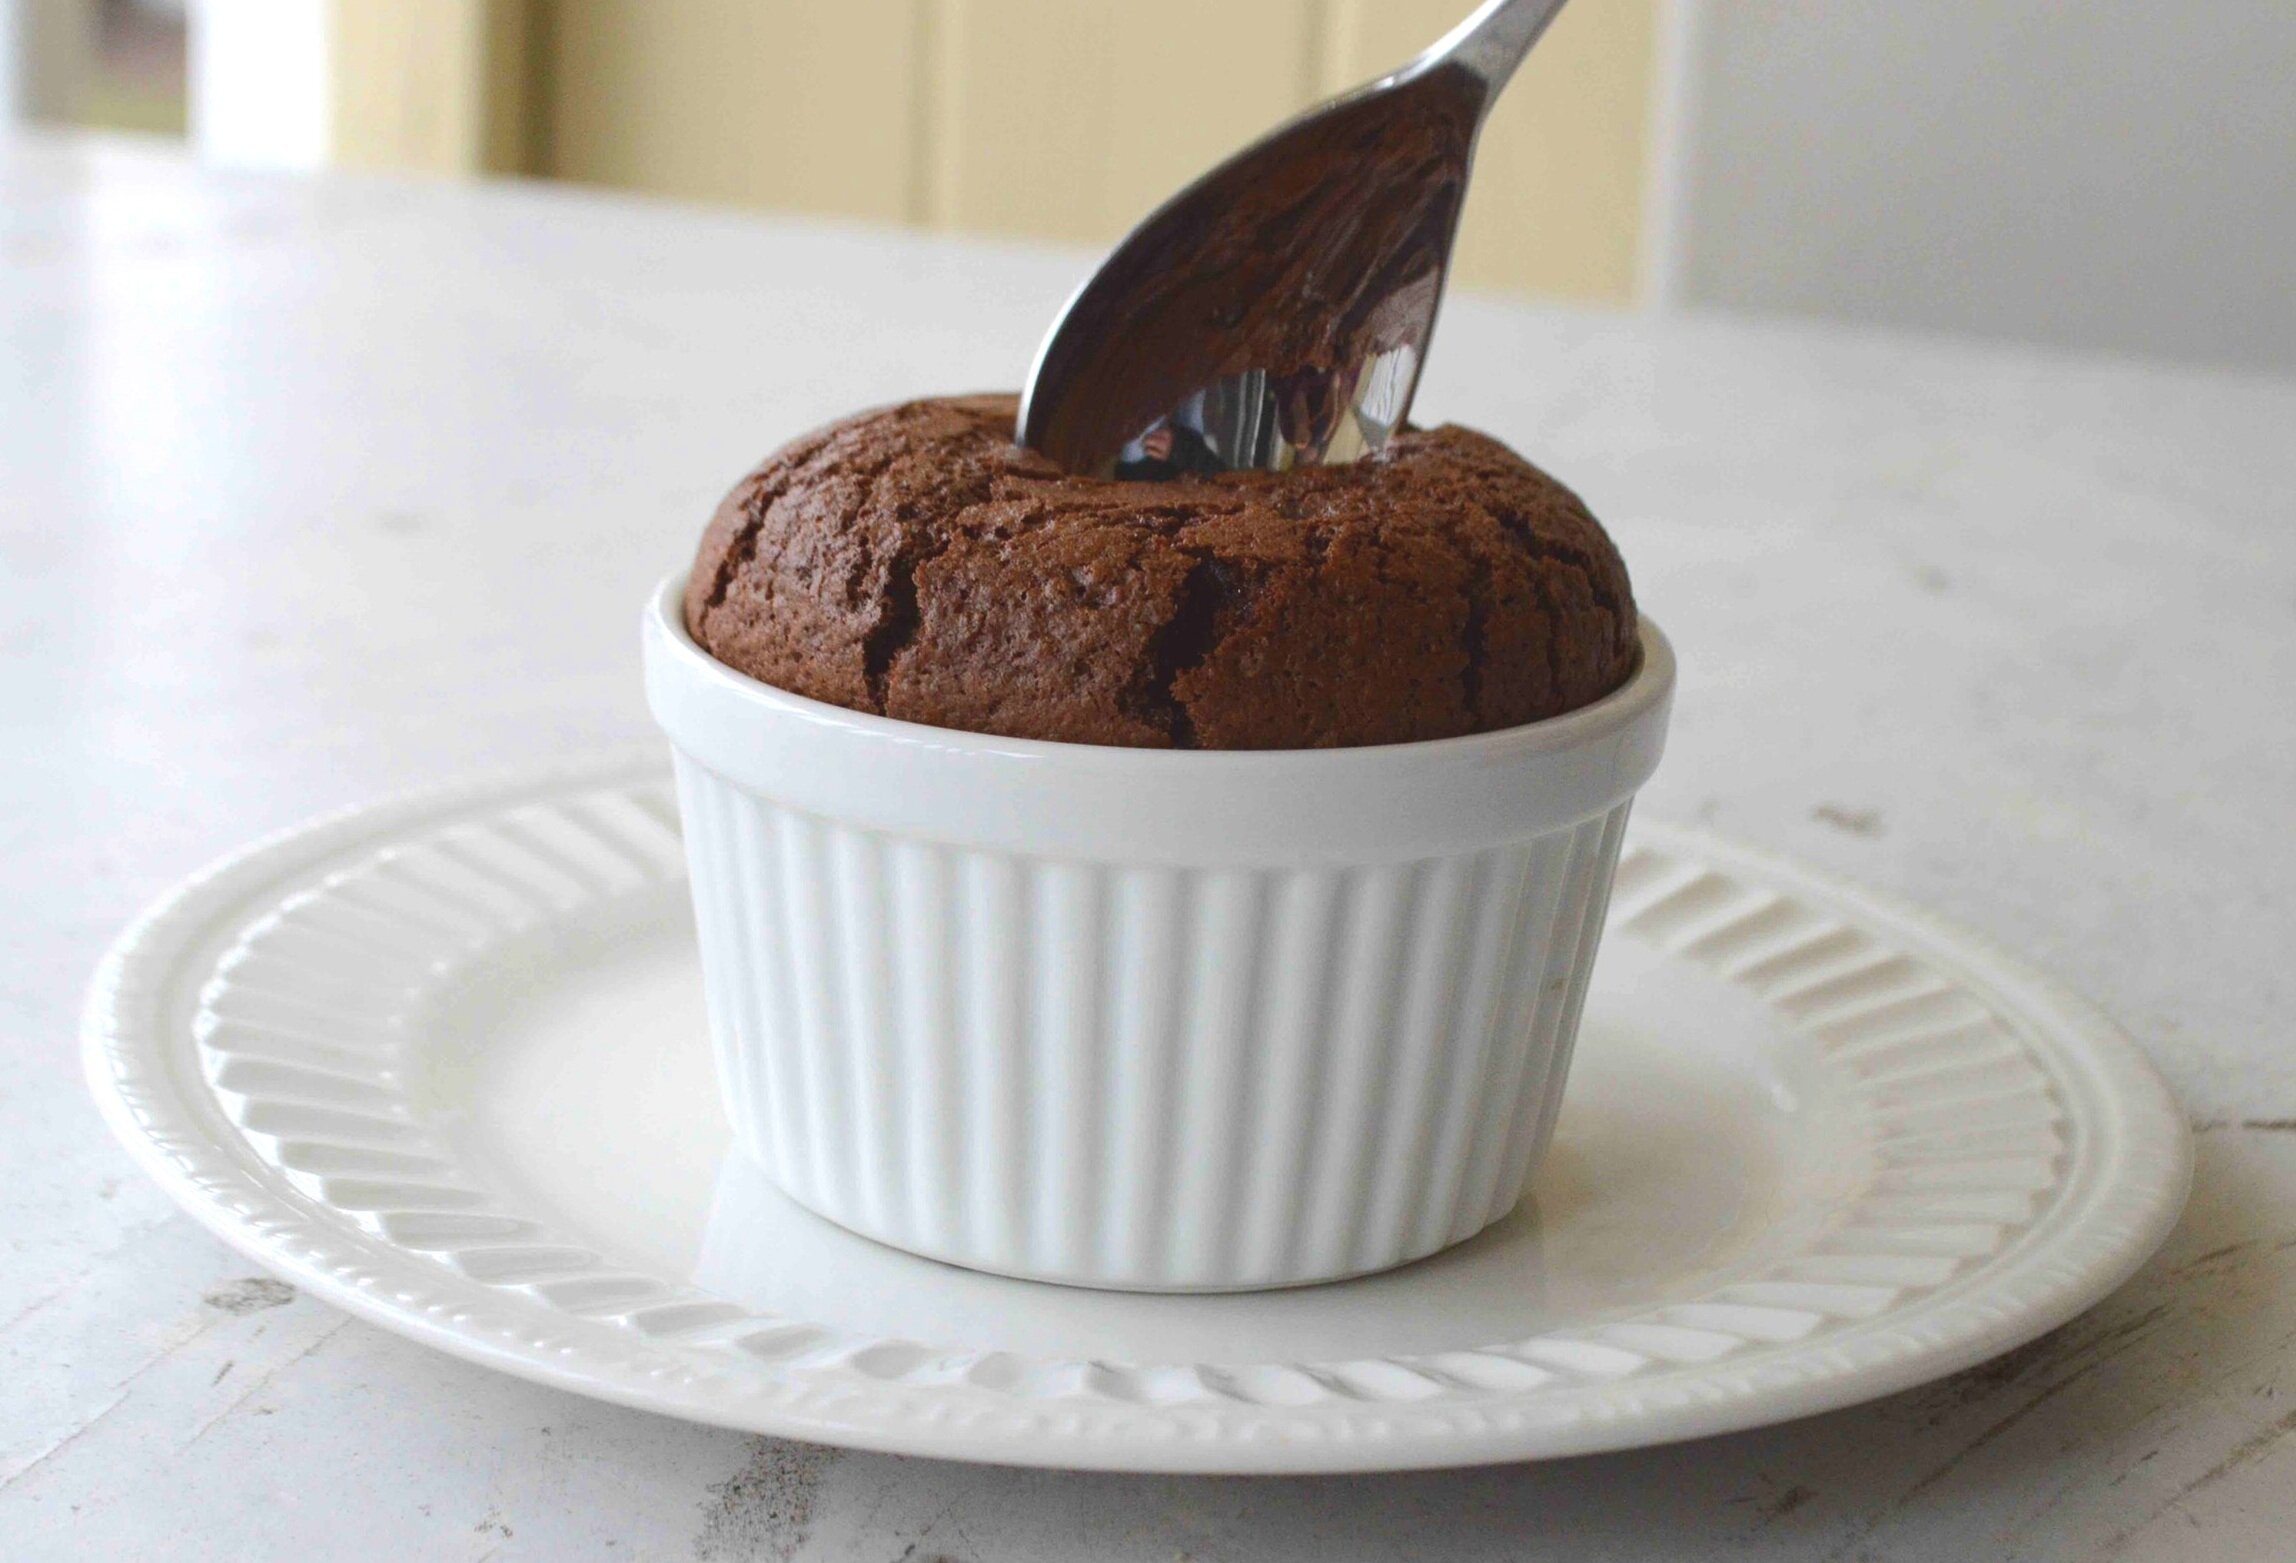
Flourless Chocolate Roll

Let’s just get one thing straight: it is going to crack. . You can hold your breath or have a tantrum or call upon the universe, but I’m telling you that no matter what you do, you need to accept the simple fact that it is going to crack…but you are not.
Instead you are going to stand proud knowing inside yourself that you have achieved not just simply flourless cake perfection, but chocolate cake perfection as well, because this is simply one of the best chocolate cakes I have ever tasted both in flavor and texture. And that is no small feat.
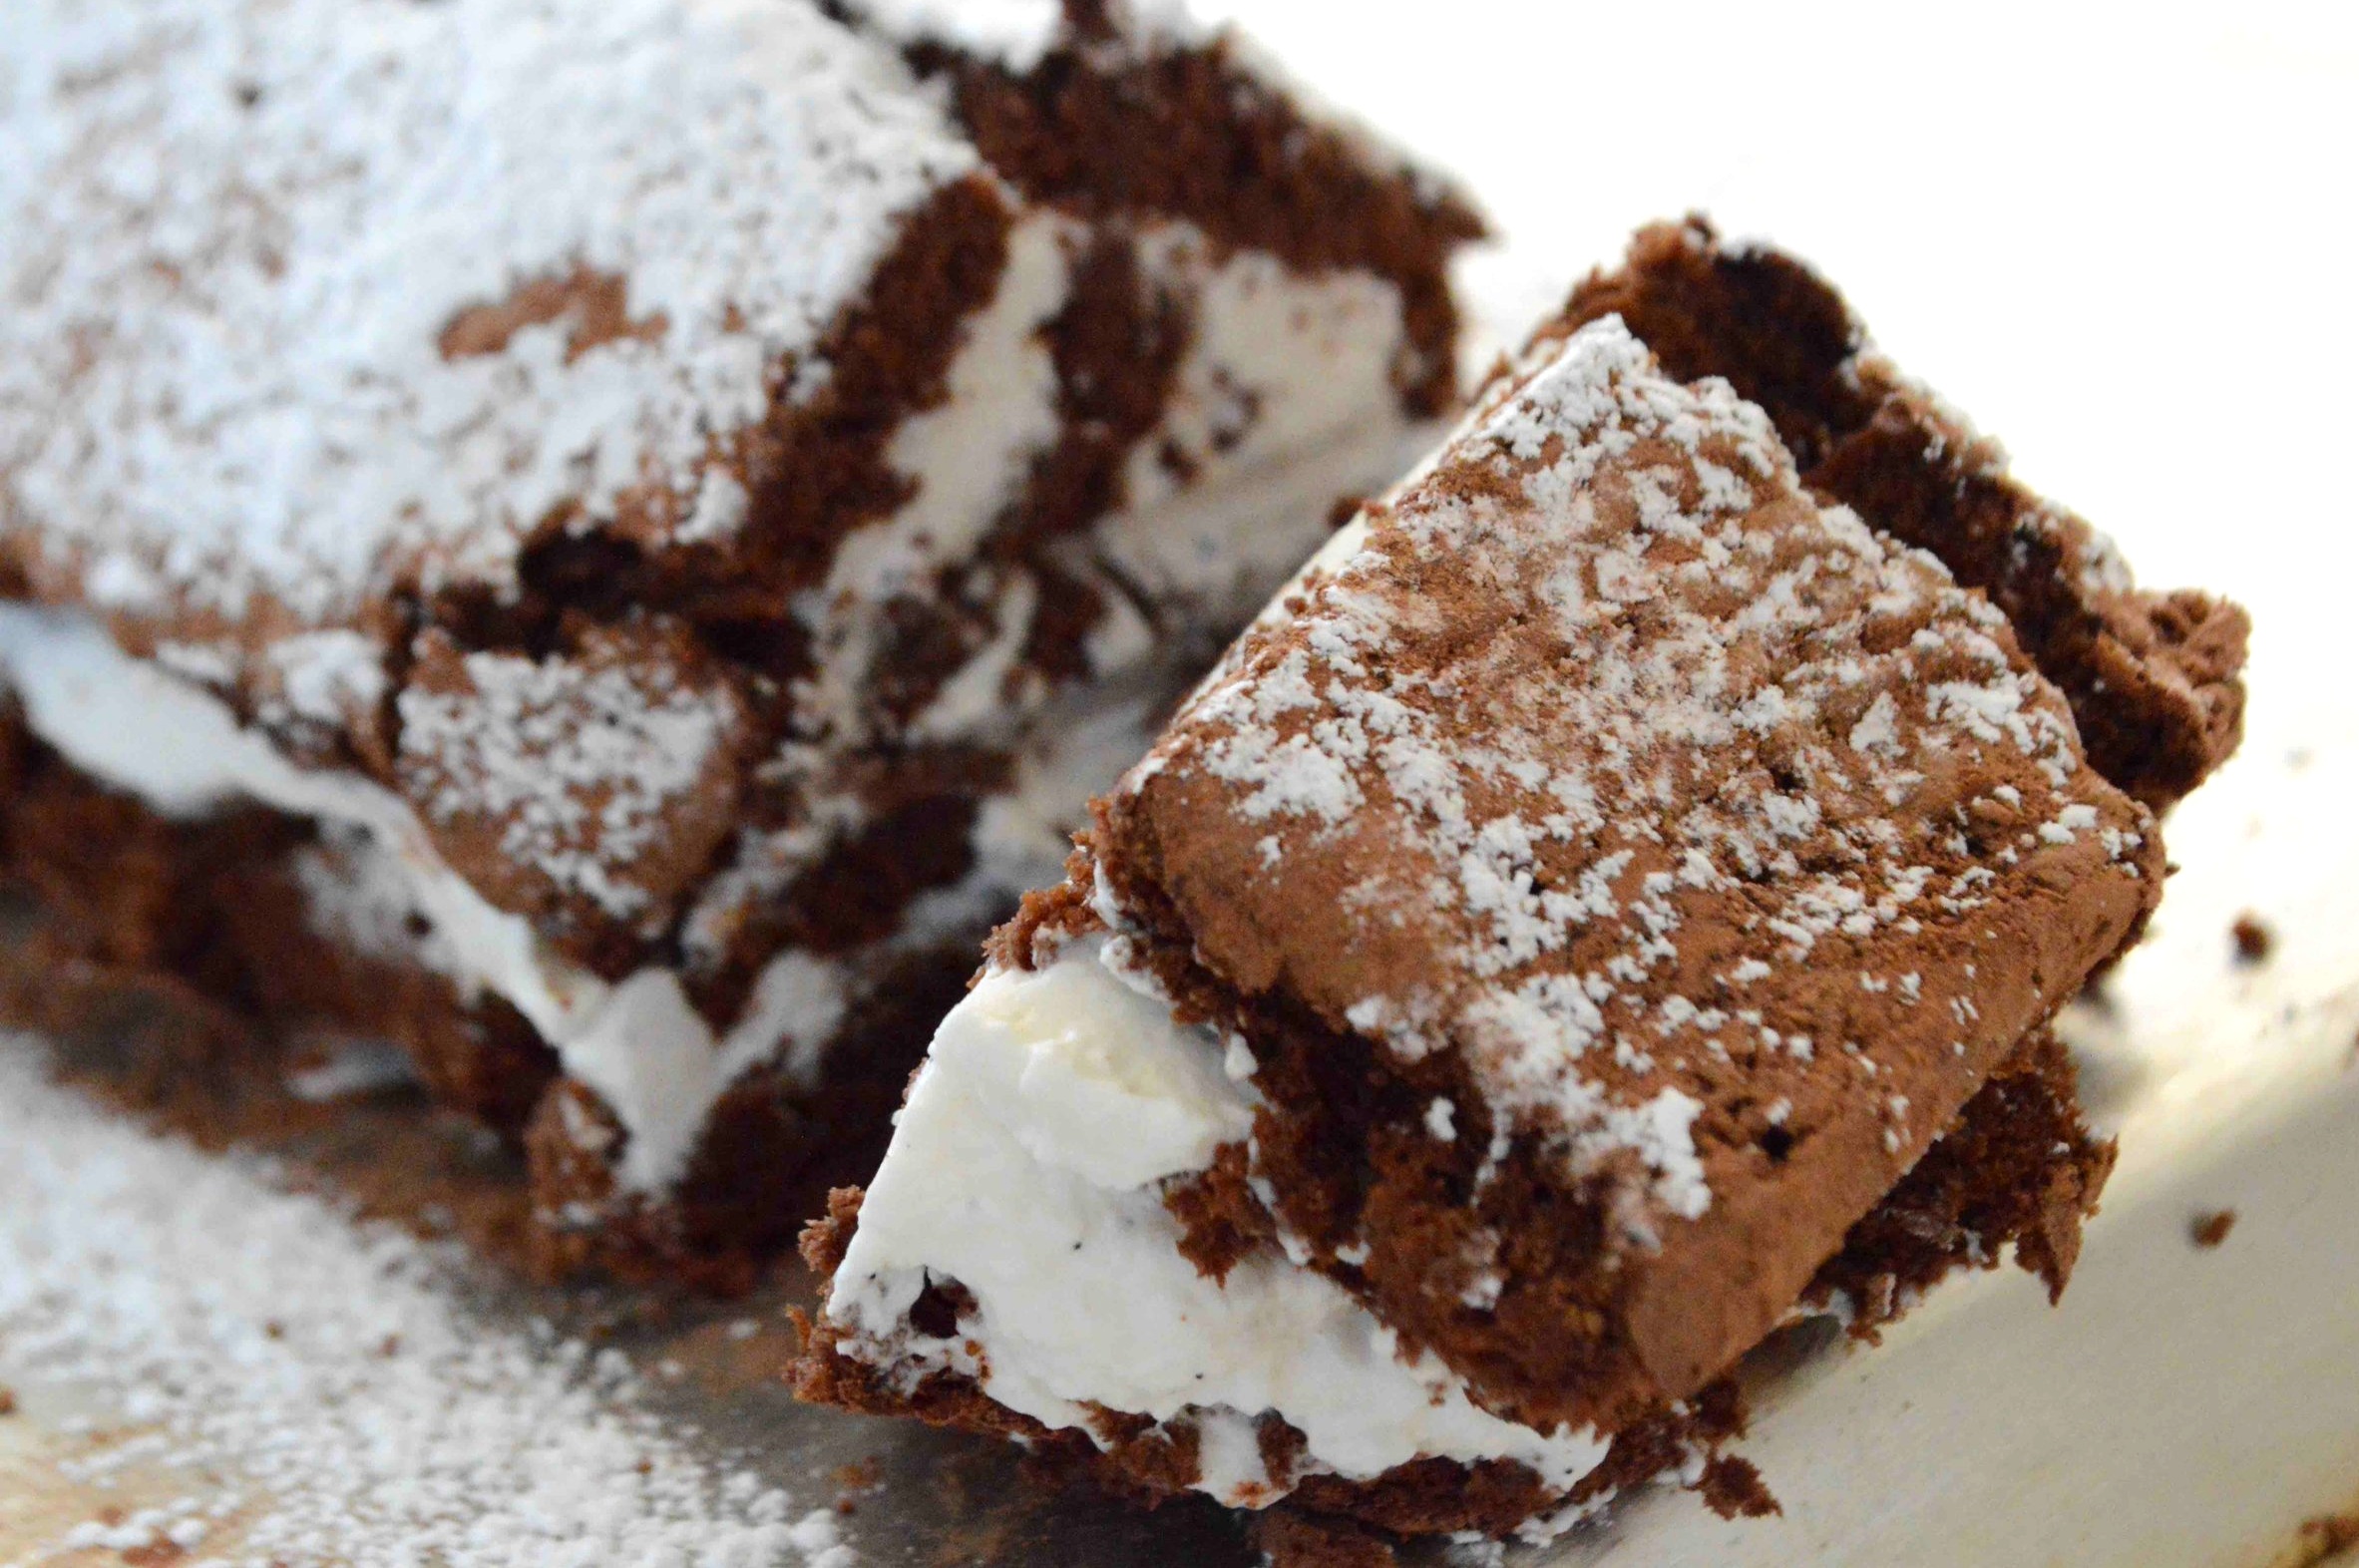
And there’s whipped cream and powdered sugar making it look like a rustic, tree-bark winter wonderland concoction, so who really cares anyway.

Guys, this is your Passover dessert. This is also your dessert if you don’t celebrate Passover but just want a knockout of a cake.
I wish, wish, wish I had not let the rolling part intimidate me for so many years because we’ve been missing out for far too long on this deliciousness.
Now let’s get down to the nitty gritty, step by step details.
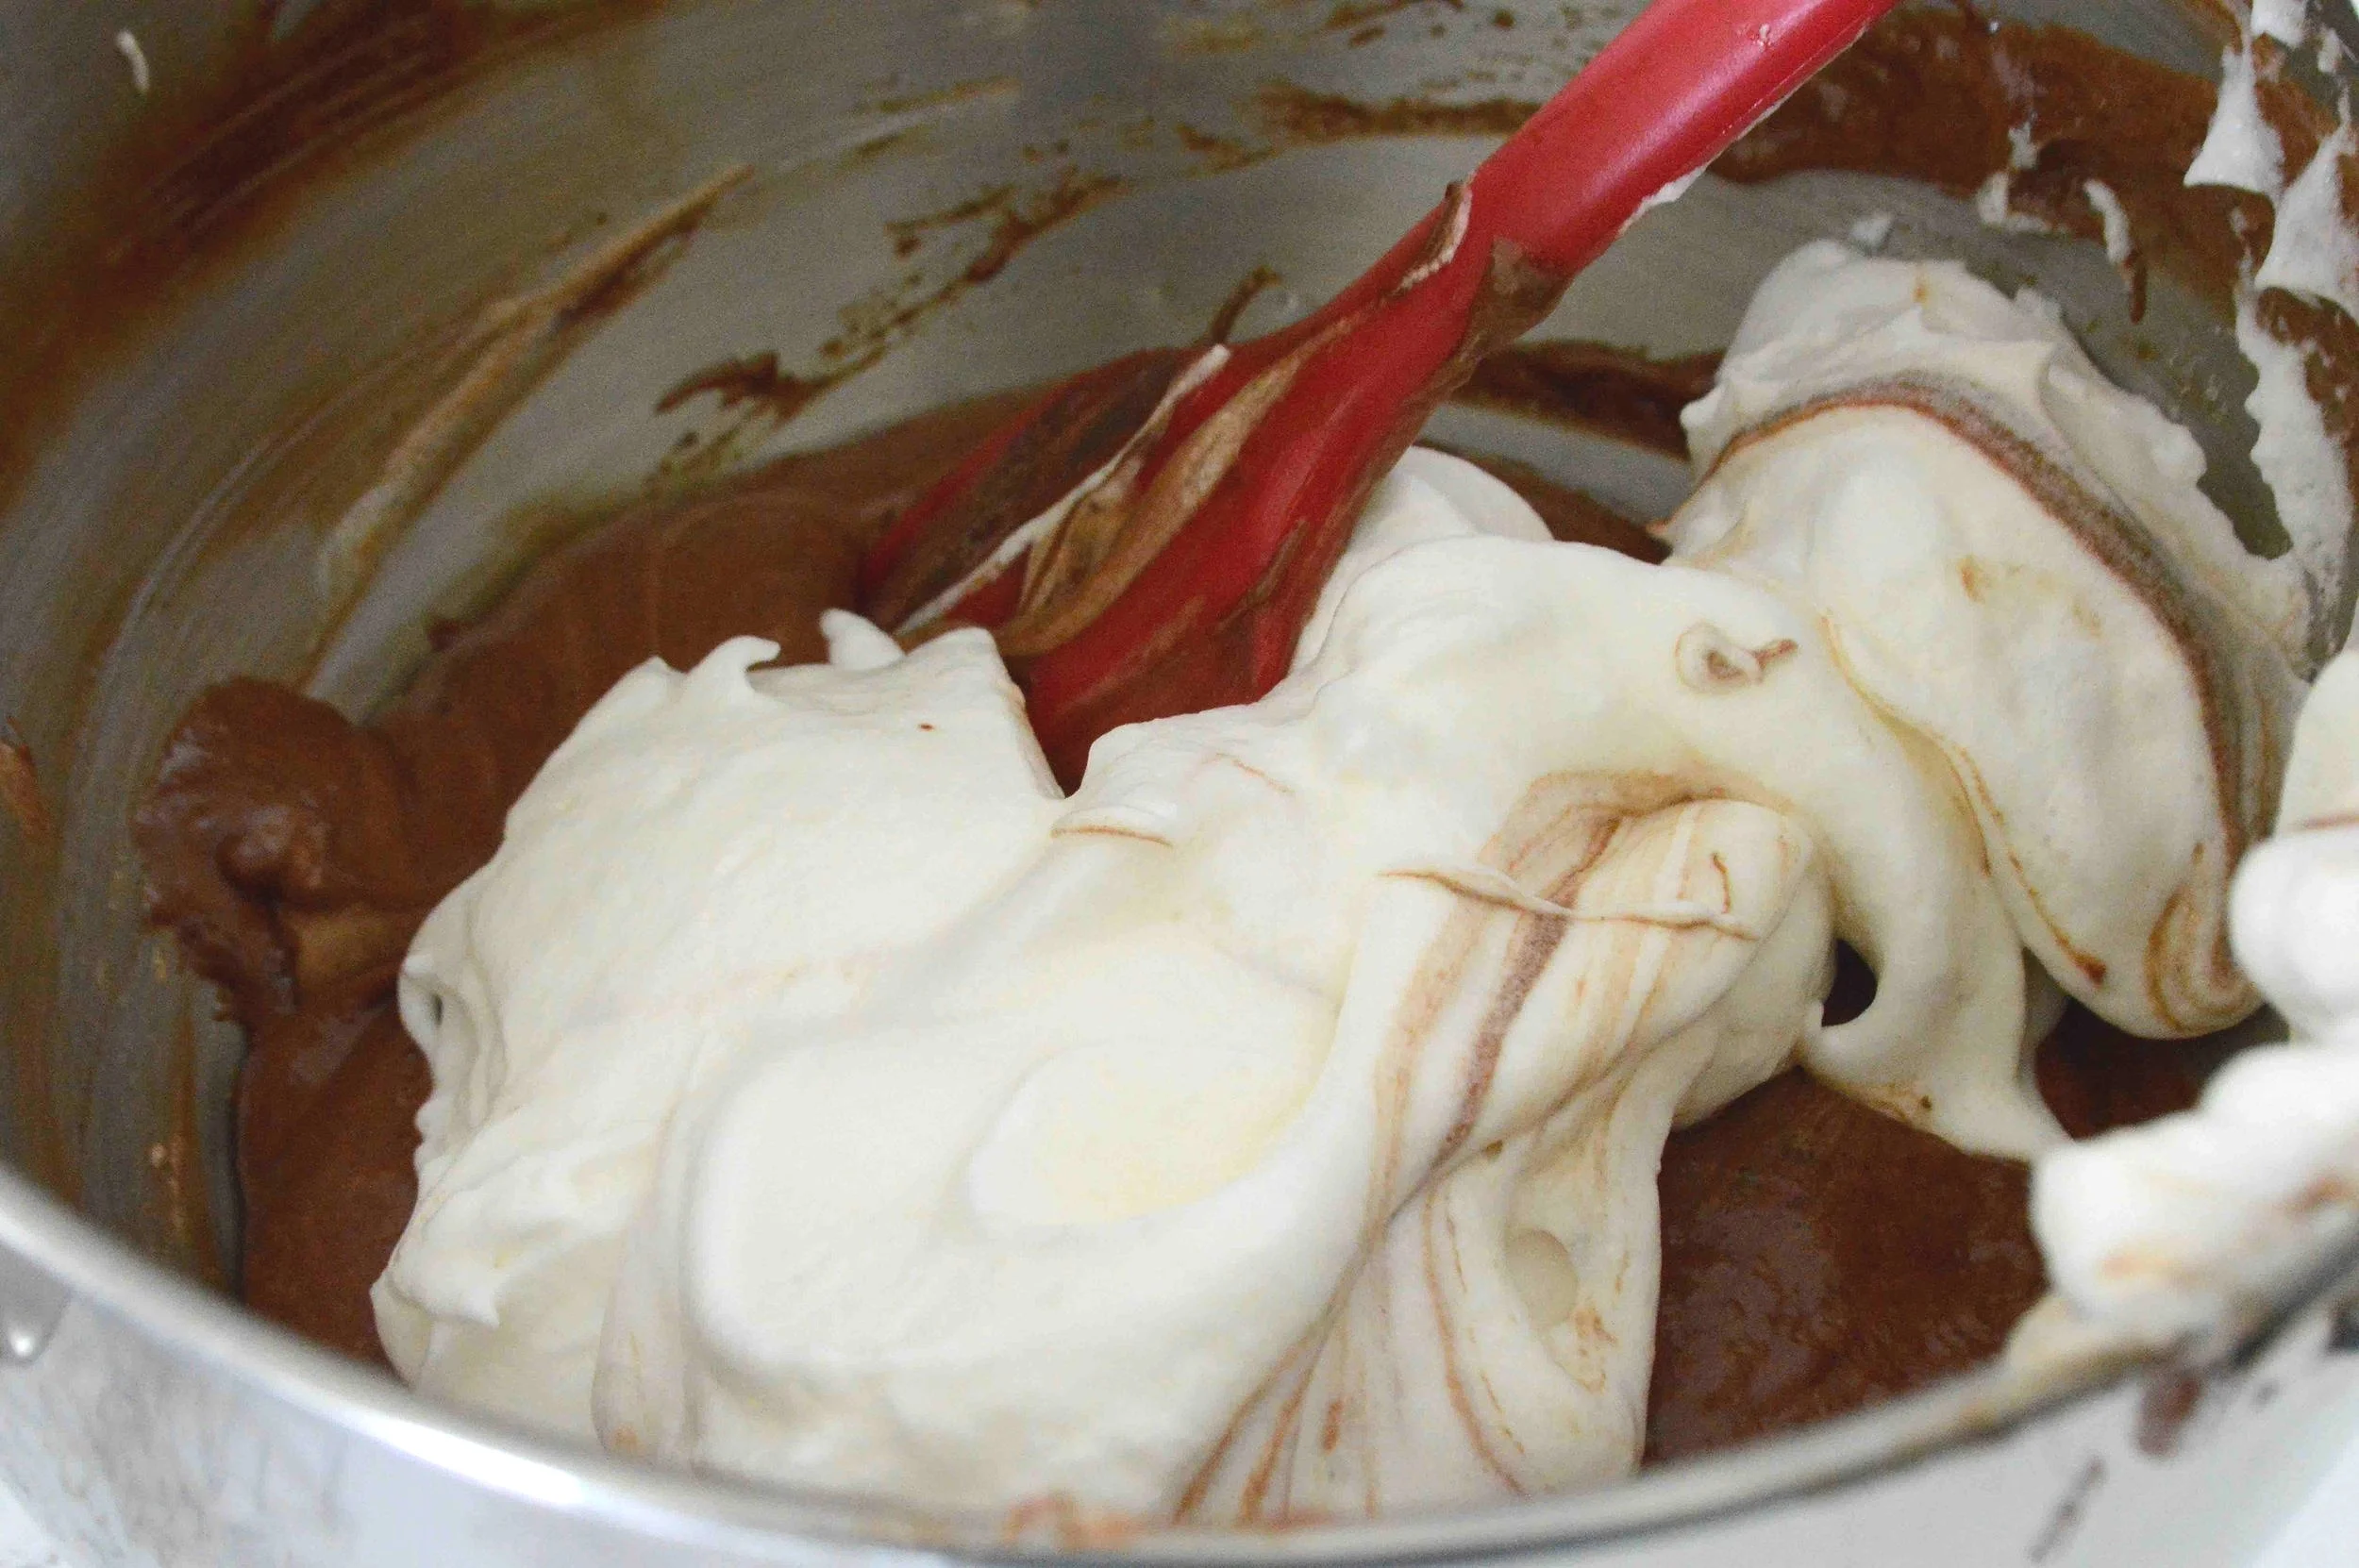
As with most cakes that are flourless, you’re going to have to replace that leavening with another kind of leavening: beaten eggs. For this recipe it’s a two step process. You’re going to beat the yolks with sugar and salt till they’re light and creamy and you’re going to beat the whites and add them to the batter at the end to lighten everything up.
Once you’ve done all that, you’re going to scrape the chocolate-y batter into a jelly roll pan and bake for about 15-18 minutes.

As soon as it comes out of the oven, you’re going to cover it with a double layer of damp (not wet) paper towels—this will help keep moisture in the cake and make the eventual rolling part more successful.

It’ll also create an interesting geometric pattern.

Meanwhile, you can make the vanilla whipped cream (and swipe a taste or two—c’mon, we all know we’re going to do it anyway.)
Once the cake has entirely cooled, it gets a generous dusting of cocoa powder.

And then you slather on the whipped cream.

Now remember the cracking we talked about? It’s about to happen big time. Just breathe and use the wax paper that you top the cake with when you invert it from the pan after it’s cooled, to help you roll up the cake. And I give you permission to let loose a few naughty words too—actually, it’s part of the recipe.

But who cares about cracks because you are about to top the whole things with lots of powdered sugar and make it look gorgeous.

And besides, after one bite, no one is going to care! The cake is light, but at the same time intensely chocolate-y and the soft sweetness of the vanilla-enhanced whipped cream perfectly balances it out!

Who cares about a little cracking? We’re in heaven! Time to stop worrying and enjoy every creamy, chocolate spiral!

Not feeling the roll thing but still looking for something flourless to make? How about Chocolate Dipped Coconut Macaroons, Coconut Lime Macaroons, Black and White Coconut Macaroons, Chewy Double Chocolate Coconut Macaroons, No-Bake Chocolate Coconut Bites, Chocolate Swirled Meringues, Chocolate Almond Macaroons, Pistachio Lemon Macaroons, Passover Apple Cake, Fudgy Flourless Cupcakes with Vanilla Bean Créme Fraiche Frosting, Gale’s Coconut Chocolate Tartlets, Meringues with Walnuts and Chocolates, Can’t Believe These Are Gluten-Free Brownie Cookies, Queen Mother’s Cake, Chocolate Pavé, Chocolate Almond Matzo Brittle, Coconut Creme Caramel, Dark Chocolate Souffle Cake, Dark Chocolate Créme Brulée, Coffee-Caramel Custards and Coconut Macaroon and Lime Cheesecake?
Flourless Chocolate Roll
Makes 12 servings
Prep Time for cake: 15 minutes; Bake Time: 15-18 minutes; Prep Time for Filling: 5 minutes; Assembly Time: 10 minutes
Ingredients
For the cake
6 ounces good quality bittersweet chocolate, chopped (I used Lindt 70%)
3 tablespoons water
6 large eggs, separated, room temperature (separate when cold, then leave out to warm up)
2/3 cup sugar, divided
1/4 teaspoon salt
1 tablespoon Dutch-process unsweetened cocoa powder
For the filling
1 cup heavy cream
3 tablespoons confectioners’ sugar, sifted
2 teaspoons vanilla bean paste or vanilla bean extract
Additional cocoa powder and confectioners’s sugar for topping the rolled cake (optional)
The Recipe
1. To make the cake: Preheat oven to 350ºf. Spray a 15x10x1 jelly roll pan with nonstick cooking spray and line the pan with a sheet of parchment paper that hangs over the edge of the pan by a couple of inches. Set aside.
2. Melt the chopped chocolate with the water in a small, heavy saucepan over very low heat, stirring often. Set aside to cool briefly.
3. Use an electric mixer to beat the egg yolks with 1/3 cup sugar and the salt for about 5 minutes until the mixture is thick and pale yellow. If you’re using a hand mixer, you will likely need to go to about 8 minutes. Remove the bowl from the mixer and use a rubber spatula to fold in the cooled chocolate, just until blended.
4. In a separate bowl, with clean beaters, beat the egg whites just until they hold soft peaks. Then gradually add the remaining 1/3 cup sugar and beat until the whites just hold stiff peaks. Fold 1/3 of the whites into the chocolate mixture to lighten it a bit and then fold in the rest of the whites gently but thoroughly. Pour the batter into the prepared pan, smooth the top so that it is spread out evenly and bake for 15-18 minutes, until the top is puffed and dry to the touch.
5. Transfer the pan to a wire rack and immediately cover the top of the cake with 2 layers of damp (not dripping wet, wring out the water) paper towels and let them sit for 5 minutes. Remove the towels and let the cake cool completely.
6. Sift the tablespoon of cocoa powder evenly across the top of the cake and overlap 2 layers of wax paper or parchment paper lengthwise over the cake. Place a large rimmed baking sheet over the paper and invert the cake onto it. Peel off the paper.
7. To make the filling: Beat the heavy cream with the vanilla until it just holds stiff peaks and spread it all across the top of the cake. Place a long platter near the cake to transfer after you roll it. Using the wax paper as an aid, roll up the cake as tightly as possible, starting with a long side. Carefully transfer the cake to the platter, seam-side down and remove the wax paper—don’t worry if it cracks a bit—it’s supposed to have that broken, tree-bark look. Dust the cake with more cocoa powder and confectioners’ sugar if you like.
8. You can definitely make this a day before and cover it loosely and store in the fridge.
Enjoy!
Note: Recipe adapted from Gourmet Magazine, 2001. I omitted the Grand Marnier and orange zest in the filling and swapped in vanilla bean paste instead.