No-Bake 'Nilla Wafer Strawberry Icebox Cake


Have you ever eaten the famed Nabisco Chocolate Wafer Cake? The one where whipped cream is sandwiched between stacks of crispy cookies that get softened by an overnight stint in the fridge and magically turn into cake layers? Well, here is its strawberry vanilla cousin! Say hello to this No-Bake ‘Nilla Wafer Strawberry Icebox Cake that is destined to become your go-to dessert of the summer!!
I didn’t grow up eating icebox cakes, did you? Apparently they’ve been around a long time—since at least the 1930’s when packaged cookies began to become a thing and featured easy recipes on their boxes. Well, it wasn’t a thing in my house, so I’m just sort of discovering and falling in love with them now. Bite after bite after bite. And this strawberry version features one of my favorite childhood cookies—Nilla Wafers. Who among us does not have fond memories of those little, crispy, innocuous, comforting rounds?!!

They make the most delicious layers in this creamy, dreamy cake with only 5 ingredients that takes just minutes to prepare, sans-oven, which makes it perfect for those days when dessert is required but it’s just too hot to even think about baking. Not that you should limit yourself to summer months—I know it would be a very welcome treat any time of year!

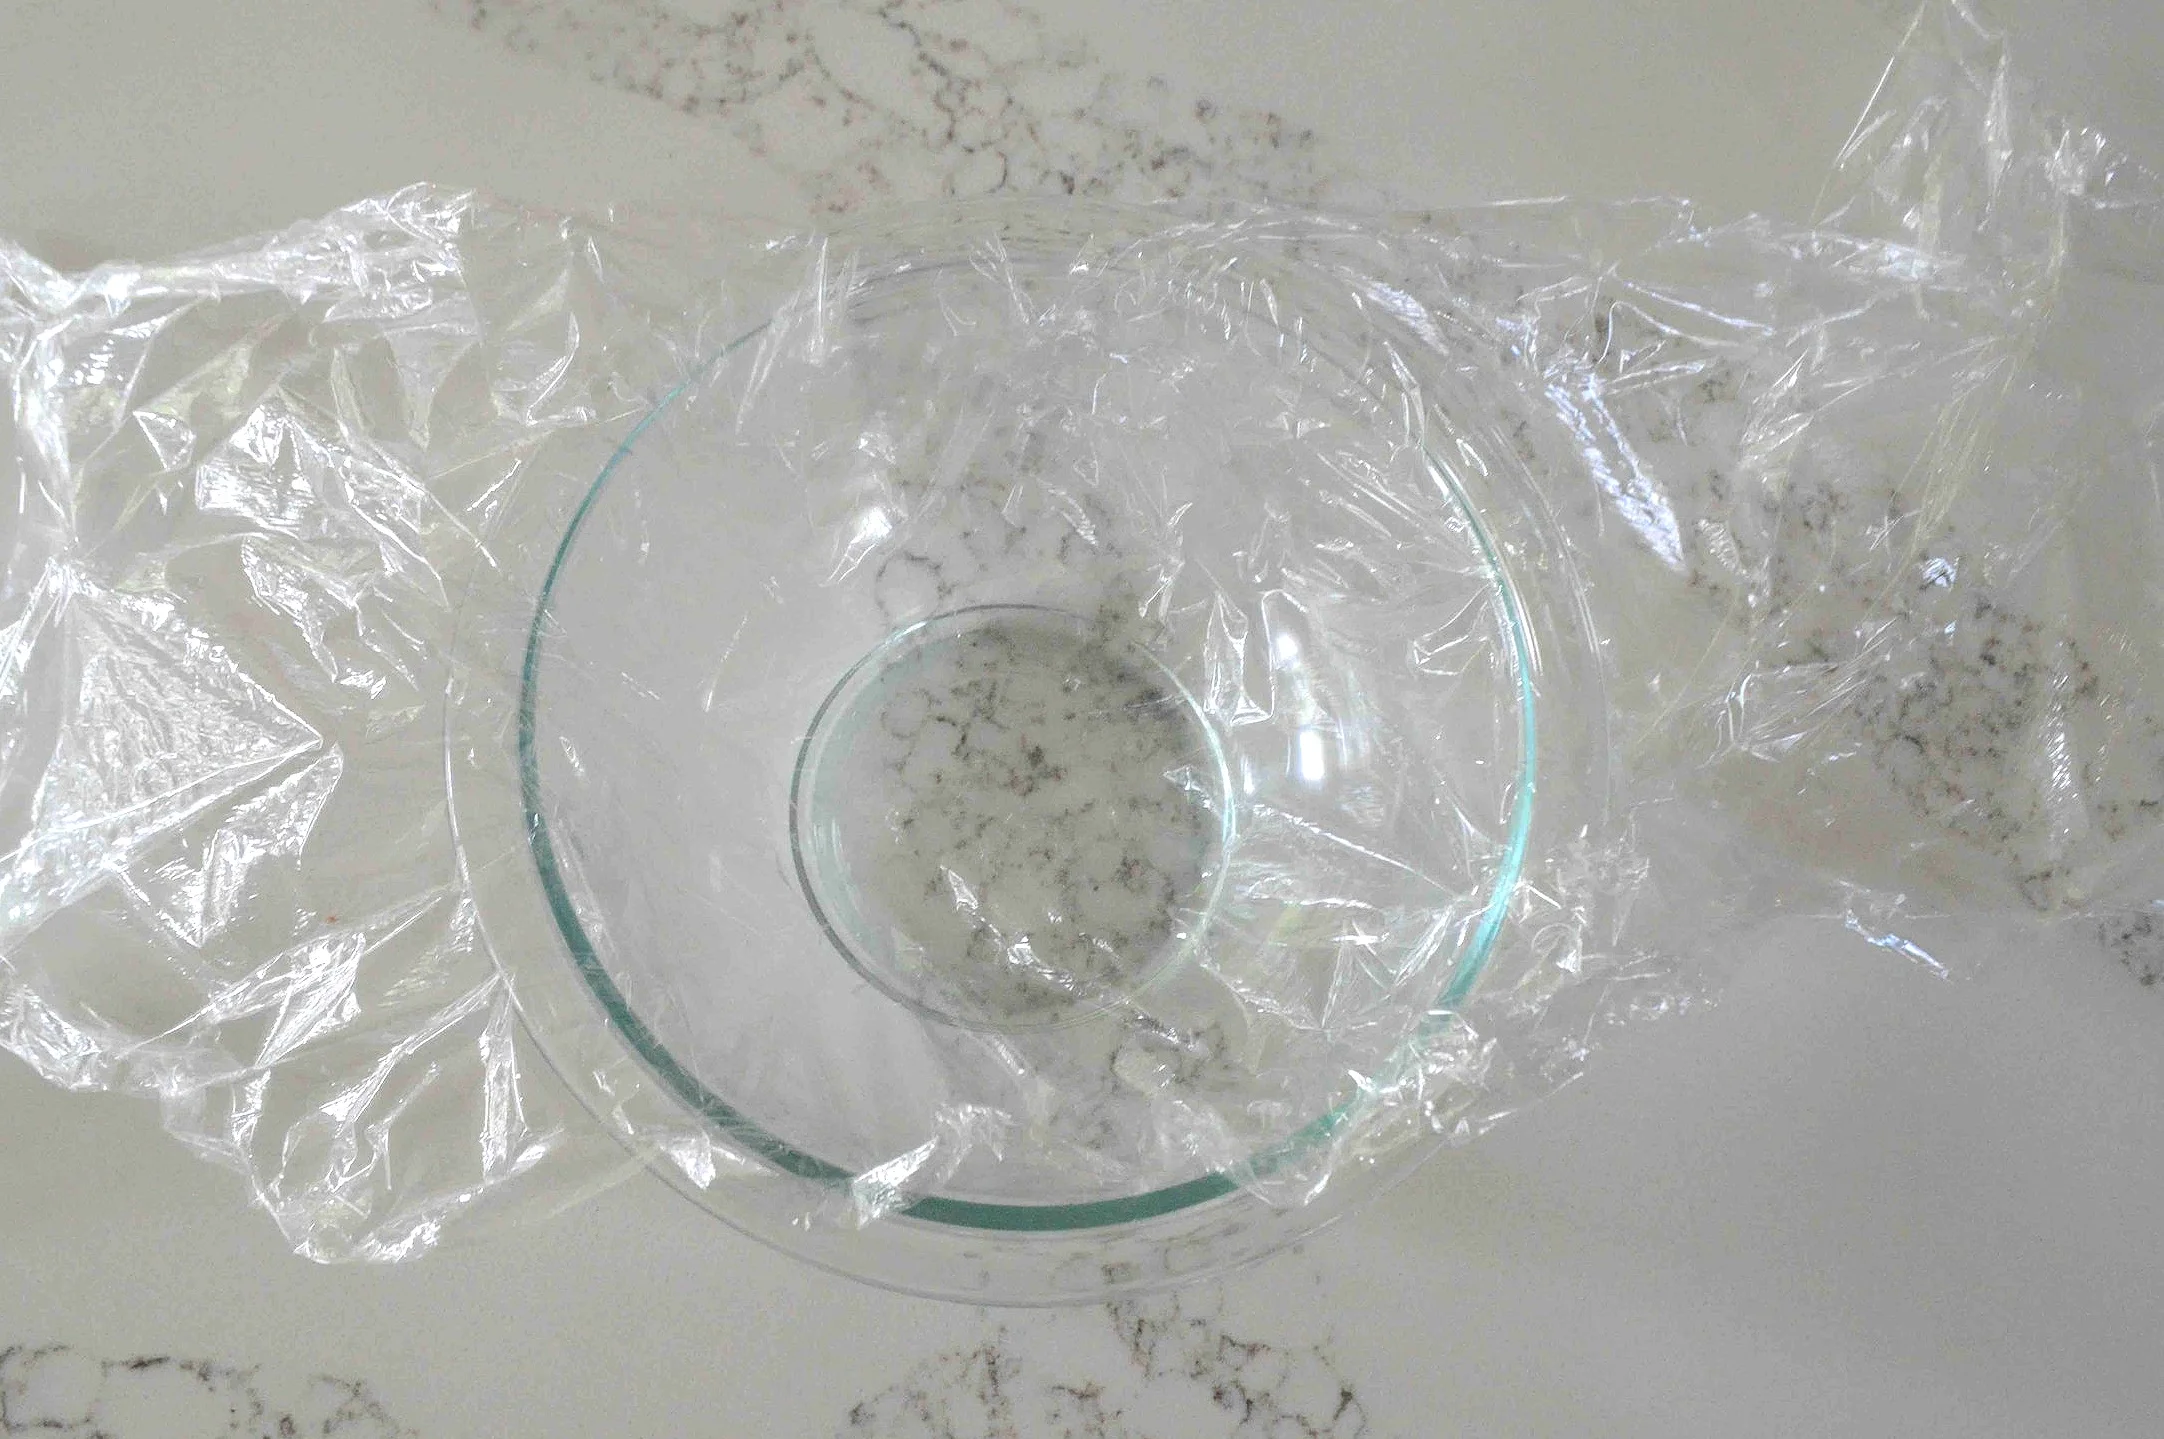
Now, let’s get down to business and go through how it all comes together. First you line a medium bowl—I used a one quart glass pyrex bowl—with plastic wrap, pushing it down into the bottom and letting it hang over the sides.
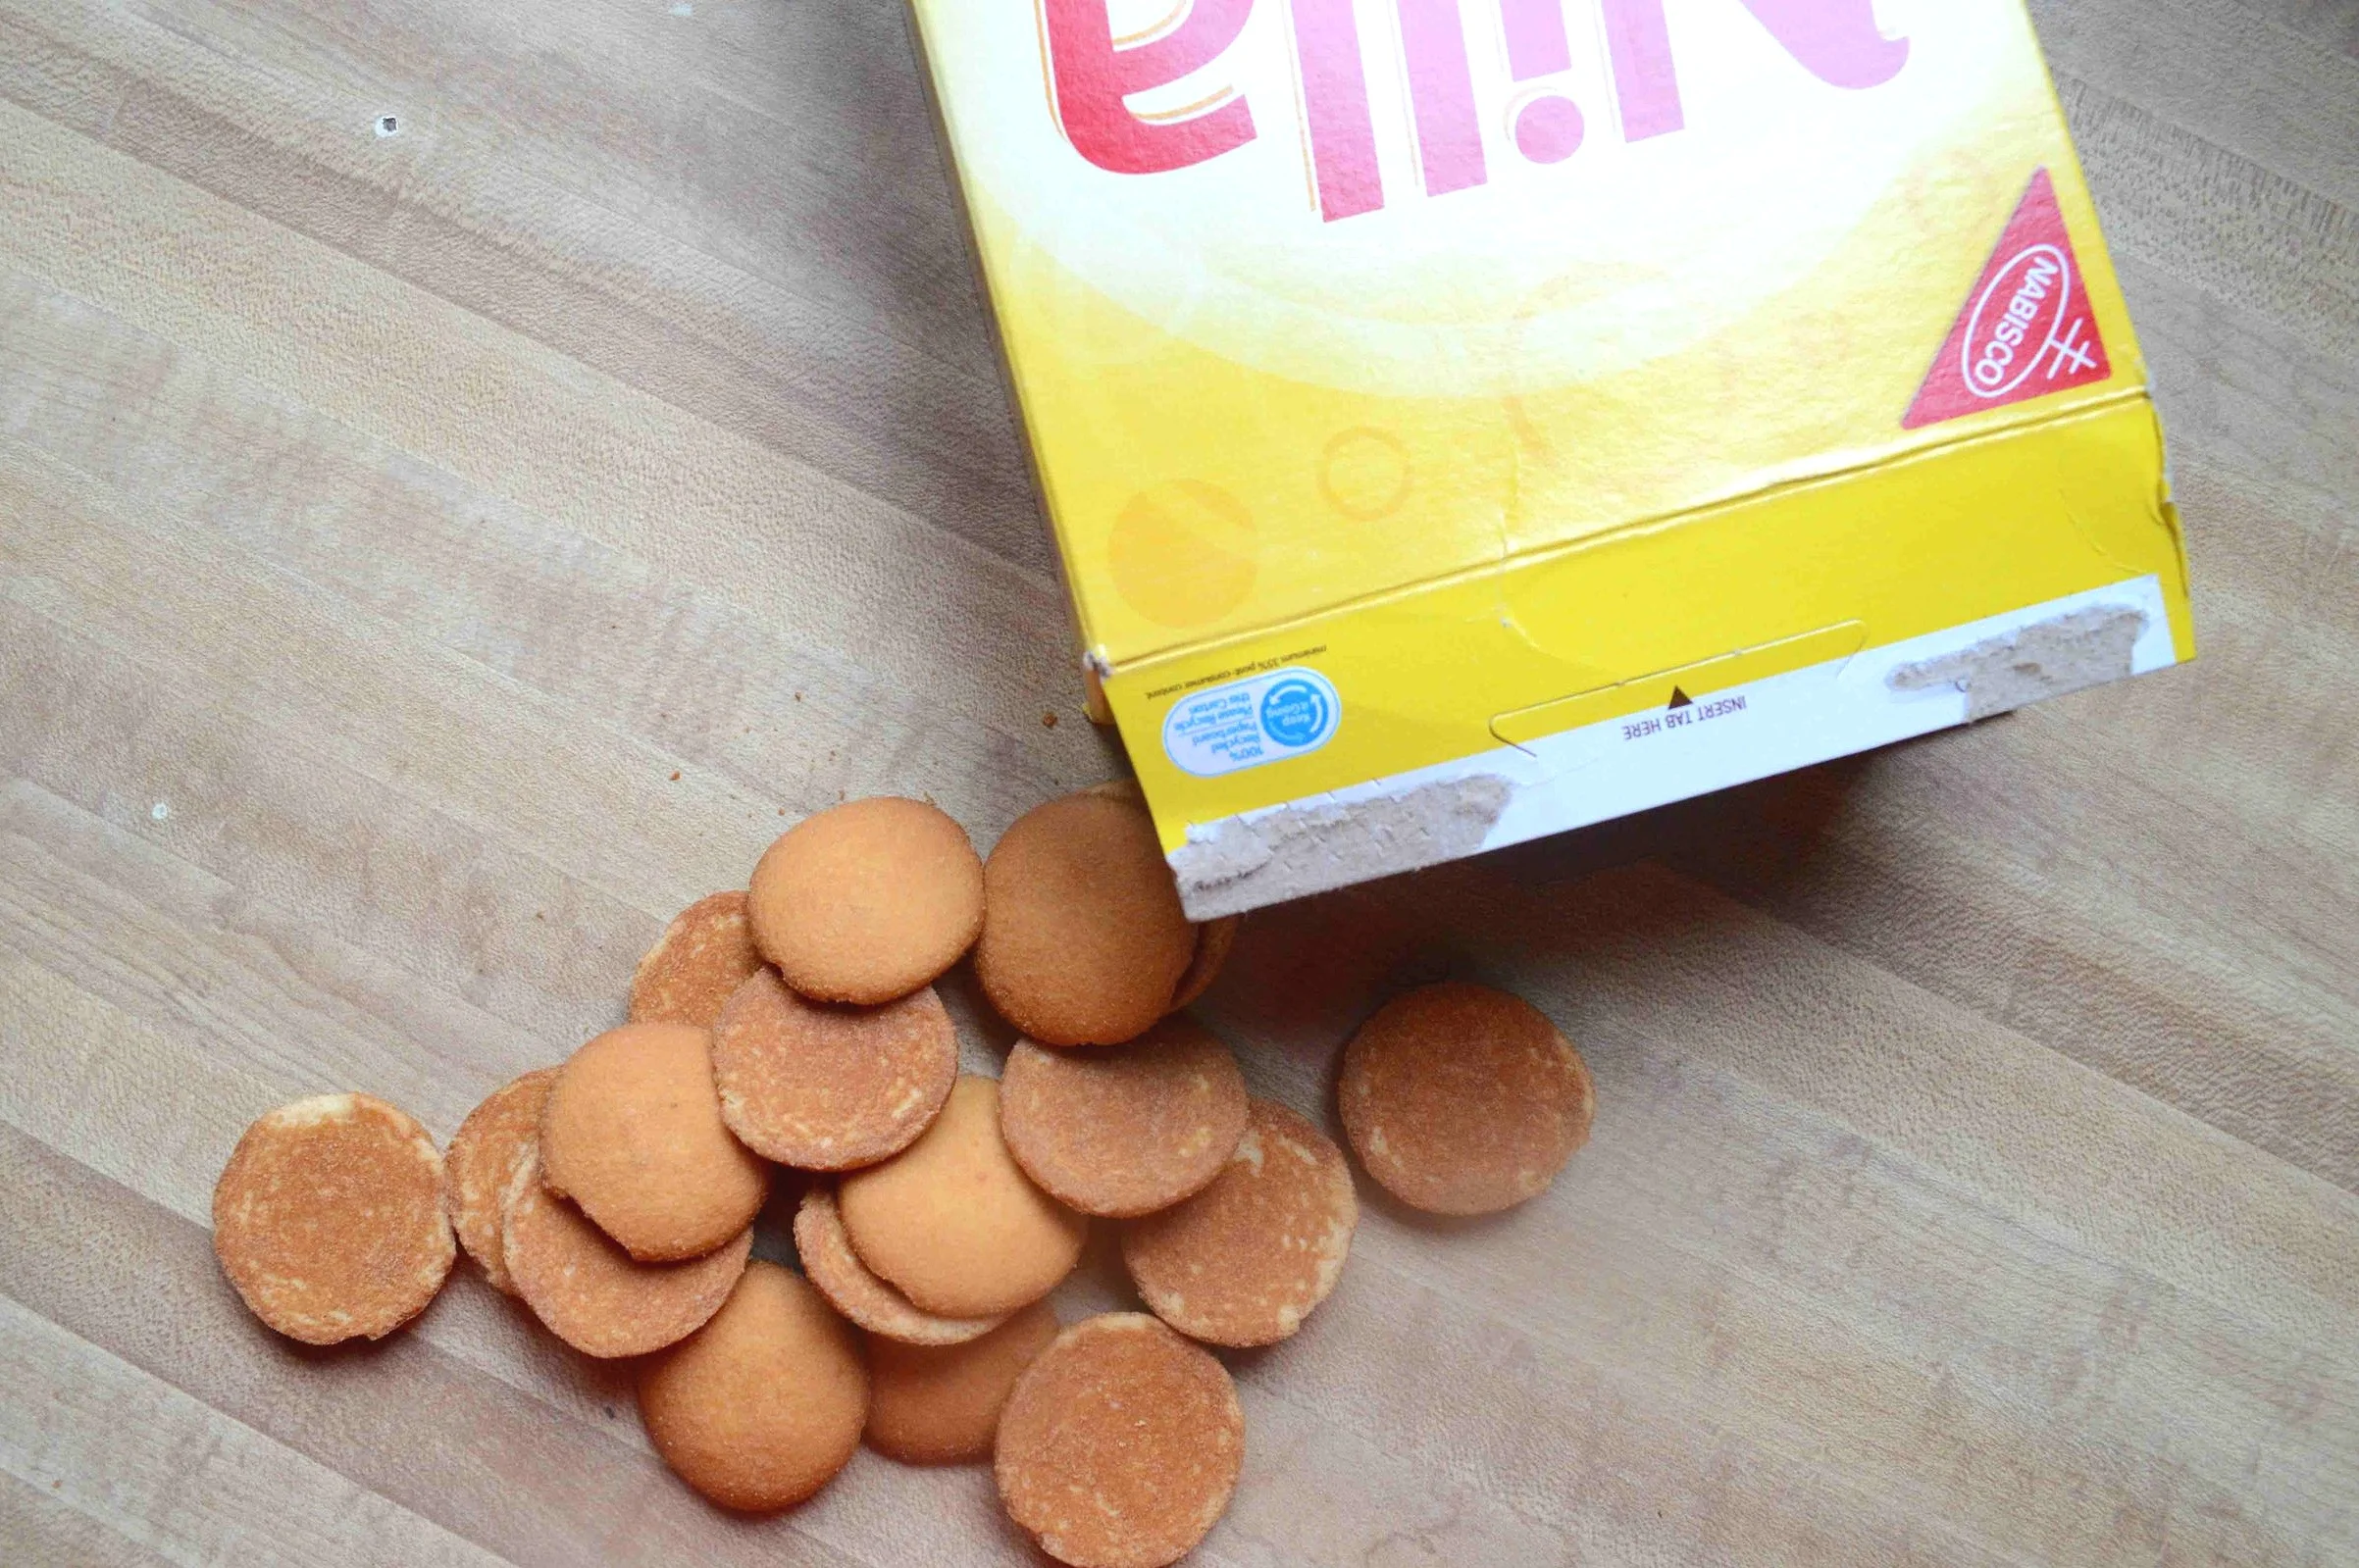
Next, you place a layer of the wafers upside down in the bowl—

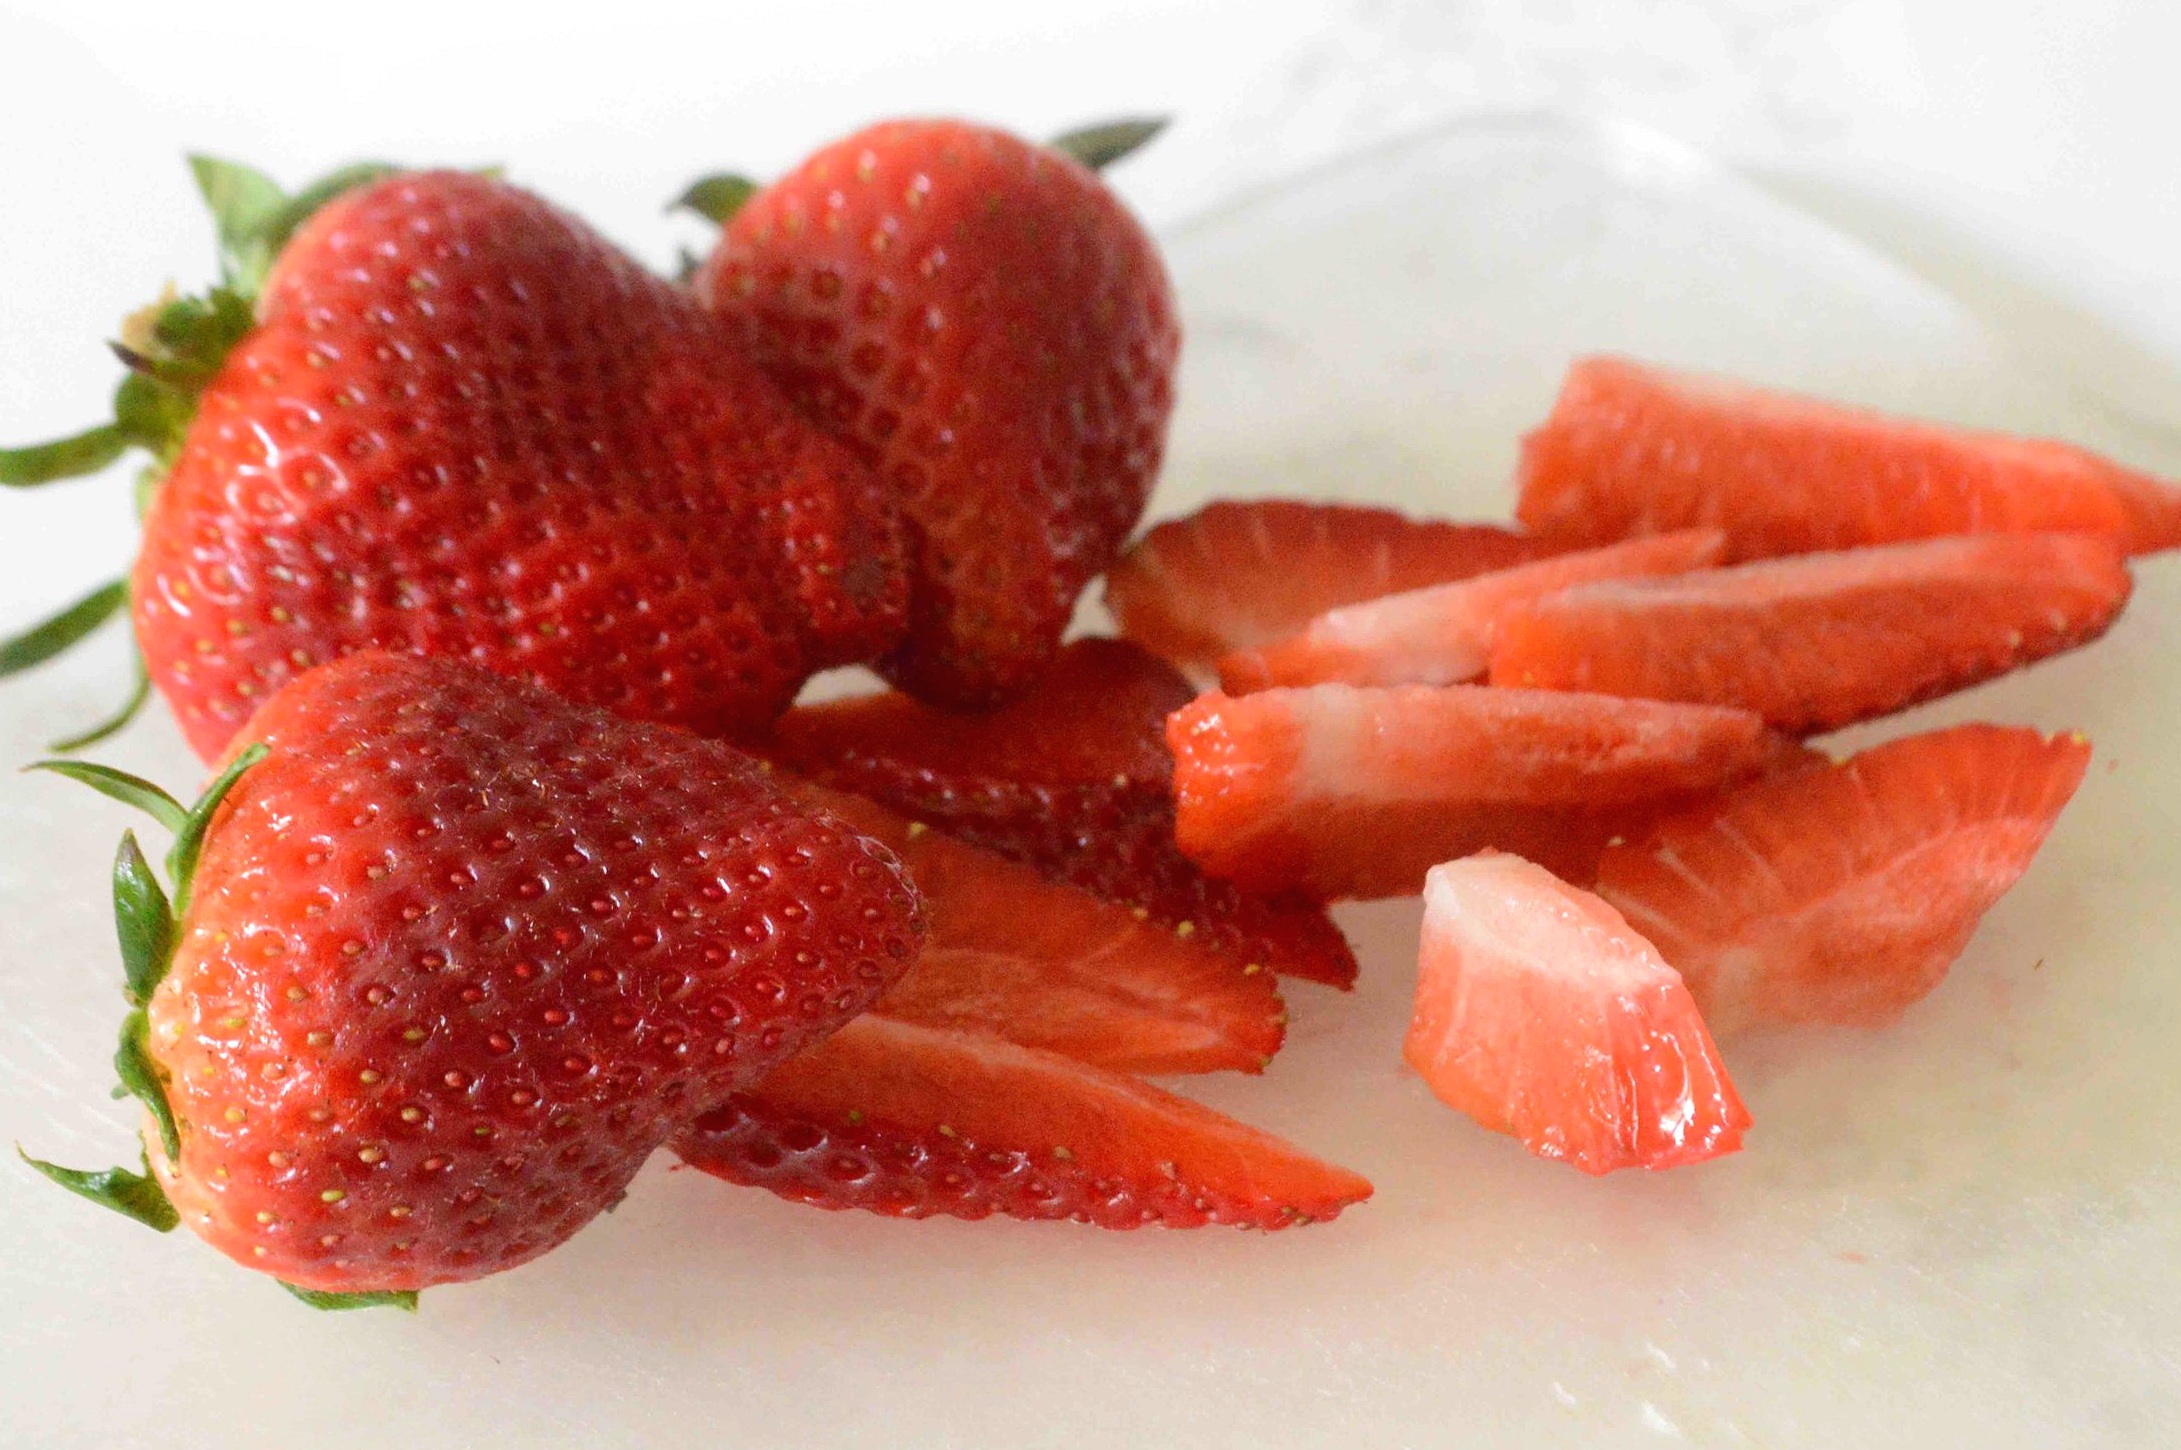
Top with strawberries

And then whipped cream, repeating the entire process until you reach the top of the bowl and have created several layers. Now you simply use the plastic wrap overhang to cover the cake and pop it into the fridge for at least 24 hours. The hardest part is definitely the waiting!

Right before you’re ready to serve it, you simply invert it onto a plate so that you’ve got a sort of rounded bombe thingee with luscious, luscious layers!

Now you cover it with more whipped cream (it’s not exactly low-cal) and decorate with strawberries. Adorable, isn’t it?!!

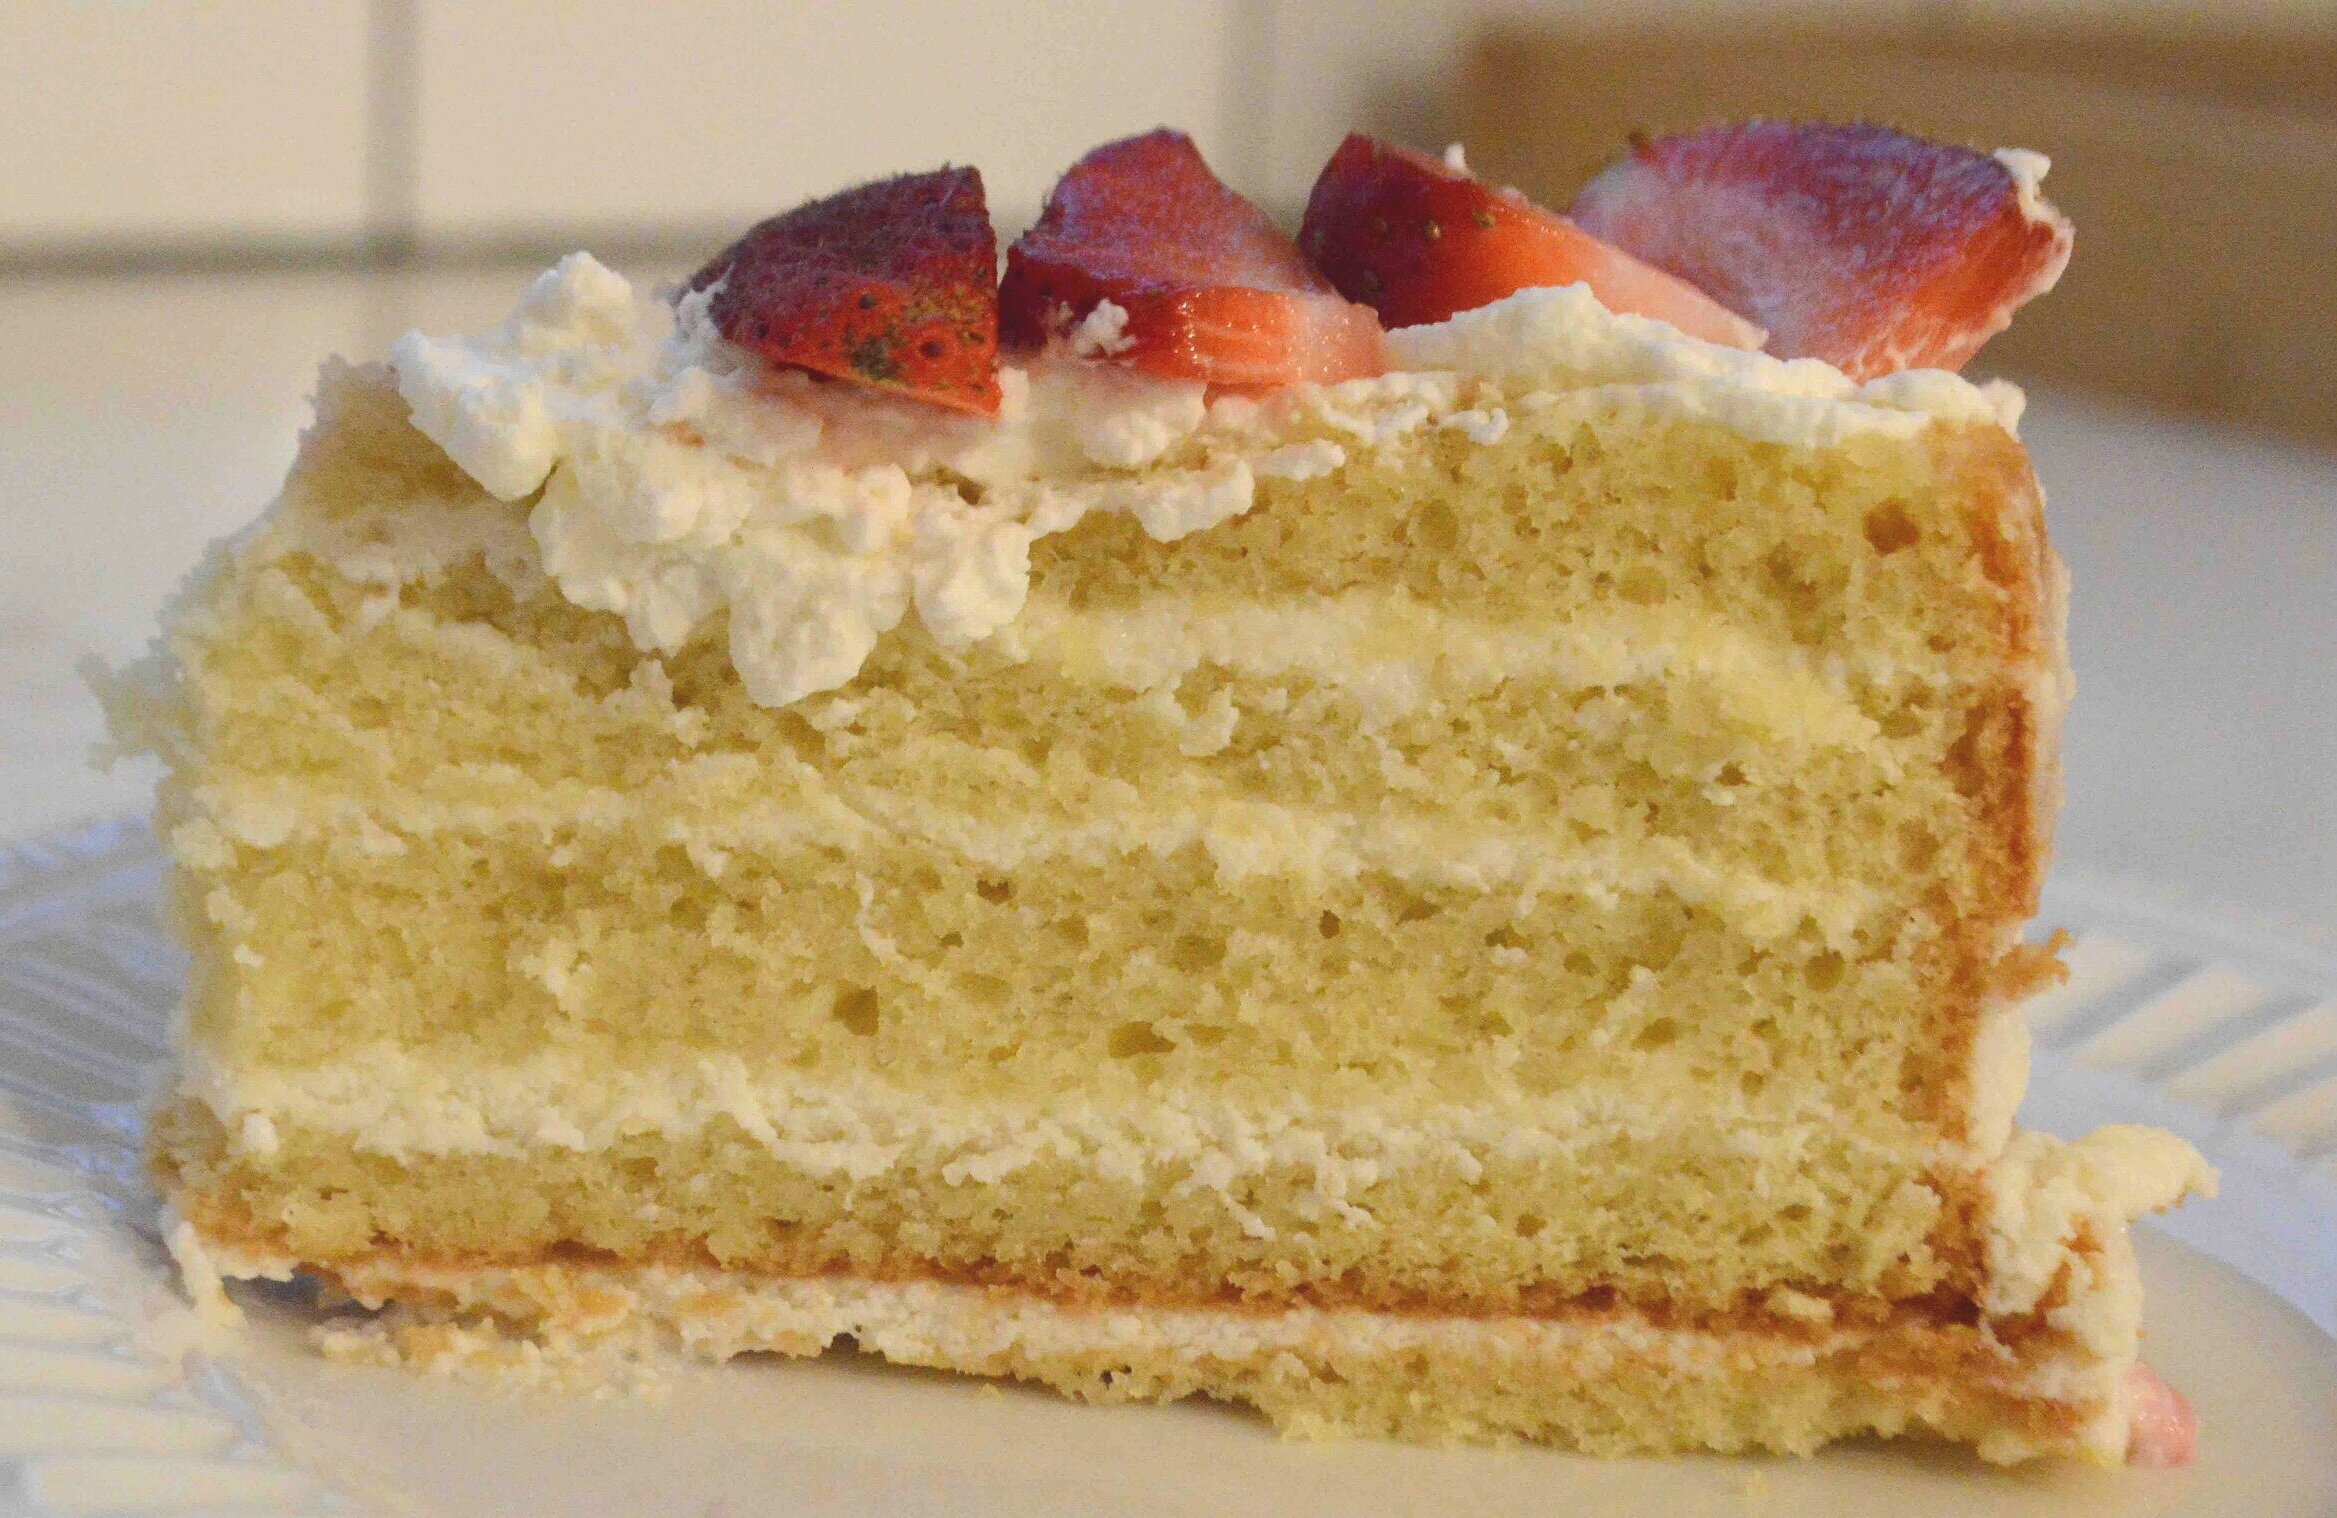
And the taste—oh my gosh, guys, the whipped cream softens the cookies into a spongy cake layer that marries perfectly with the strawberries and cream. Think strawberry shortcake with about 1/10 of the work!

It’s destined to become a family favorite that people will request again and again. And you’ll be only too happy to comply ‘cause this baby is virtually stress free. Just like eating a ‘Nilla wafer.
No-Bake ‘Nilla Wafer Strawberry Icebox Cake
Serves 8
Prep Time: 30 minutes, plus at least 24 hours chilling time
Ingredients
1 pound fresh strawberries, divided (you will have more than you need for the recipe but don’t just get a pint because it won’t be enough)
2 cups cold heavy cream, divided
1/4 cup confectioners’ sugar, divided
Large box of Nilla Wafers (I used about 40 in total)
Plastic wrap for lining bowl
The Recipe
1. Wash, dry, hull and slice about 2 cups worth of the berries and set aside.
2. Beat 1 cup of the heavy cream with 2 tablespoons of the sugar, until soft peaks form. Set aside.
3. Line a 6-cup medium bowl (I used a 1-quart glass pyrex bowl) with plastic wrap, pressing it into the bottom and allowing for a generous overhang over the sides. Line the bottom with a layer of upside down wafers. Then cover the wafers with a layer of strawberries and a layer of whipped cream. Repeat the layering until you reach the top of the bowl or run out of ingredients. Use the plastic wrap overhang to cover the cake well and chill for at least 24 hours.
4. About an hour before you are ready to serve, whip the remaining 1 cup heavy cream with 2 tablespoons sugar until soft peaks form and set aside. Have a cake plate ready. Remove the cake from the fridge, unwrap the plastic from the top and place the cake plate over the bowl. Now flip the whole thing over and lift the bowl away. Peel away the plastic wrap. Cover the cake with the remaining whipped cream and decorate with more whole or sliced strawberries. Pop the whole thing in the fridge if not serving right away or slice and serve immediately.
5. Leftovers should be stored in the fridge for about a day—it will look sort of gross but still taste very good.
Enjoy!
Note: Recipe loosely adapted from Bon Appetit Magazine. This was originally a blackberry cake with fresh blackberries and blackberry jam. I cut all three and subbed in strawberries instead without any jam. Feel free to use whatever fruit you prefer.