Pan-Roasted Mushroom and Spinach Slab Pie
Happy 3.14 or 3/14, Thursday March 14th, aka Pi Day! Finally got it right, math whiz that I am (not)! Last week I claimed it was 3.12 until my very wise son and his girlfriend gently pointed out to me that pi is 3.14 which probably explains why I am writing this now and not involved in a career that involves higher math of some sort! LOL! But in any case, it’s an awesome day to celebrate with the eating of pie. C’mon we’ll take any excuse we can get, right?
Now, generally when I think about pie, I’m deep in dessert mode (and often it’s a la mode, ha ha) but today, in the spirit of the number pi, which I vaguely remember has something to do with infinity, I want you to expand your mind and embrace the savory possibilities of pie too. Yup, that’s right. Pie, in all its glory, as the main course. And now take it one step further and instead of the traditional round pie, make it rectangular. Uncharted territories, I know. Scared? Don’t be. Because this Pan-Roasted Mushroom and Spinach Slab Pie is not only positively delicious but far, far easier to make and a really fun weekend project. Let’s hear it for Pi(e) Day!!
Of late I have been addicted to the making of slab pies, ever since laying my pie-crimping hands on Pie Squared by Cathy Barrow. I blogged about it last week for my Famous Fridays post with this Easy-As-Pie-Apple Slab Pie and gave you copious notes (I’m still tired from the typing) about how to prepare the slab pie crust, so instead of redoing the whole tutorial here, just click on the link and you’ll see photos that walk you through the crust-making process. Got it?

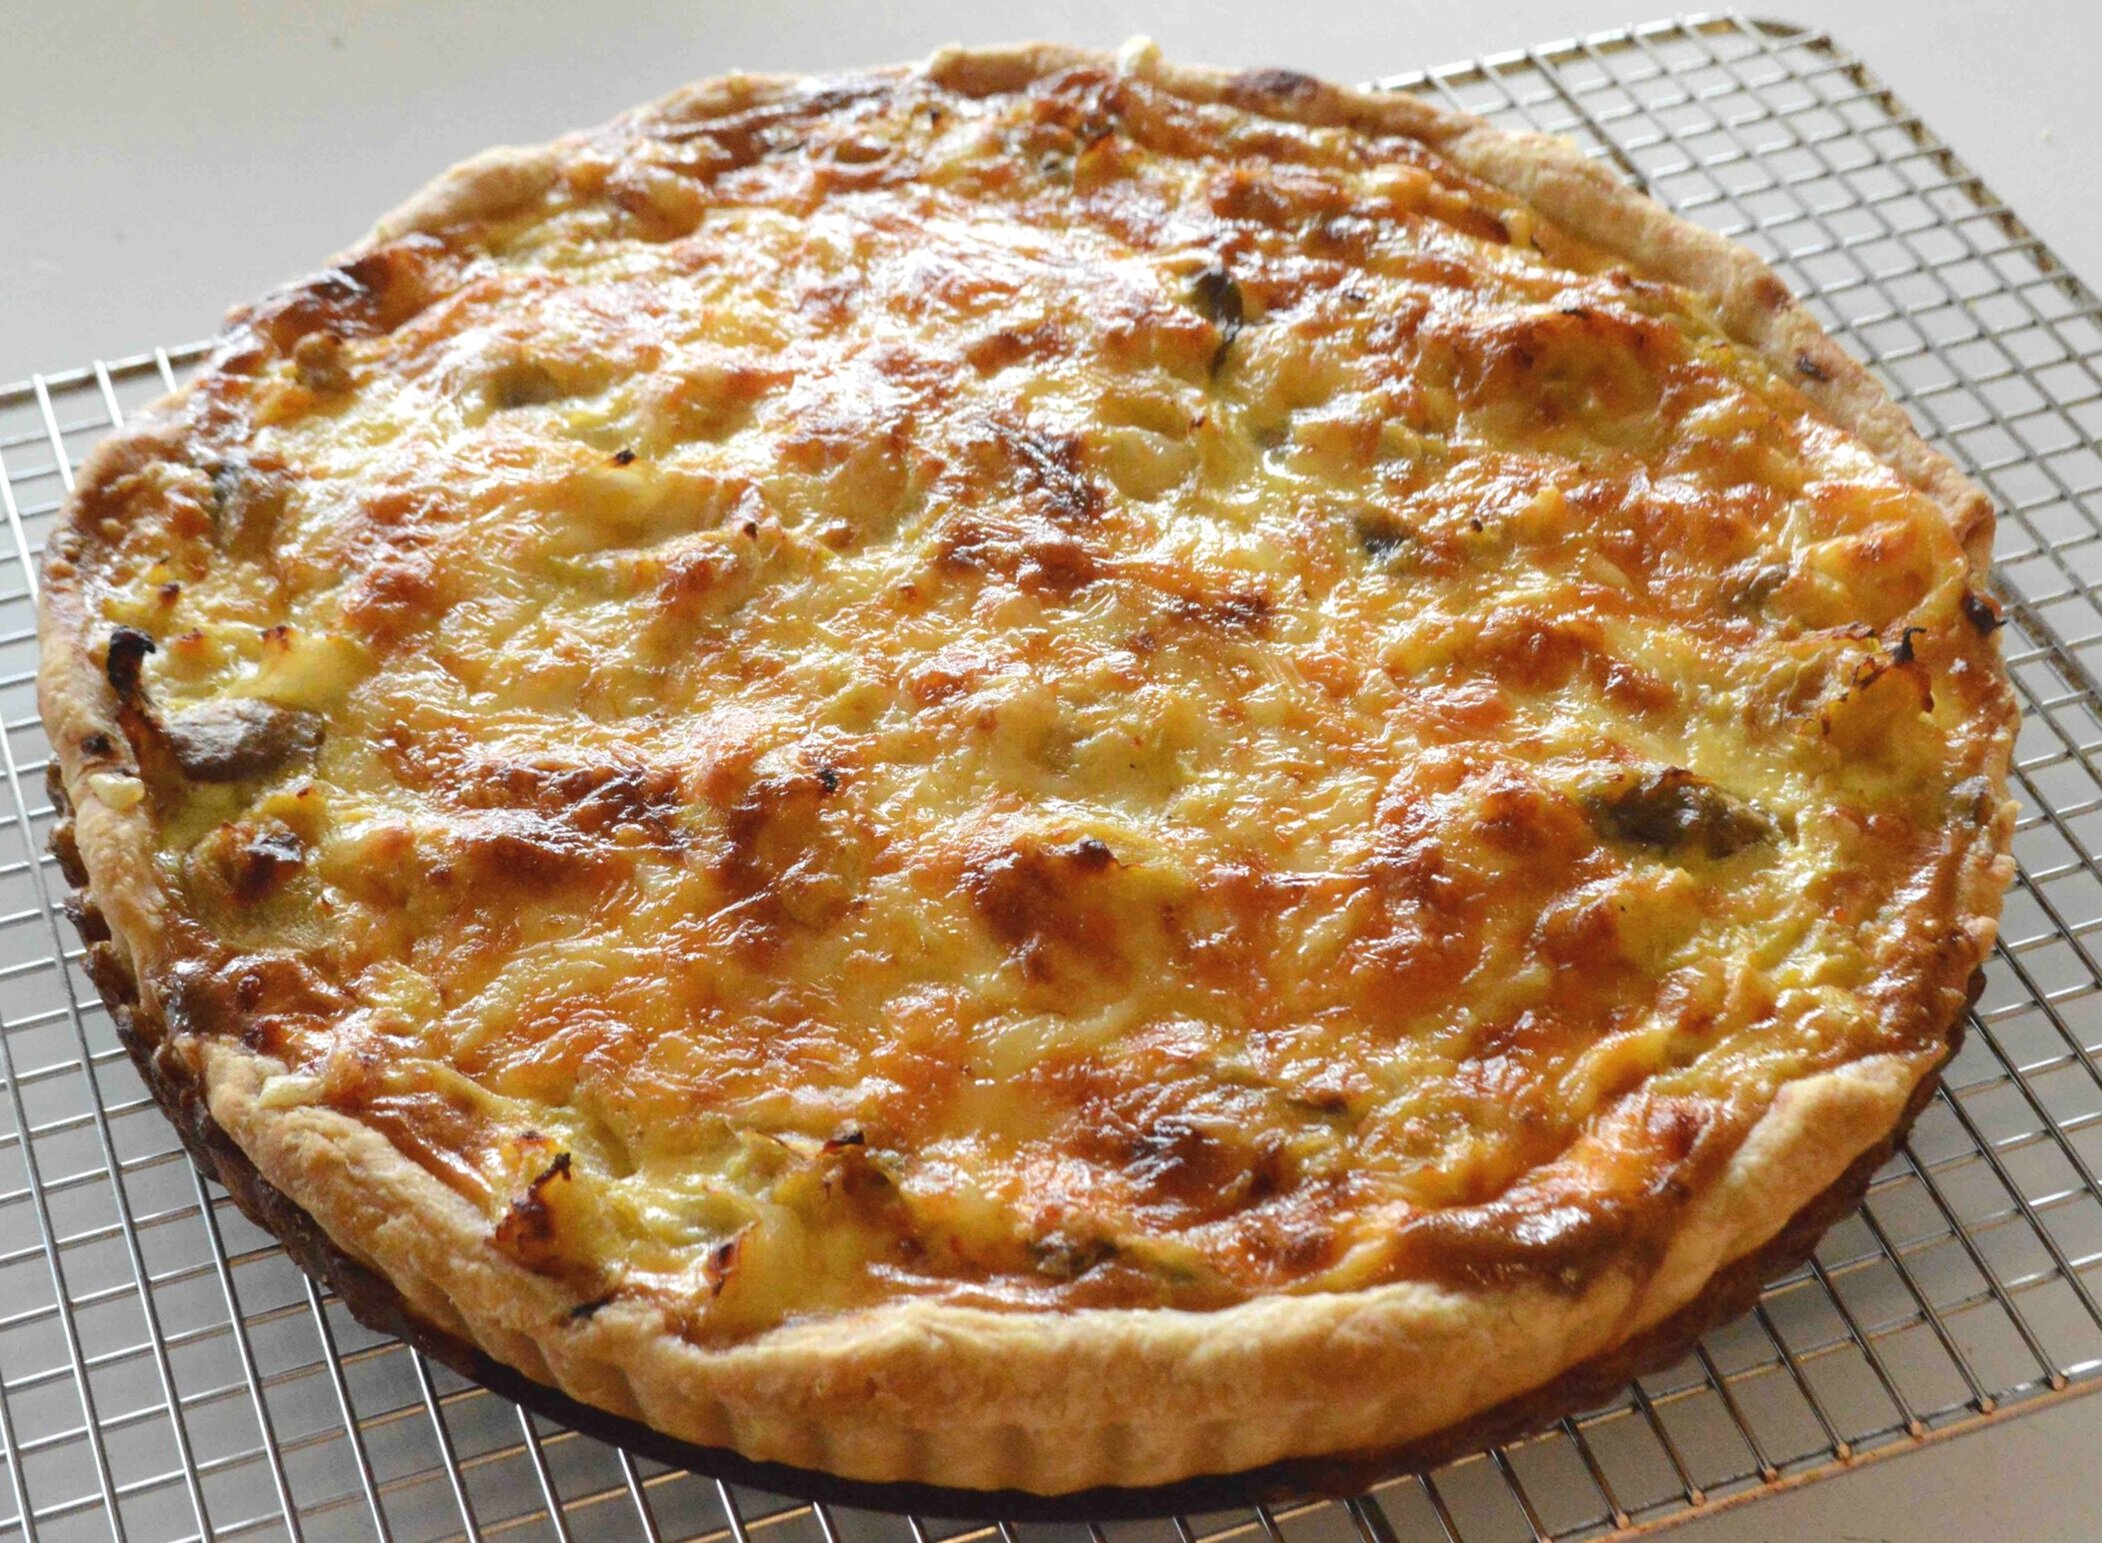
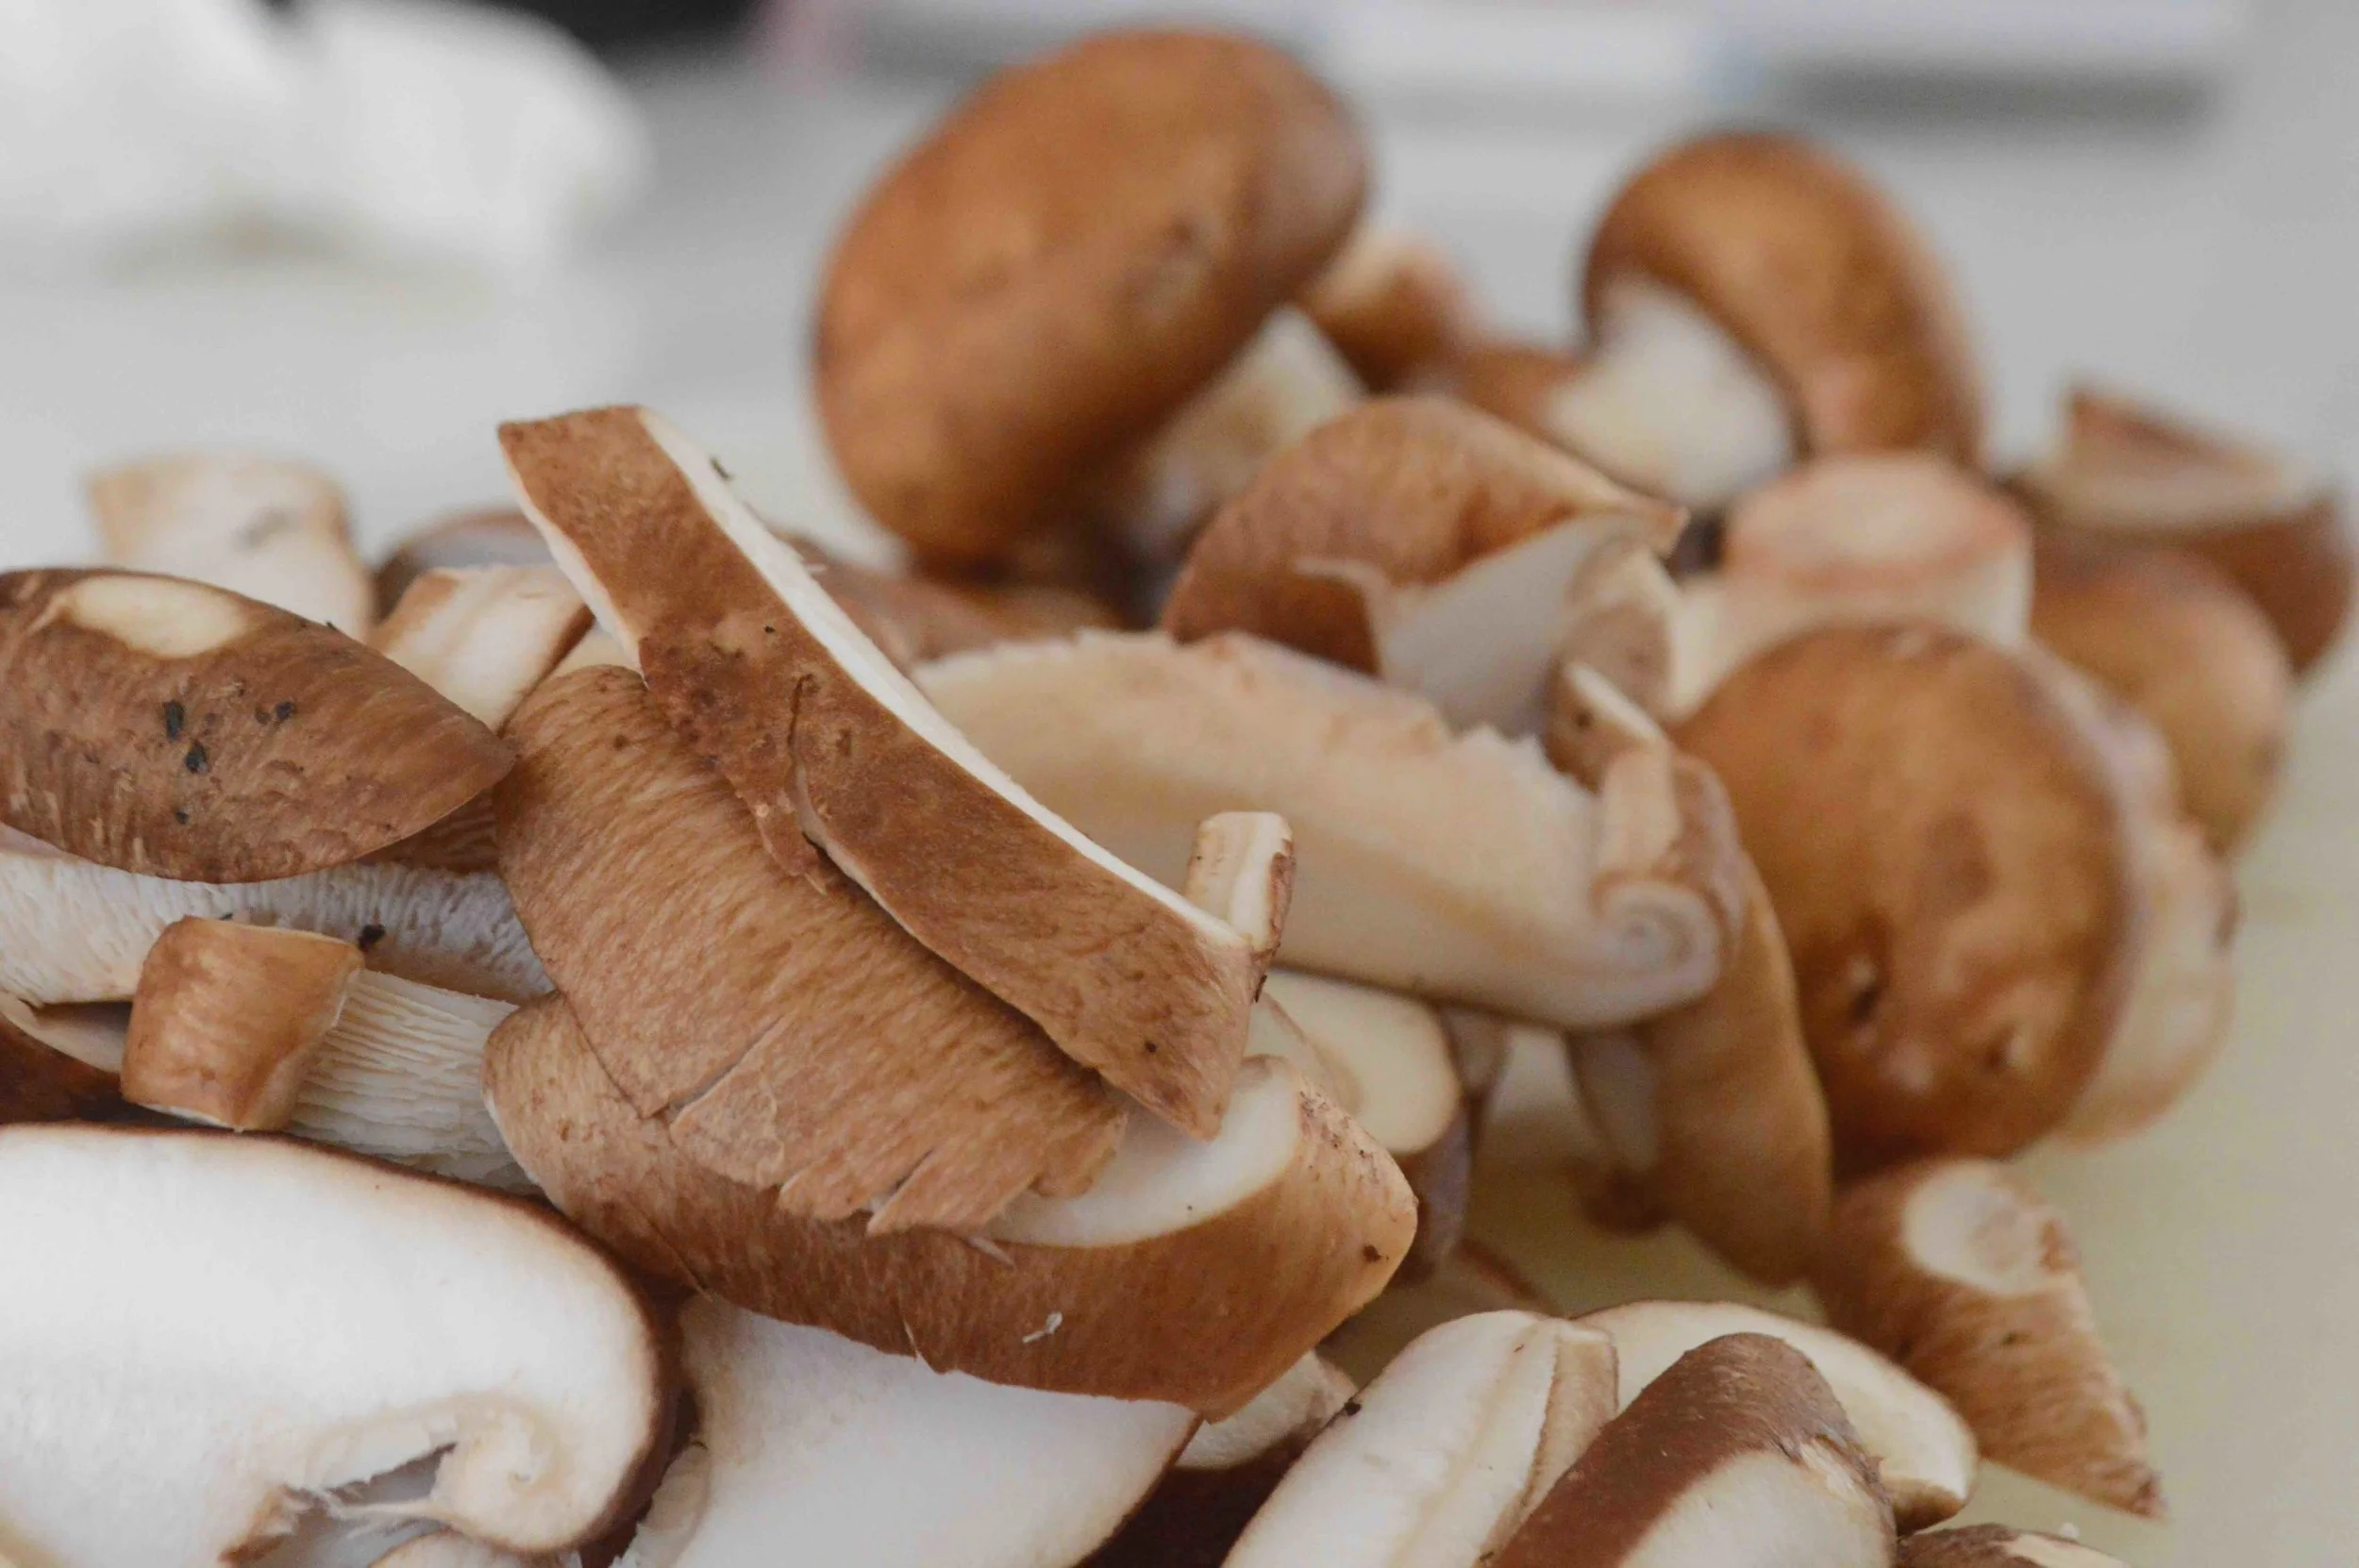
Ok, let’s move on to the filling, which despite the fact that it is loaded with mushrooms is not goopy or liquidy at all (if you’ve ever made quiche and found that the filling cooked up a little watery, you know what I mean) and this is due to two important techniques: pan-roasting at a high heat and cooking the mushrooms in two batches, so as not to overcrowd the pan. Yes, it takes a little bit longer but it gives you mushrooms that are firm and almost caramelized which adds a ton of texture and flavor to the filling.

And speaking of caramelized, we’ve got to give a shout out to the onions which don’t get a mention in the title but are a vital part of what makes this filling so special. Taking the time to caramelize them is so totally worth it!

And let’s not forget about the spinach (you could also sub in kale—that’s what the original recipe calls for) which you just stir into the hot onions to allow to wilt a bit and adds the right balance of bitterness and leafy greenness to the sautéed veggies and richness of the eggy, custardy filling and cheese.

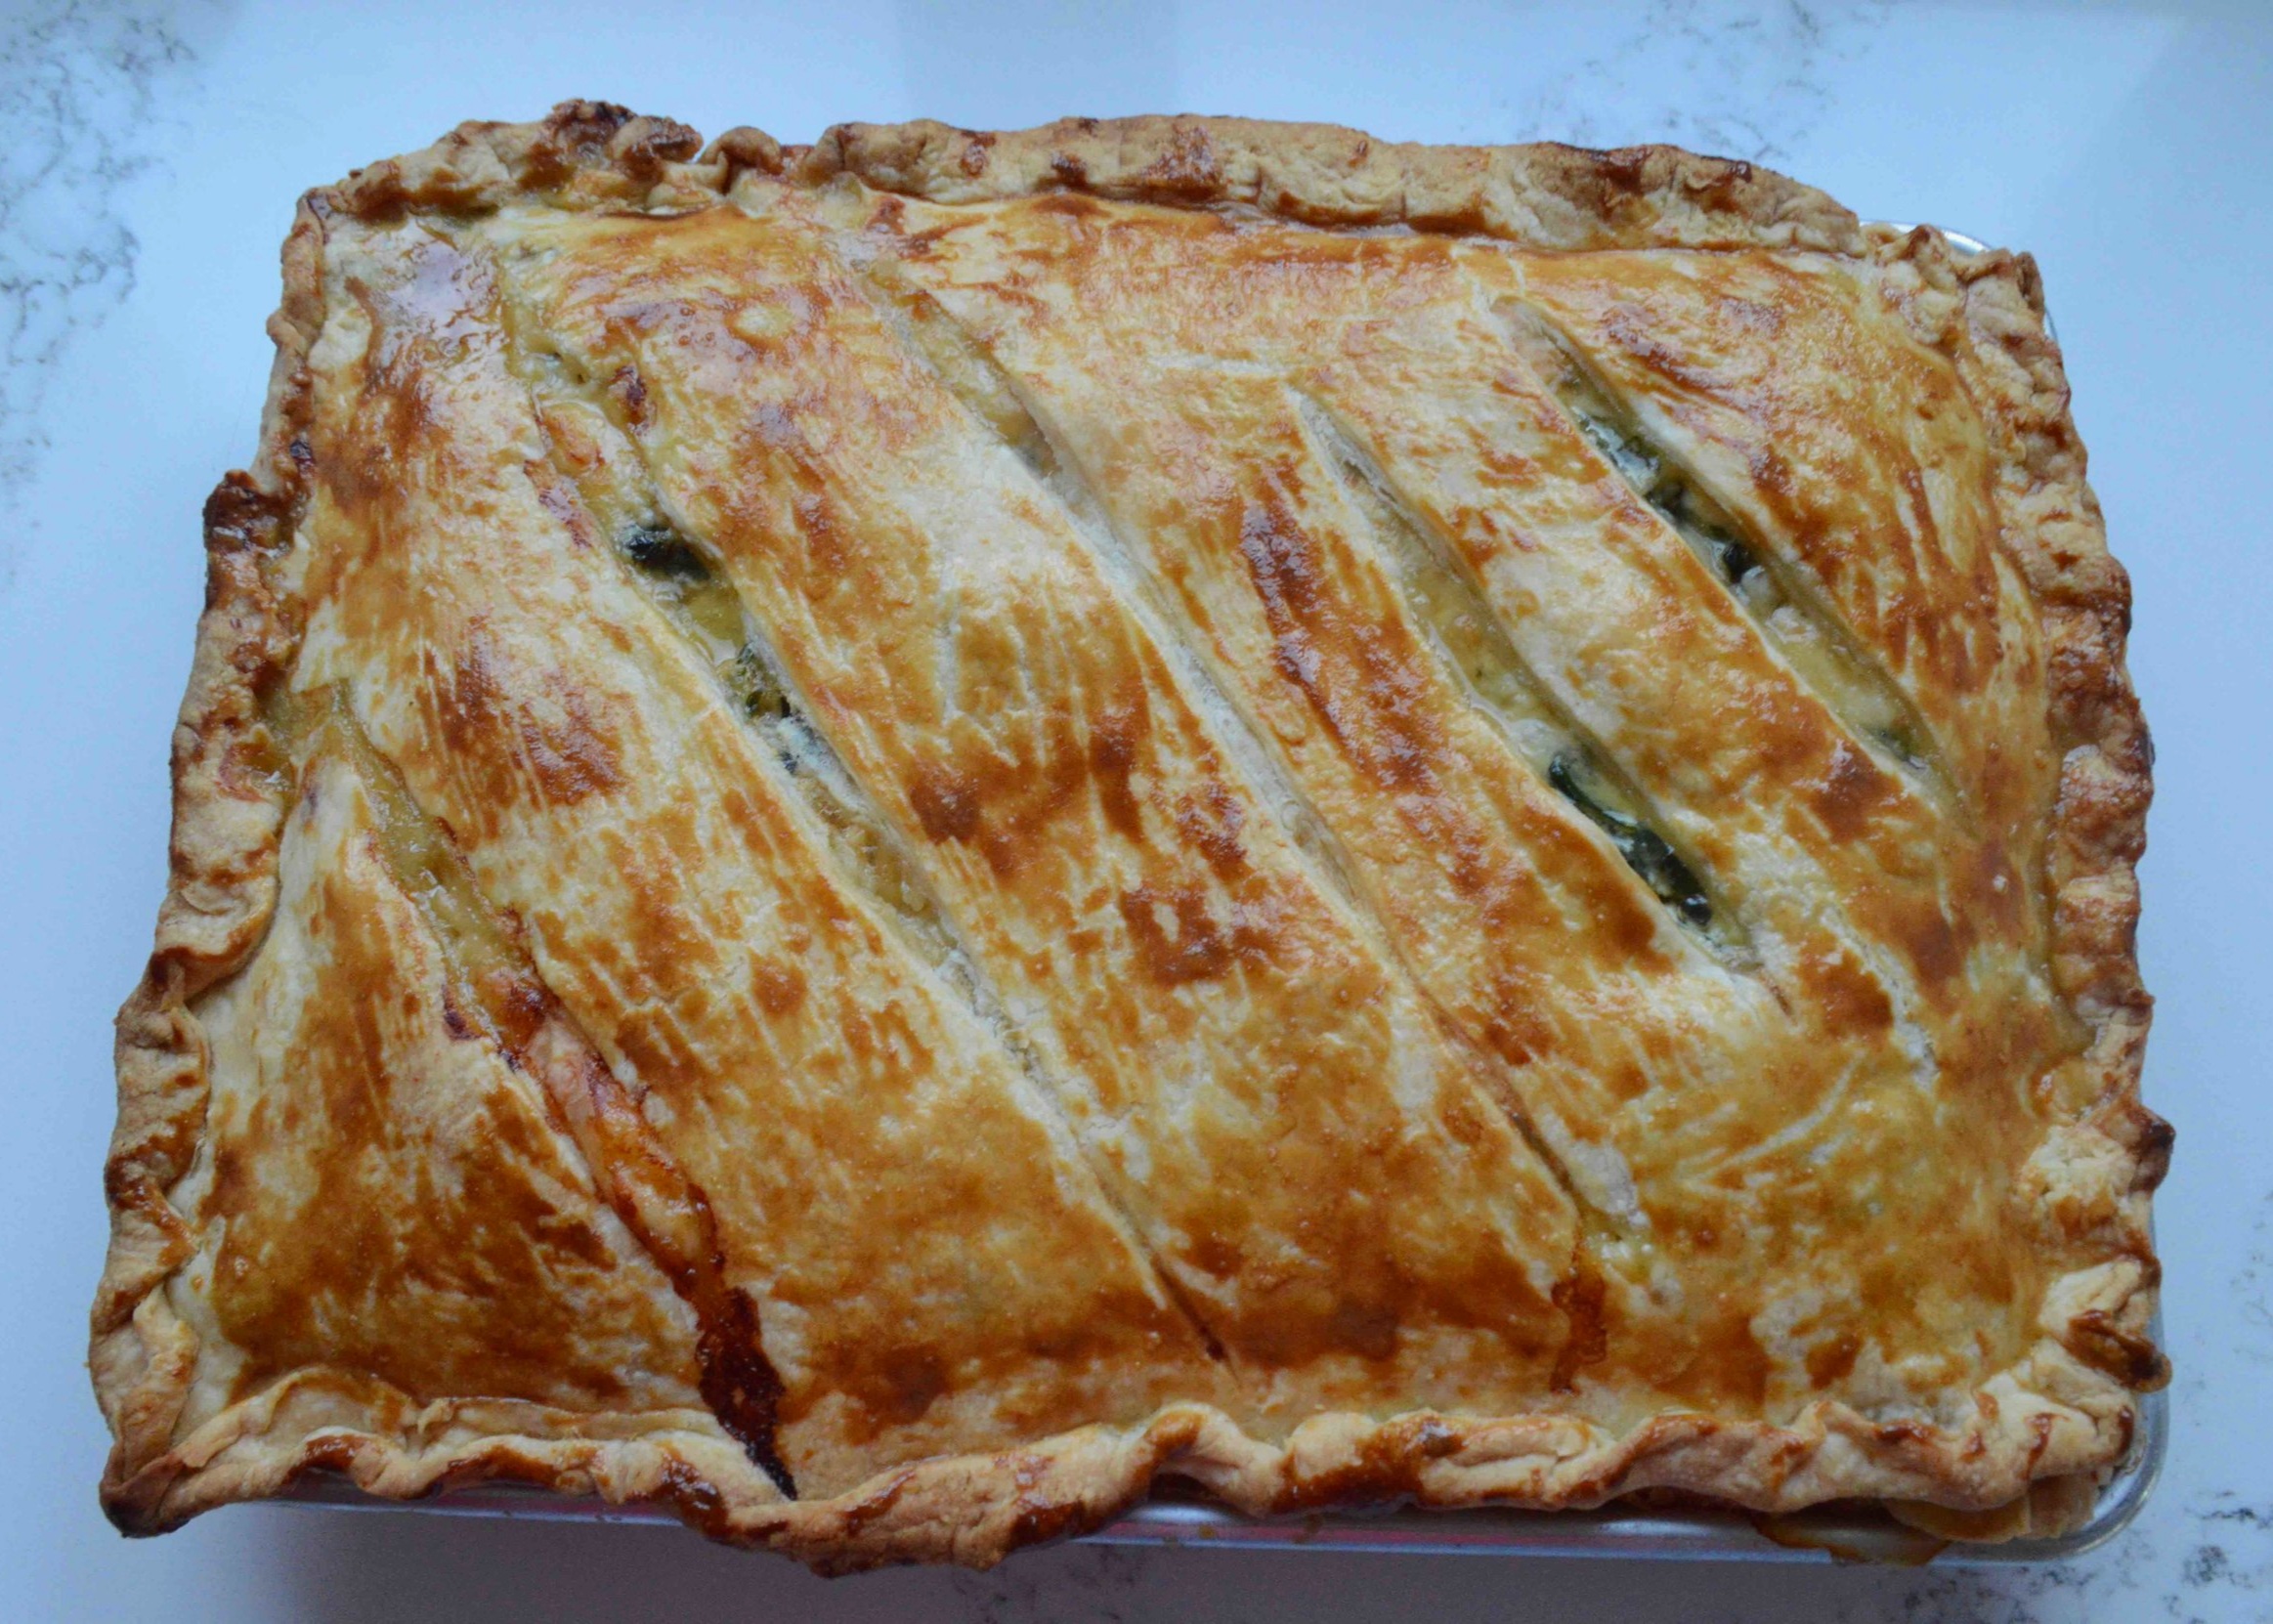
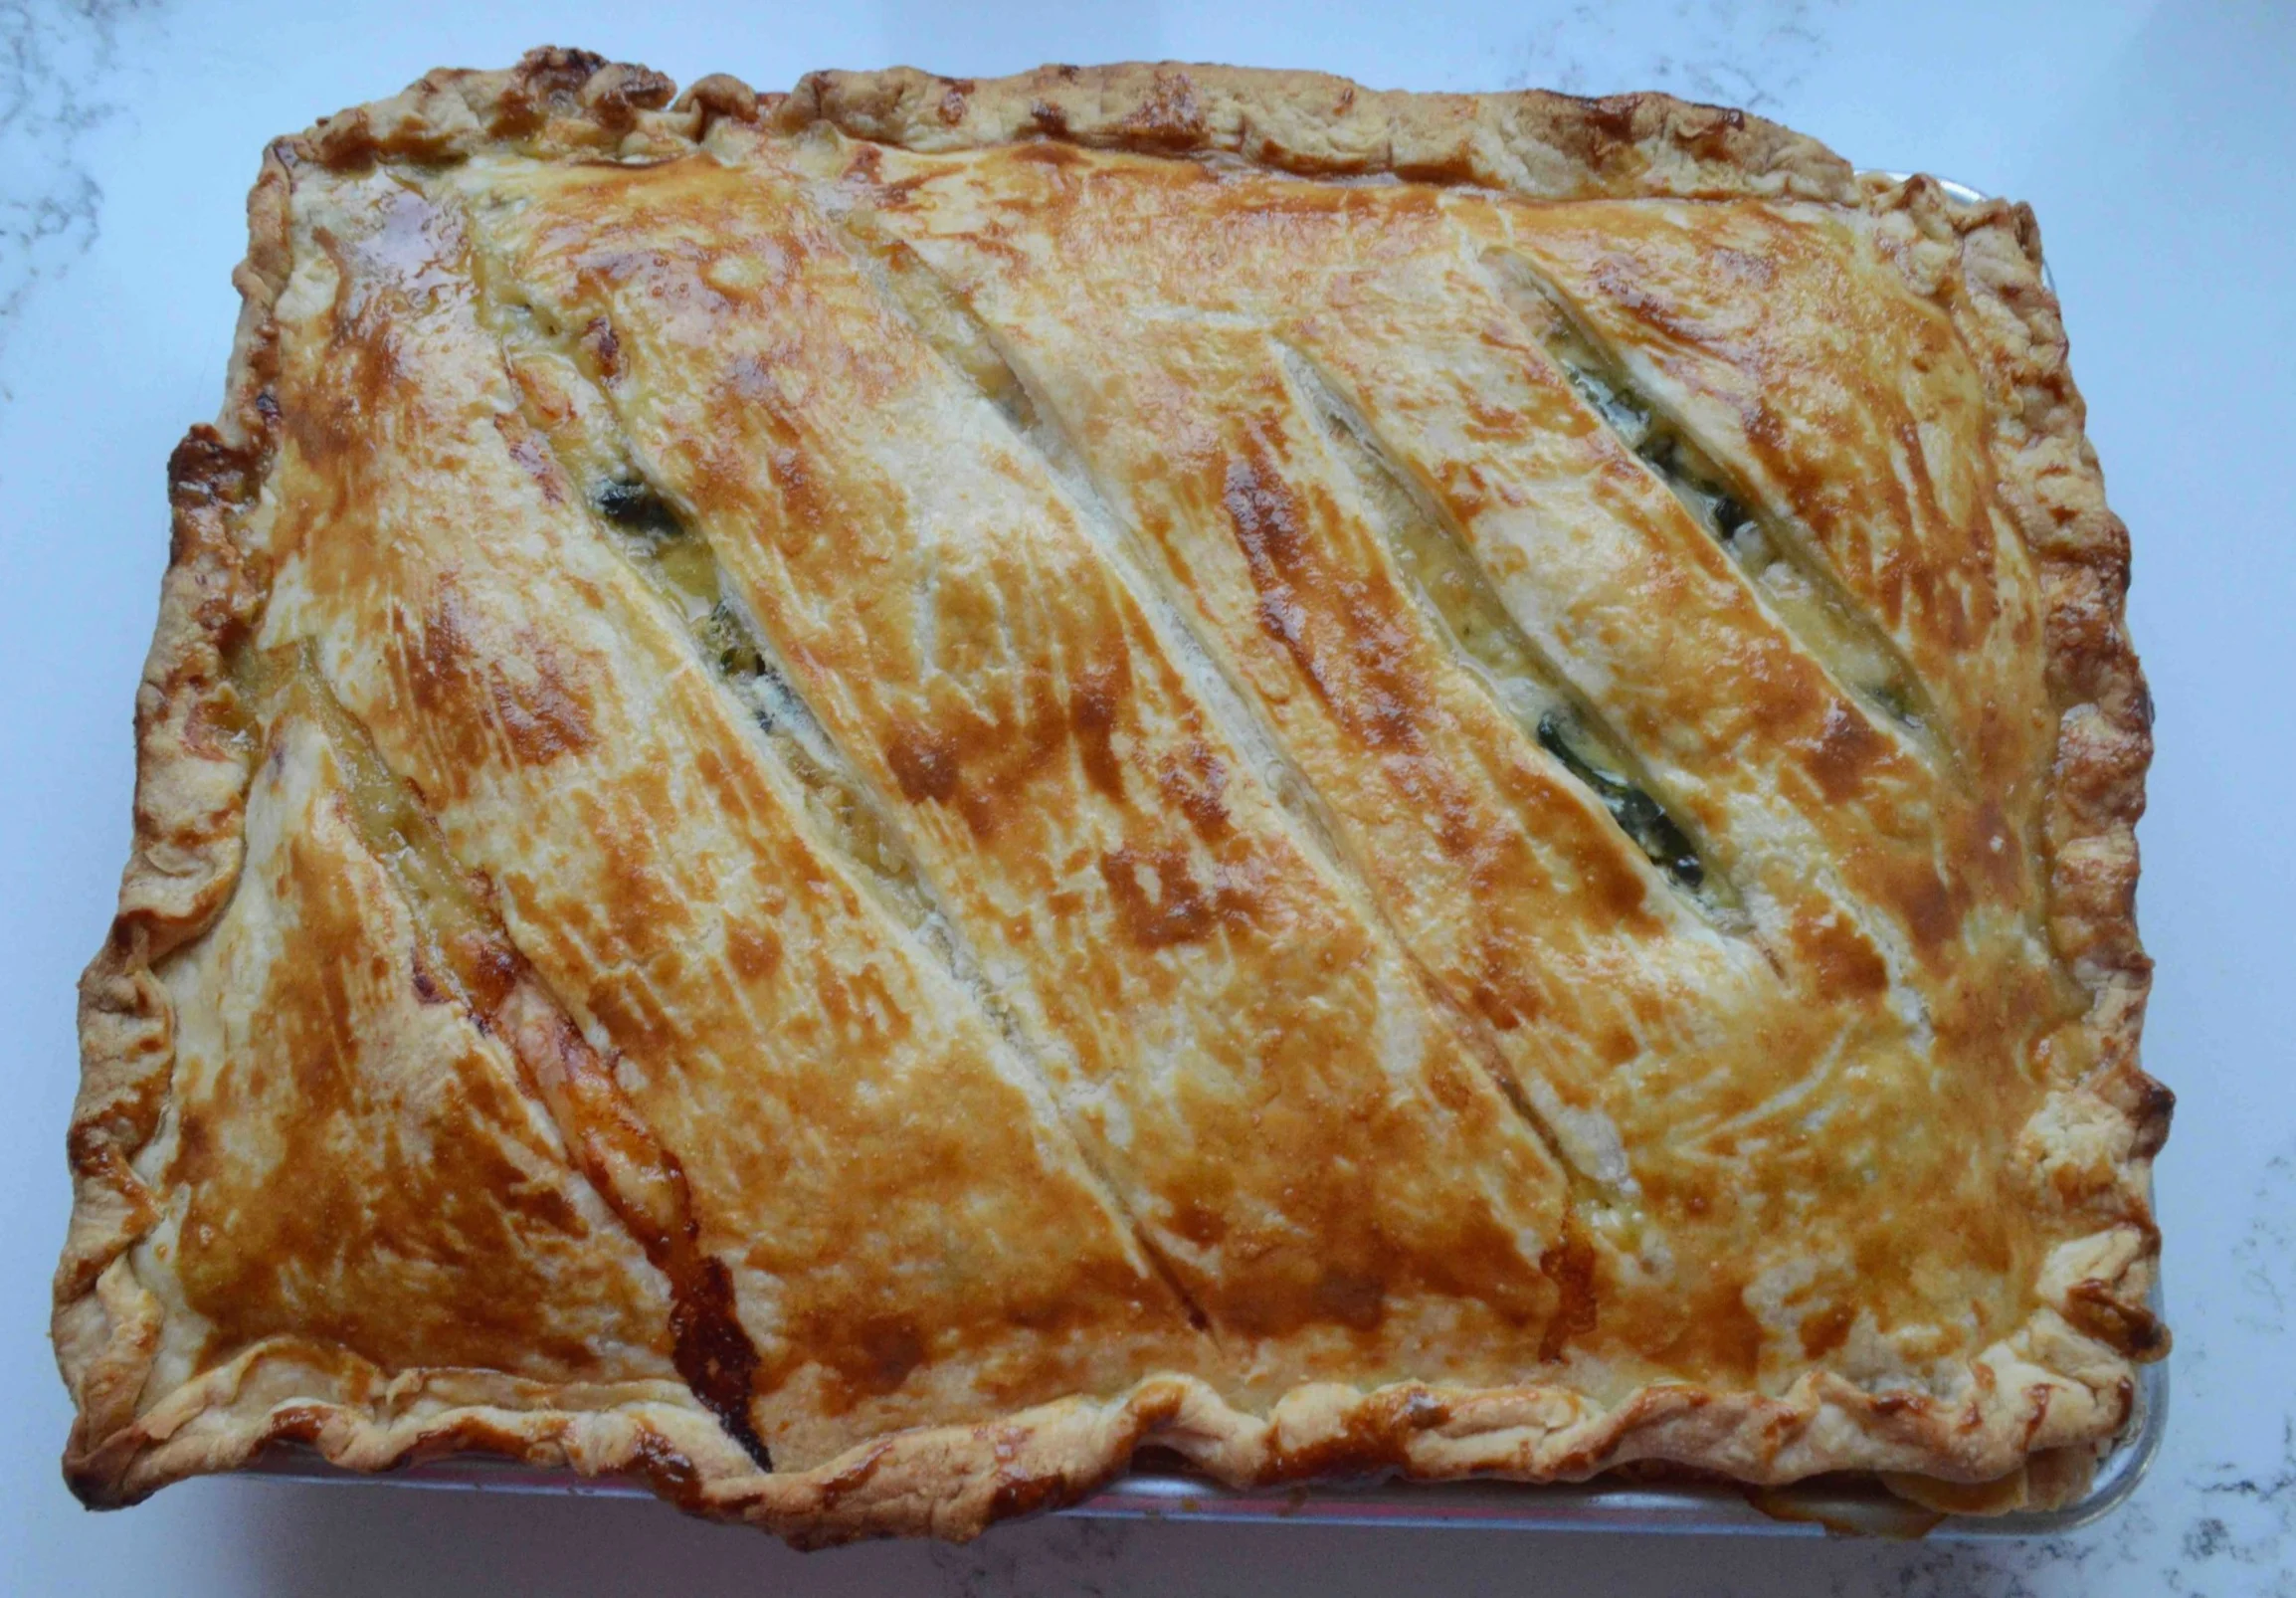
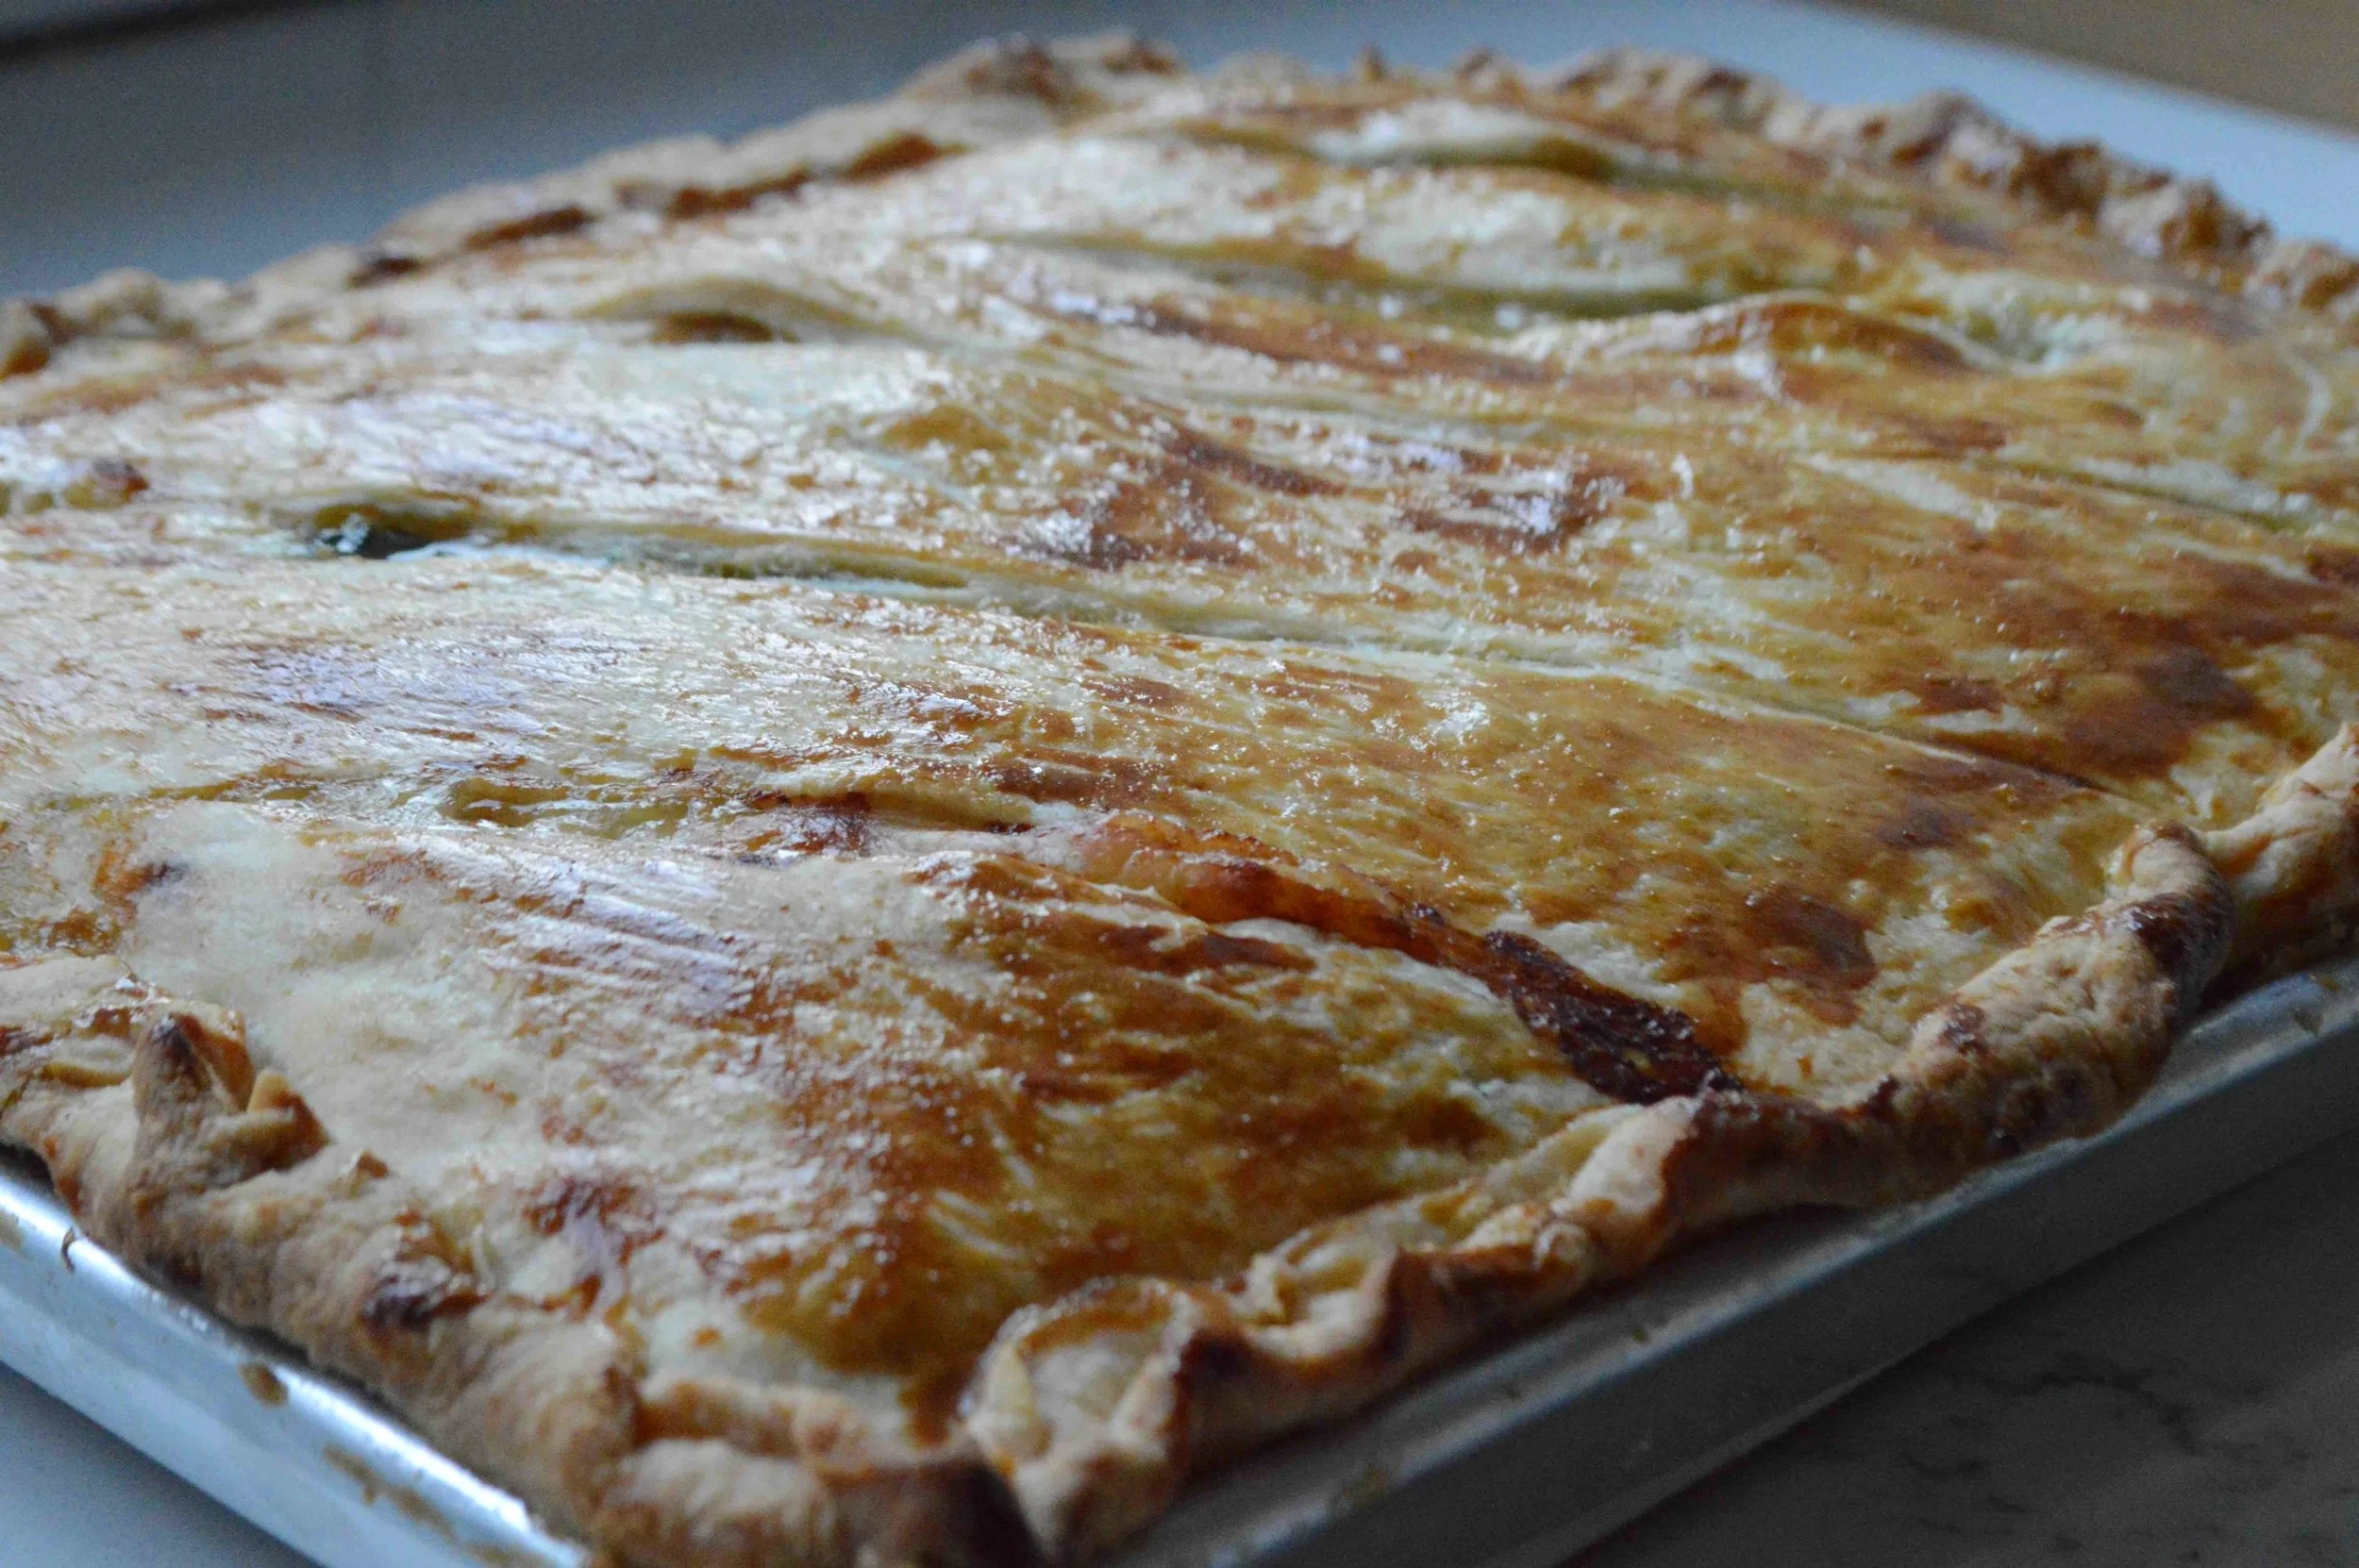
Assembling is a breeze. Simply position the top crust over the filling, crimp, slash a few steam vents in the crust, brush with an egg wash and bake.

You’re gonna be so proud when you pull this baby from the oven! Golden brown, flaky gorgeousness!
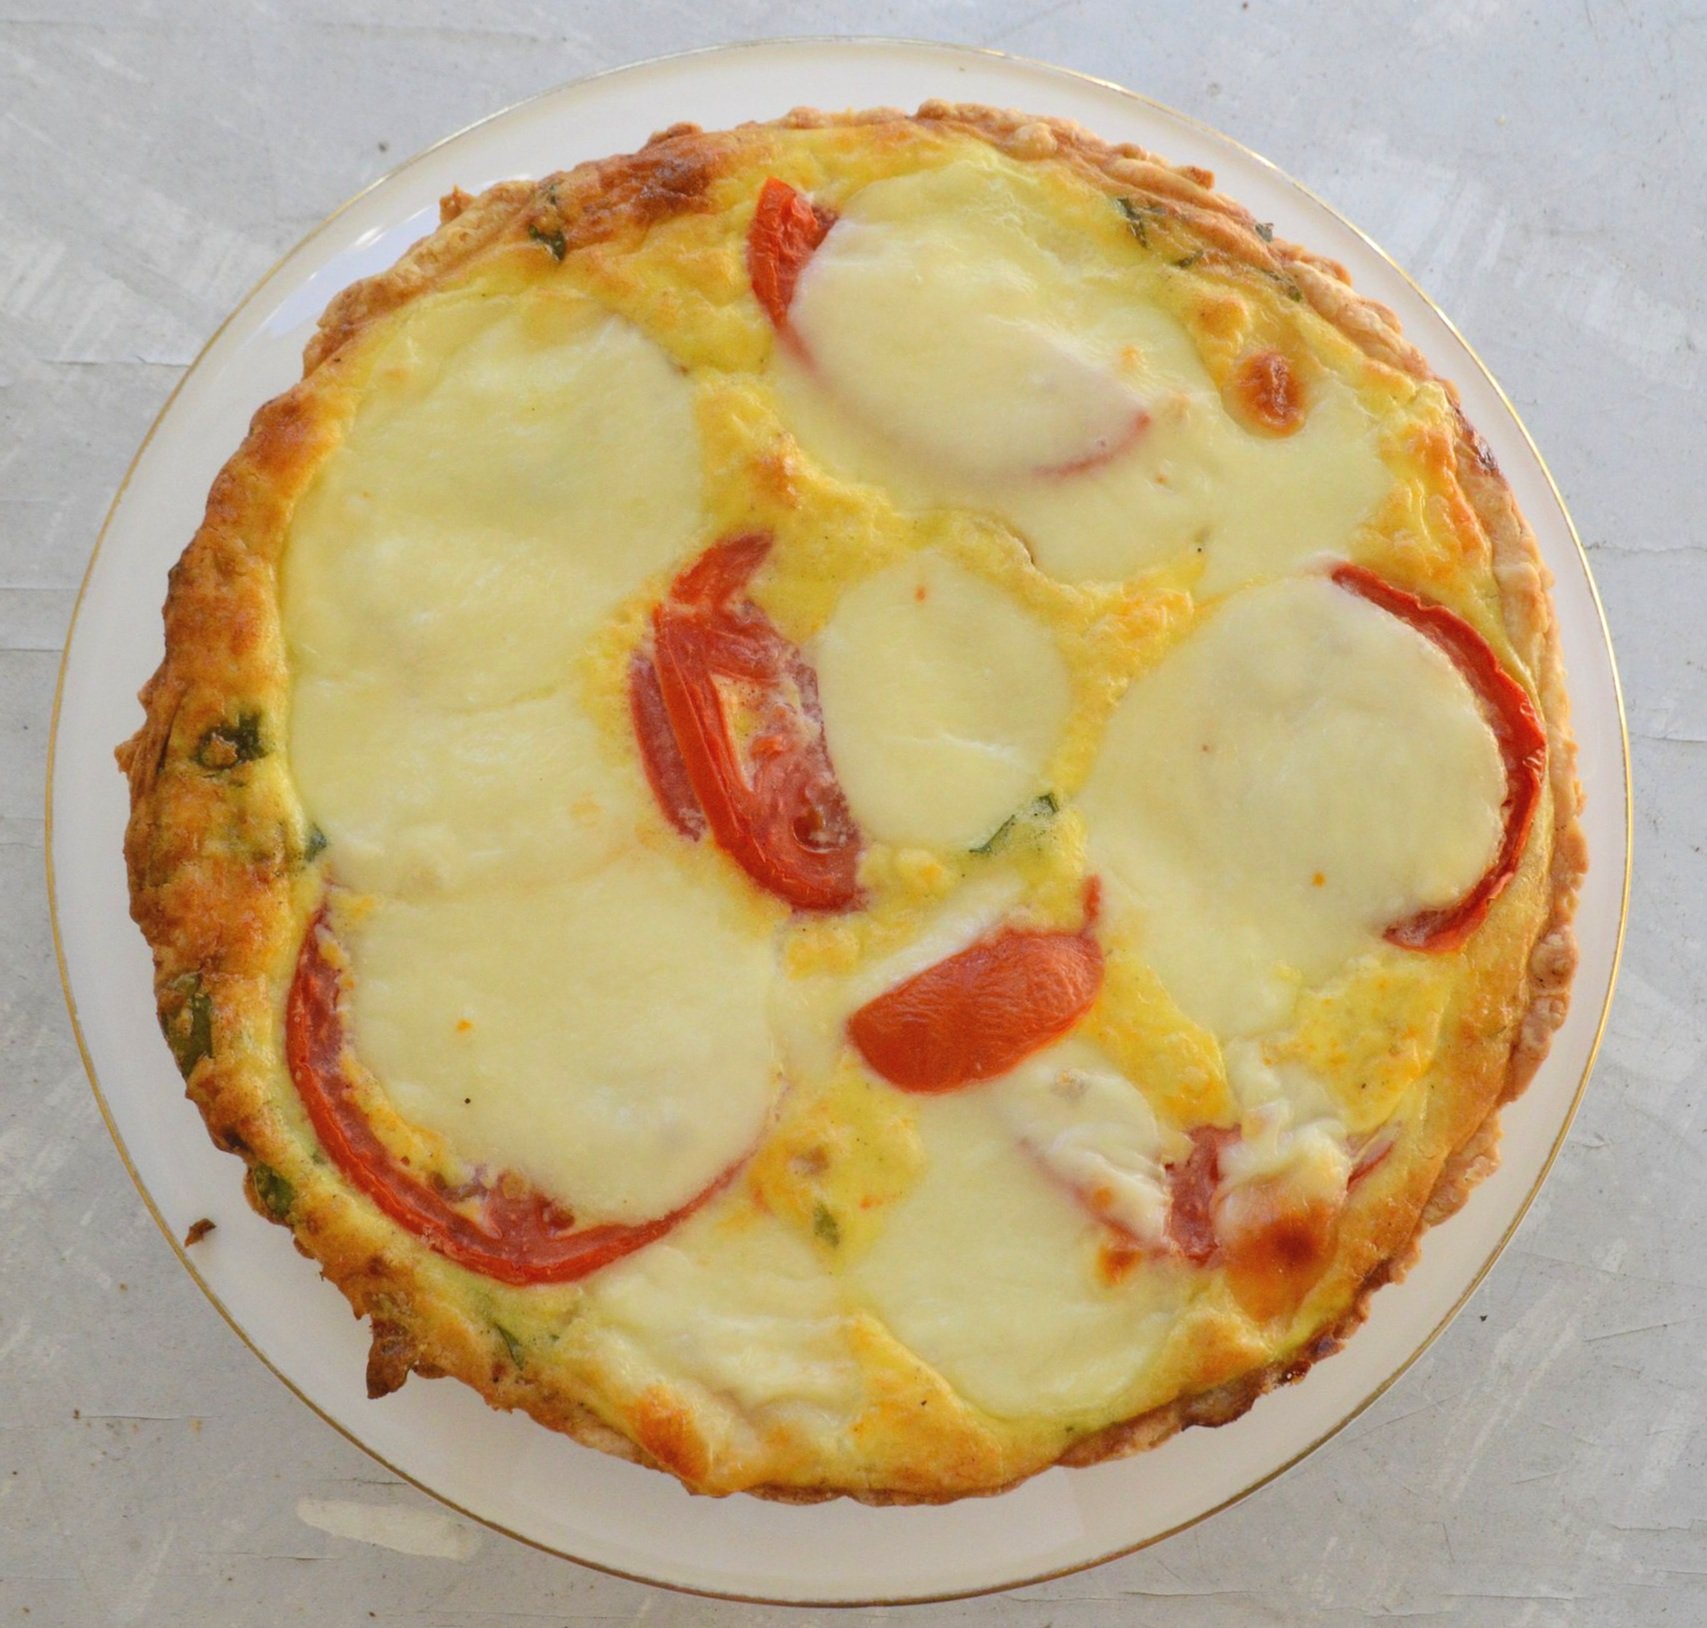
It’s like a quiche on steroids! A complete meal in a pan.

Serve it with a crisp, green salad and you’ve hit dinner perfection! And while you’re at it, how about one of these pies or tarts for dessert?
God, I love Pi Day!!

Pan-Roasted Mushroom and Spinach Slab Pie
Makes 12-15 servings
It is helpful to have a food processor for this. It is also helpful to have a bench scraper and a baking stone but not absolutely necessary.
Prep Time for Crust: Prep Time for Filling: 30 minutes (much of this is hands free); Assembly Time: Bake Time: 50 minutes-1 hour
Ingredients
For the Crust
2 1/2 cups plus 2 tablespoons unbleached, all-purpose flour (325 grams), plus extra for shaping and rolling out dough
16 tablespoons (225 grams) unsalted butter, cubed and frozen for 20 minutes
1/4 teaspoon kosher salt
1/2 cup (120ml) ice water
For the Filling
1/4 cup (60ml) olive oil, divided
1 pound mushrooms, any kind (I used half regular button, half baby Bella) sliced not too thinly and divided in half
Kosher salt
Red pepper flakes
2 tablespoons dry sherry
2 large onions, sliced in half and then into half moon slices
Fresh thyme leaves from a few sprigs of thyme
5 cups fresh baby spinach, chopped
1 cup whole milk
2 large eggs plus 1 egg white (you’ll use the yolk later for the egg wash)
Black pepper
4 ounces Swiss or Gruyere, grated (about 1 cup)
For the Assembly
1 egg yolk
1 teaspoon water
1/4 teaspoon kosher salt
The Recipe
1. To make the crust: place the flour, butter and salt in the bowl of a food processor fitted with the metal steel blade and pulse for 15 times until the butter is in small, pea-like pieces and coated with the flour. Pour in all of the ice water and pulse until the mixture almost forms a ball. You still want it to be a bit shaggy. If you over mix it, it’ll be tough. If you don’t have a food processor, you can mix the dough by hand. If so, freeze the sticks of butter and then grate them using the largest holds on the box grater right into the flour mixture. Working quickly, use your hands to combine the ingredients until the grated butter pieces are coated in flour. Pour in the water and and use your hands to sort of toss and fold the dough together into a shaggy cohesive ball.
2. Take 2 large pieces of plastic wrap and lay them criss-crossed on the counter so that they form a large “X”. Take a little bit of flour and scatter it in the center. Turn the dough out right into the center of the X, scraping the food processor clean and fold the plastic wrap over the shaggy ball and any stray crumbs. You want to avoid touching the dough with your hands as that warms the fats and cuts down on the pastry’s flakiness. Use a bench scraper or a firm spatula to push the dough into a 6 by 4-inch block that will look like a compact piece of dough not a crumbly block but you will still see pieces of butter throughout. (It helps if you use a ruler to measure—will make the rolling out later a snap). Now use a rolling pin to gently press across the surface of the dough to remove any bubbles. Flip the dough over and repeat on the other side. Place in the fridge to rest for at least 4 hours and preferably overnight.
3. Before you are ready to roll out the dough, set up your rolling surface—it can be a board or your clean counter as long as it’s cold. Use painter’s or masking tape to make an 11x15-inch rectangle. Remove the dough for about 10 minutes before you roll out—you don’t want it to get too warm. Generously dust the rolling surface with flour. Remove the plastic wrap and cut the dough into 2 pieces, one a little larger than the other—this will be the top crust.
4. Working quickly, smack the dough 3 times with the rolling pin. Now flip it over and do the same to the other side. This helps to compress the fats. Now flour your rolling pin and roll out the dough from the center outward, angling to the sides, working to fill the shaped space. Every so often slide the bench scraper underneath the dough to keep it from sticking to the board and turning the dough to get it to fill the space evenly. If it shrinks back when you roll it, don’t pull it—just be patient and keep rolling—it will fill the space eventually. Once it’s rolled to size, gently fold it over in half and carefully place it in the 1/4 sheet pan. Gently press the dough into the corners using the sides of your hand, not your fingers which might poke holes. Place the pan into the fridge while you roll out the top crust.
5. Roll out the top crust using the same technique, but only to about 10x14-inches. Place a piece of parchment paper on a baking sheet and sprinkle with flour. Transfer the dough to the sheet and refrigerate as well.
6. To make the filling: Pour 1 1/2 tablespoons of the oil into a large, wide skillet and heat over high heat until the oil shimmers. Add half of the mushrooms and move them into a single layer. Sprinkle with a pinch or two of salt and red pepper flakes and let the mushrooms cook for several minutes, somewhere between 6-9 minutes, without moving them, until you can easily lift one with out sticking. They will sizzle and snap so be prepared. Then turn all of them quickly so that the other side can get browned and let cook another few minutes. Transfer to a bowl and repeat the entire process with the rest of the mushrooms, beginning with the heating of another 1 1/2 tablespoons of oil.
7. When all of the mushrooms have been transferred out of the skillet, add the remaining 1 tablespoon of oil and lower the heat to medium. Stir in the onion and thyme let cook for about 15 minutes, until the onions are beginning to caramelize and turn golden. If they are browning too quickly, turn down the heat. Stir in the chopped spinach and remove from the heat.
8. If you have one, place a baking stone on the center rack of the oven. If not, use an inverted rimmed baking sheet. Turn the oven to 400ºF and let preheat with the baking stone.
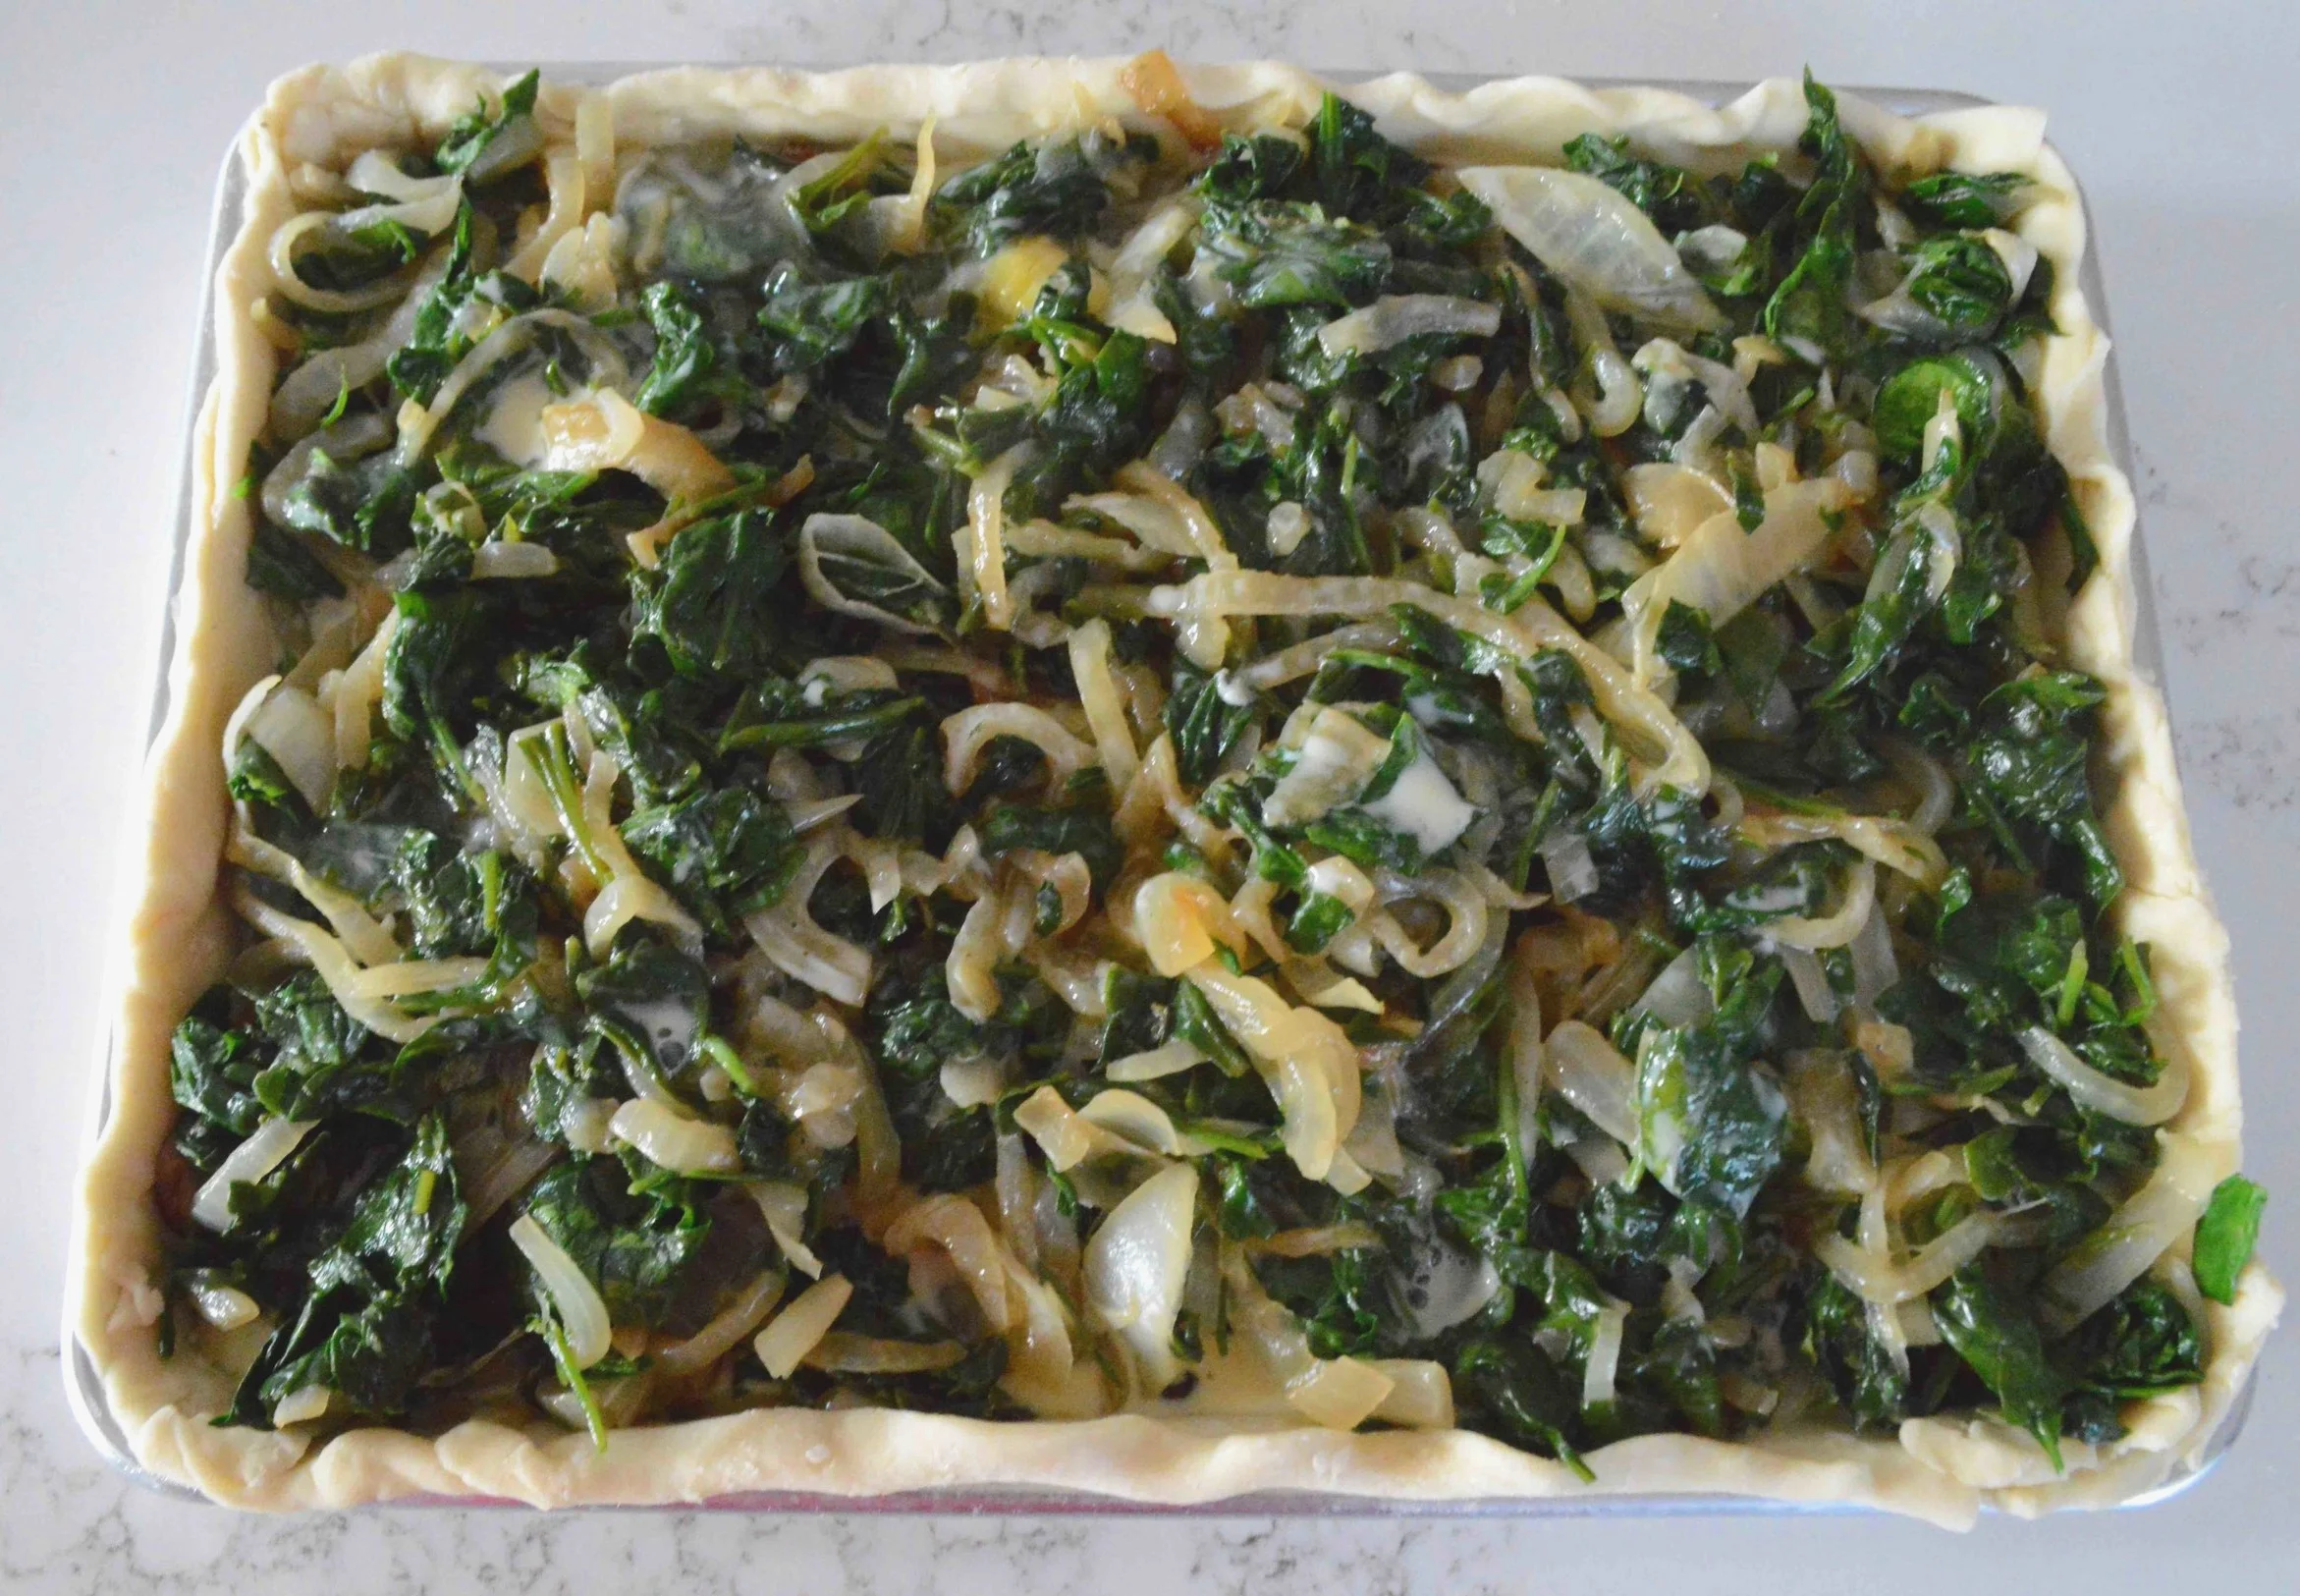
9. Remove the bottom crust from the fridge and scatter the mushrooms across the bottom as evenly as possible. Top with the onion mixture, pushing it around so that it is evenly dispersed.
10. In a separate bowl, whisk the milk, eggs, egg white, and a pinch or two of salt and pepper together. Pour it over the vegetables and scatter the cheese evenly across the whole thing. Remove the top crust from the fridge and position on top. Tuck the bottom crust edge over the top crust and crimp. Use a sharp knife to make a few venting slashes in the top crust. Whisk the egg yolk and water together in a small bowl and brush across the surface of the pie using a pastry brush. Sprinkle on some kosher salt. Place the pie in the fridge for 20 minutes.
11. Bake for about 45-50 minutes, until the top is golden brown and a knife inserted into the center of the pie comes out clean. Let cool for about 10 minutes before cutting., then use a sharp knife to cut squares and serve immediately. Pie reheats well too. Store leftovers covered in the fridge and reheat in a low oven for about 15 minutes.
Enjoy!
Note: Recipe adapted from Pie Squared by Cathy Barrow. I subbed spinach in for the kale and used more and different variety of mushrooms.