Lemon Coconut Bars


Got any big plans for the holiday weekend? If a backyard bbq, picnic or beach foray is in your future, I highly recommend you whip up a batch of these dreamy Lemon Coconut Bars. I promise you’ll hear cheers!!
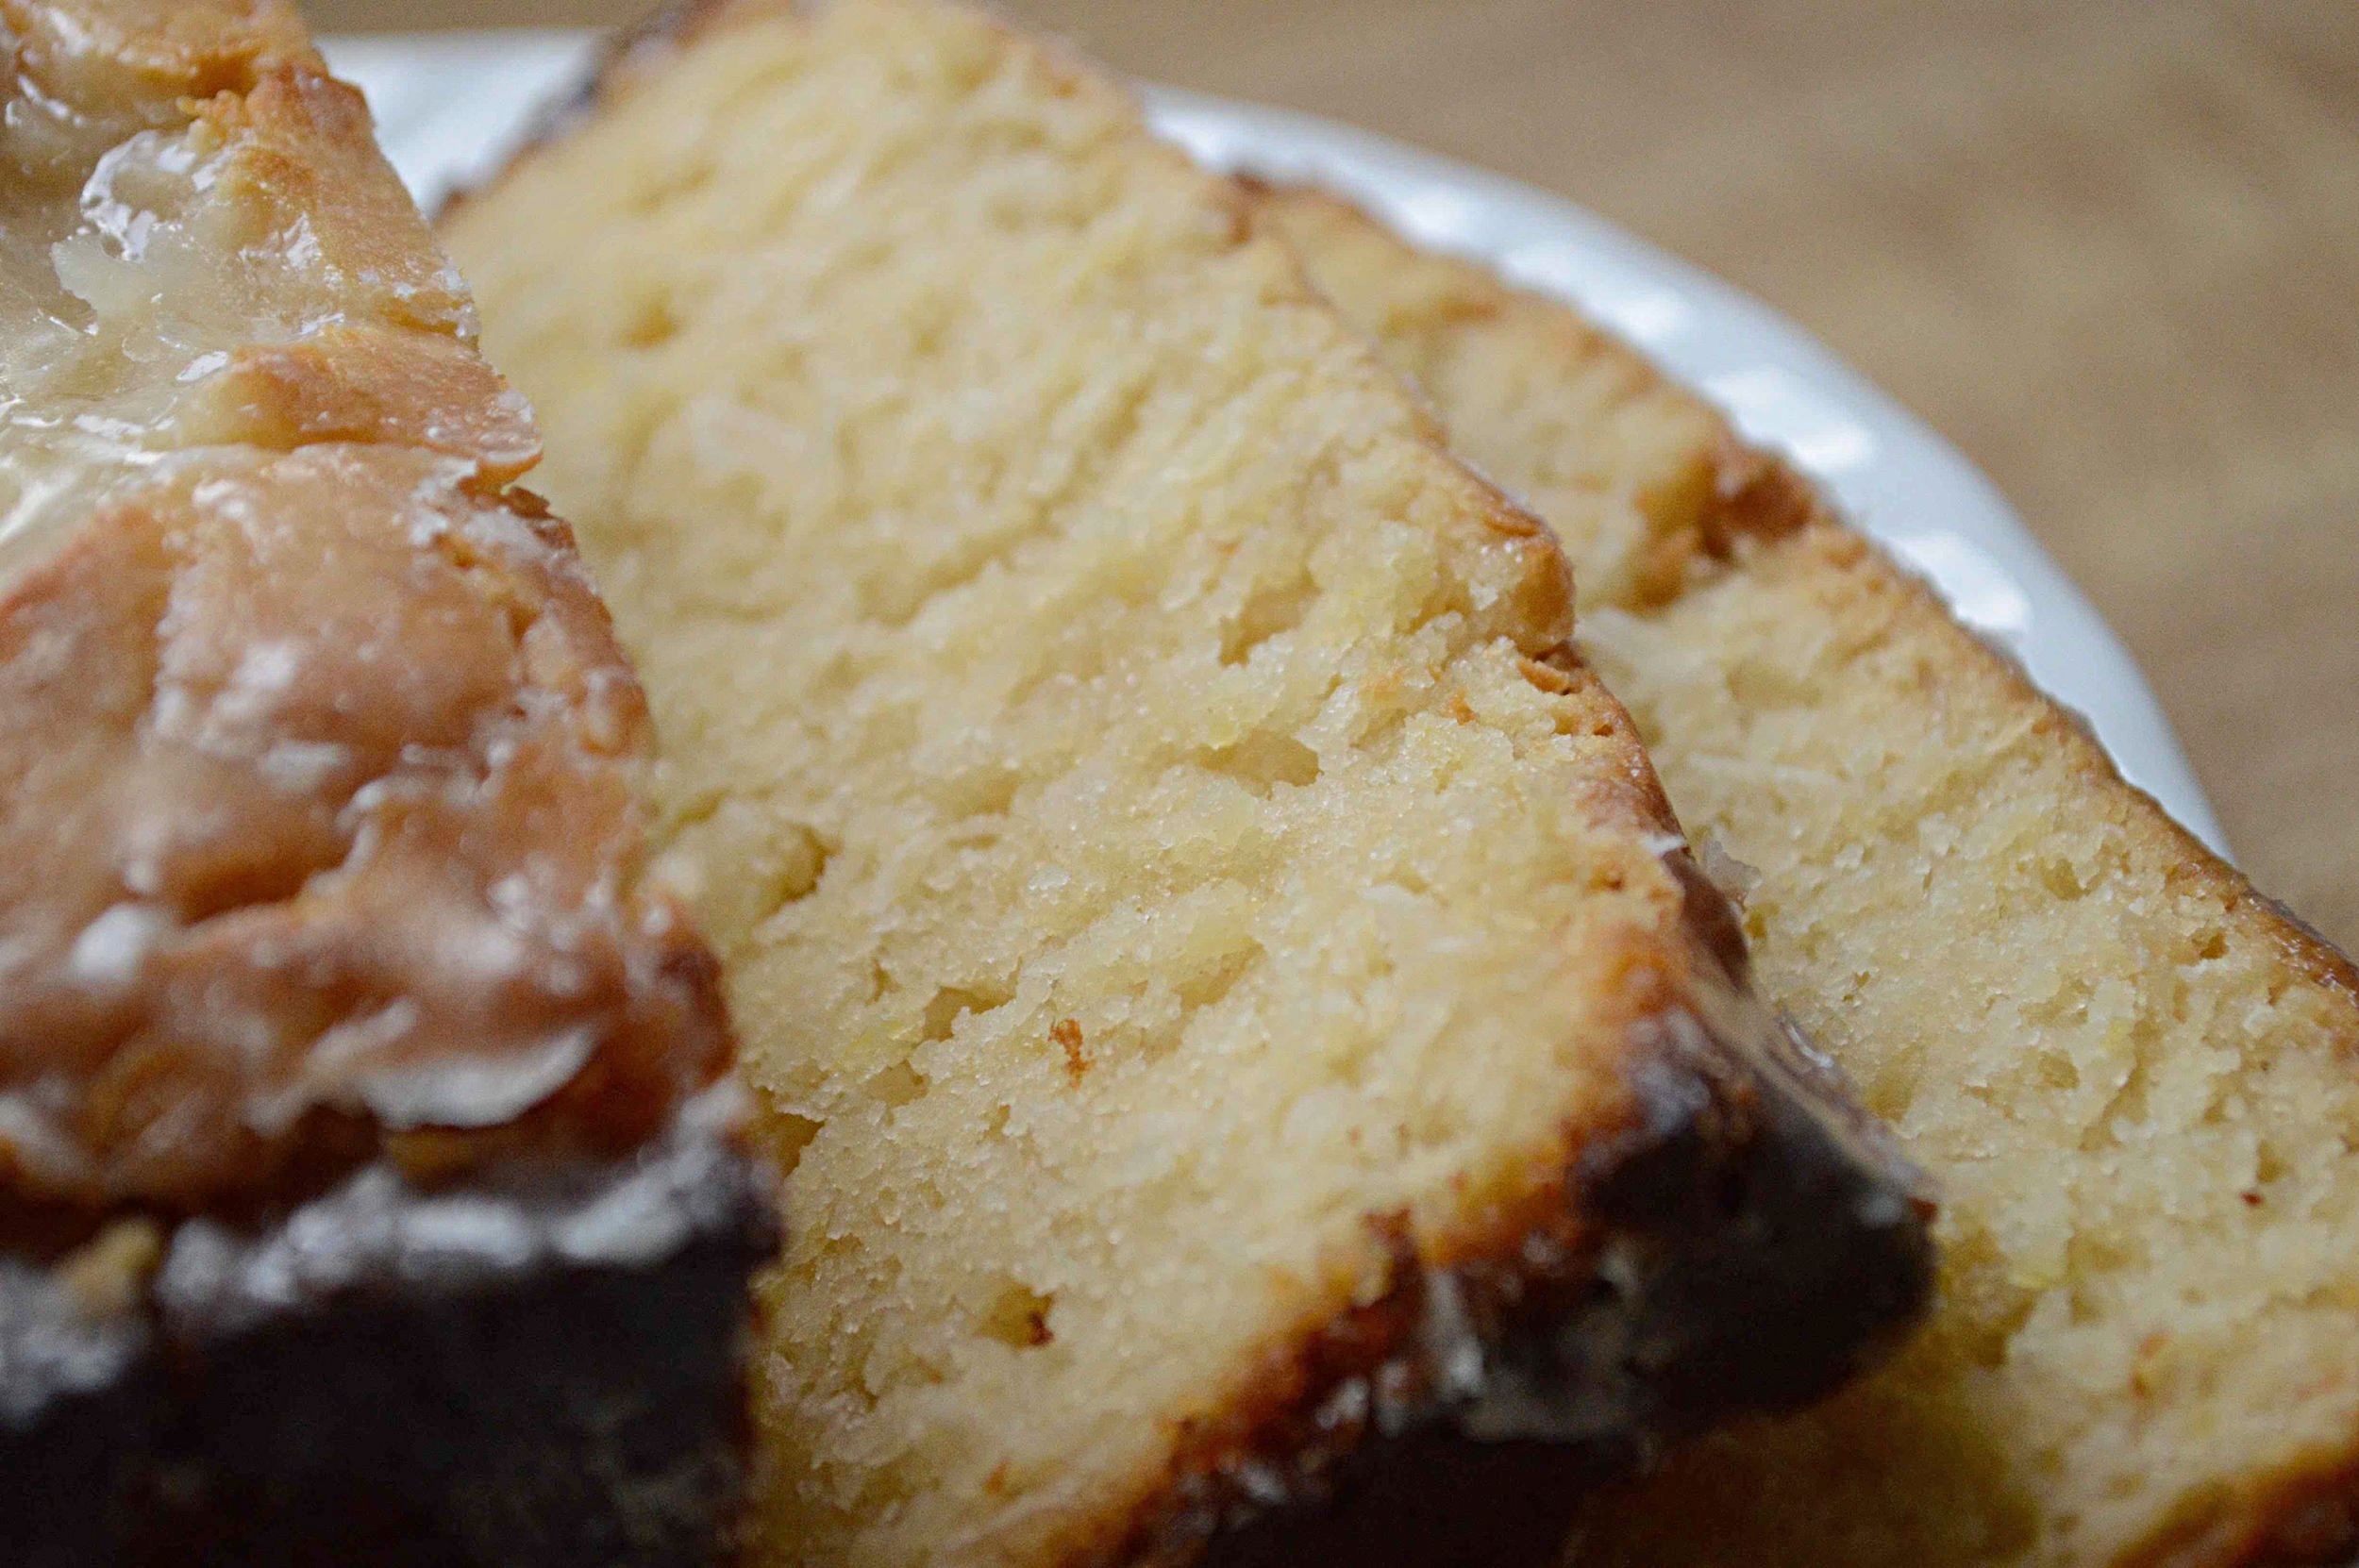
I love, love, love lemon bars (if you’re looking for the traditional kind, you should definitely give these a try). I also love, love, love coconut and in these bars you get the best of both worlds—a chewy coconutty, shortbread base topped with a creamy, tart lemon layer. Can’t believe I never thought to add toasted coconut to the lemon bar shortbread base before. Here we’re using the unsweetened, shredded kind so what you get is loads of coconut flavor without too much sweetness. Major yum!

In addition to my lemon and coconut love, I also love how easily these bars come together—both the crust and the filling are mixed up in the food processor.

Then, while the crust bakes, you whiz together the lemon filling ingredients, which include both lemon juice and zest for a powerful lemon punch, pour atop the partially baked crust and bake again.

Once the bars have cooled, you douse them with a lovely snowy layer of confectioners’ sugar—

And take that first heavenly bite!

Close your eyes and savor the wonderful flavors. So much lemon and coconut and deliciousness!

Have a fun and safe holiday weekend and I’ll see you next week as we unofficially head into what promises to be the strangest fall most of us have ever experienced, but at least we’ll be going through it together! xoxo

Lemon Coconut Bars
Makes 16-20 bars
You will need a food processor for these.
Prep Time for crust: 10 minutes; Bake Time for crust: 25 minutes; Prep Time for filling: 5 minutes; Bake Time: 30 minutes
Ingredients
For the crust
1 cup unbleached, all-purpose flour
⅓ cup sugar
¼ teaspoon salt
¾ cup unsweetened, shredded coconut, toasted and cooled
6 tablespoons unsalted butter, cut into cubes and chilled, plus a little extra softened butter for greasing the pan
For the filling
¾ cup sugar
2 large eggs
The grated zest from one large lemon
¼ cup fresh lemon juice (about 2 large lemons)
1 teaspoon unbleached, all-purpose flour
½ teaspoon baking powder
Pinch of salt
Confectioners’ sugar for dusting on bars
The Recipe
1. To make the crust: preheat oven to 350ºF. Line an 8 or 9-inch metal baking pan with enough foil so that there is an overhang. Butter the foil and set aside the pan.
2. Place the flour, sugar and salt in the bowl of a food processor and pulse together. Add the coconut and chilled butter cubes and blend until the mixture becomes a fine meal and starts to clump together. Gather the dough into a ball and press into the bottom of the prepared pan, making sure it is evenly dispersed. Bake crust for about 20 minutes, until the edges are golden.
3. Make the filling while the crust bakes: In the clean bowl of the food processor, blend the sugar, eggs, lemon zest and juice, flour, baking powder and salt together until smooth. When the crust comes out of the oven, evenly pour the filling over the hot crust and return to the oven. Bake for about 30 minutes until edges are beginning to brown and filling is just set and springy to the touch. Remove pan from oven, transfer to a wire rack and let cool completely.
4. Use the foil overhang to remove the slab from the pan and transfer to a cutting board. Carefully peel foil away and cut into 16 bars. Generously sift the confectioners’ sugar over the bars and serve. You can definitely make these a day ahead and store them in a single layer (so as not to mess up the powdered sugar and have them stick together) in an airtight container at room temp or make up to 5 days ahead and store in the fridge.
Enjoy!
Note: Recipe adapted from 2004 edition of Bon Appétit Magazine. I used unsweetened coconut, slightly increased the sugar in the crust and cooked this in a 9-inch pan instead of an 8-inch and shortened the time a little.