Parmesan and Chive Popovers


It’s time to welcome in another weekend, the first one in October for this year, and I highly recommend you do it by baking up a batch of these gorgeous Parmesan and Chive Popovers. Sounds good, no?!!

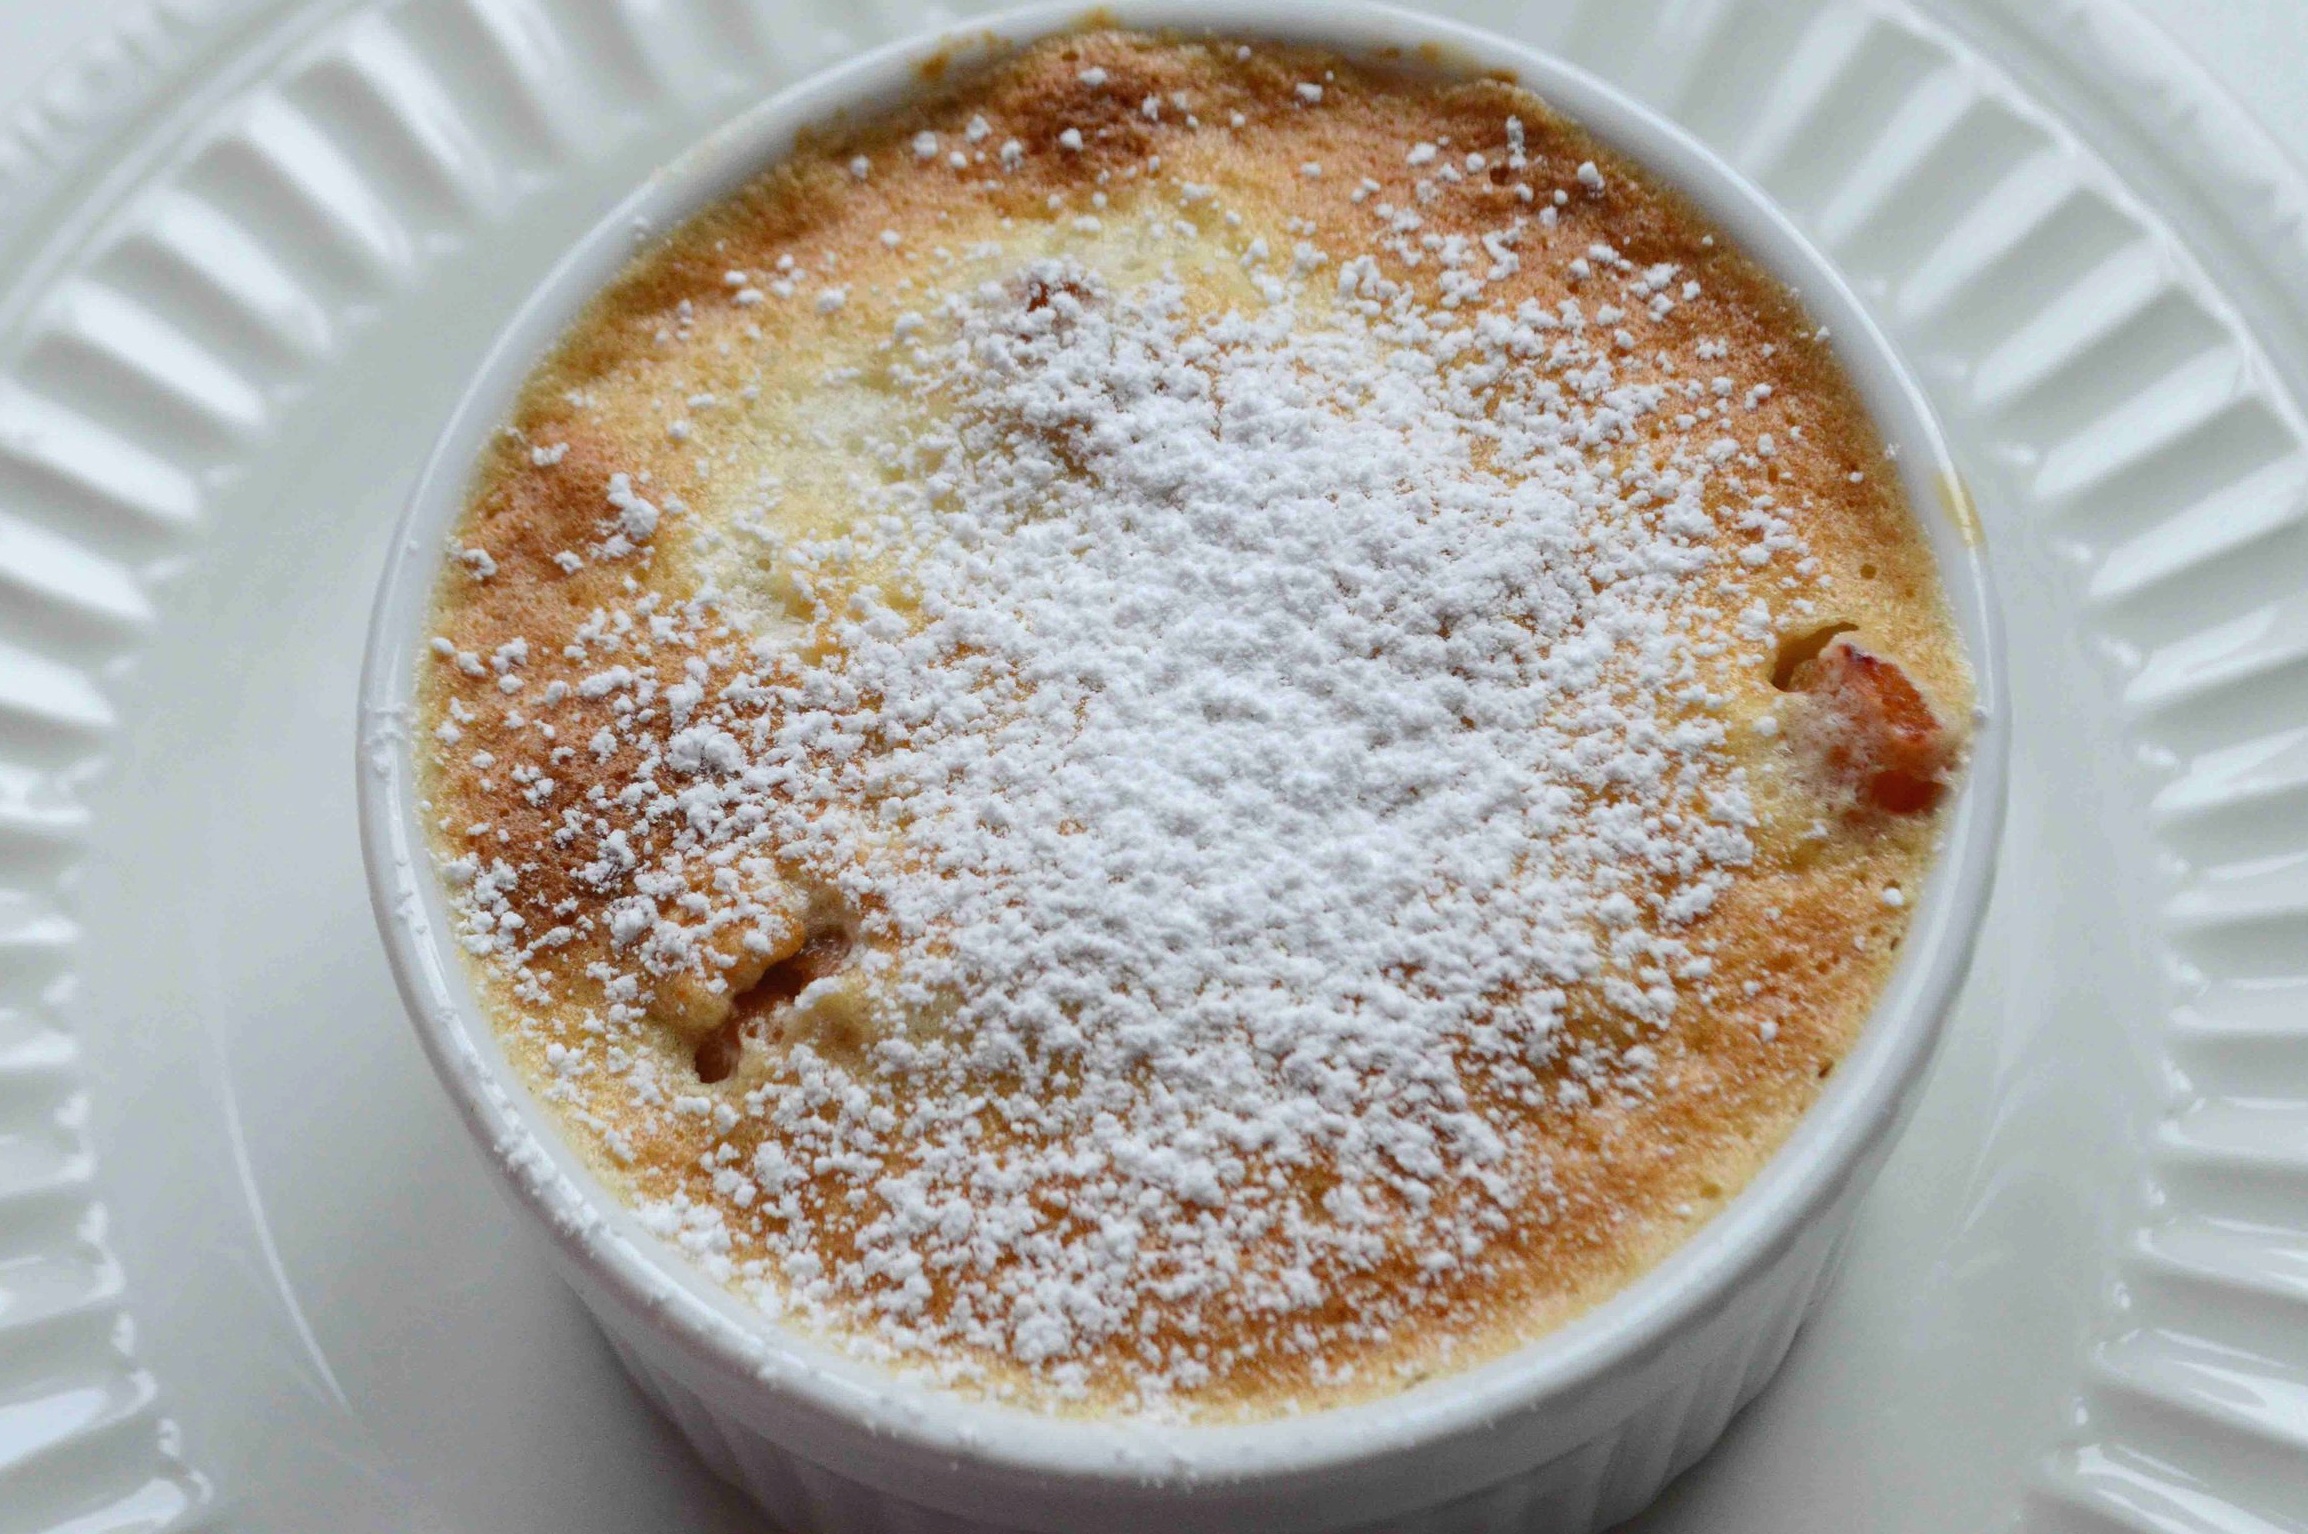
If you’ve never had a popover, I’m sad for you and before you try these savory ones, I really think you ought to give these more traditional ones a try. In fact, these are one of the first recipes I shared here on the site some 6 (gulp!) years ago, so you can see how near and dear these are to my heart. Basically, a popover is a sort of eggy, pancake-like batter muffin-like individual treat that puffs up enormously as it bakes so that you get a crispy, buttery exterior shell that surrounds a soft, rich, delicate and airy interior. Major YUM!!!

Generally, popovers are served with butter and jam and are more of a breakfast food. These cheesy, herby ones are so loaded with flavor that they don’t really need any additional toppings and would be just as welcome at dinner as they would be at breakfast or lunch. Gotta love their versatility!
And their taste! Full of that wonderful parmesan/chive combination!


Now don’t let the drama of these airy puffs intimidate you either. They’re actually fairly easy to make. The batter comes together in a snap with simple ingredients like butter, eggs, milk, flour and salt. Then you simply pour it into greased popover cups or ramekins. The only trick is not to open the oven while they’re baking which keeps these delicate cuties from deflating. So sit on your hands or do whatever is necessary during the baking process and you’ll be rewarded with airy, crispy, puffy towers of deliciousness!!

Every bite is golden, buttery, eggy, cheesy, chive-y and so, so good! I promise they’ll earn you cheers no matter when you serve them!
Have a terrific weekend and I’ll see you next week as we head into October and all the fall comfort foods together!xoxo

Parmesan and Chive Popovers
Makes 8 popovers
You don’t absolutely need a popover pan for this, but it really helps. If not, you can use ramekins instead, they just won’t puff up as much.
Prep Time: 15 minutes; Bake Time: 35 minutes
Ingredients
3 tablespoons unsalted butter, melted, divided
3 large eggs, room temperature
1 ½ cups whole milk, room temperature
1 ½ cups unbleached, all-purpose flour
1 teaspoon salt
3 tablespoons freshly minced chives (you can used dried too or a different herb if you prefer)
½ cup finely grated Parmesan cheese
The Recipe
1. Adjust oven rack so it is one rung below the middle and preheat oven to 450ºF. Popover pans are generally made with 6 cups so even if you have one, you will need two more cups—I always use ramekins that have about an 8-ounce capacity. Drizzle about 1 tablespoon of the melted butter into all of the popover and ramekin cups and use a pastry brush to spread it around to coat the surfaces. Set aside.
2. In a large bowl, whisk the eggs together. Whisk in the milk and then add in the flour and salt and whisk well, until the mixture is smooth. You will see lots of little air bubbles. Whisk in the remaining 2 tablespoons of butter. Pour the batter into a large pitcher or measuring cup to make pouring the batter into the popover cups easier.
3. Divide the batter evenly between the popover cups and ramekins, filling the cups about three-quarters full. Sprinkle the chives evenly among the cups and then the grated Parmesan. Do not stir them in.
4. Bake for 20 minutes without opening the door (if you do, the popovers may sink). Then lower the oven temp to 375ºF and bake for another 15 minutes, again without opening the door. Popovers are done when they look tall, crusty and well-browned (the ones in the ramekins will not rise as much). Transfer the pan to a wire rack and let cool for a minute or two and then remove them from their cups. Sometimes the ones in the ramekins are a little more difficult to remove—slide a butter knife around the edges to help loosen if necessary. Serve immediately—take care because a little burst of steam will come out when you pull these apart.
5. These are best on the day you make them, but if you have any leftovers you can store them in the fridge and reheat them in a low oven wrapped in aluminum foil for a few minutes.
Enjoy!
Note: Recipe adapted from The Harvest Baker by Ken Haedrich. I tinkered with the ingredients and some of the techniques as well.