Devil's Food Cake with Fudgy Frosting

Hi!!!! So sorry to be MIA—lots of family stuff (all good, whew!) but it certainly kept me from my kitchen and these pages. Hoping I can buy your forgiveness with this luscious Devil’s Food Cake with Fudgy Frosting. As you can see, I am not above a little food bribery!!
But before we do this devil’s food deep dive, I feel like I should give you a big neon flashing WARNING—if you and chocolate are not BFF’s, you might want to opt for something else, like this, this or even this ‘cause this decadent party cake is intensely chocolate through and through. If however, chocolate makes you look like this 😍, read on and let me convince you as to why you need to make this as soon as humanly possible!!

Devil’s Food Cake, named as the counterpoint to Angel Food which is traditionally white (how messed up is that?) generally uses unsweetened chocolate and a lot more of it than an ordinary chocolate layer cake, as well as baking soda (which raises the PH level) to produce a deeper, darker, richer colored and flavored chocolate cake. And though sometimes you’ll see it covered with a vanilla buttercream. it’s typically paired with a rich chocolate frosting, which means…

It’s chocolate, chocolate, and more CHOCOLATE!!
Did I mention this cake is heavy on the chocolate?!!!

It’s got a slightly dense but very flavorful chocolate-y crumb that comes together without a lot of fanfare or fuss!

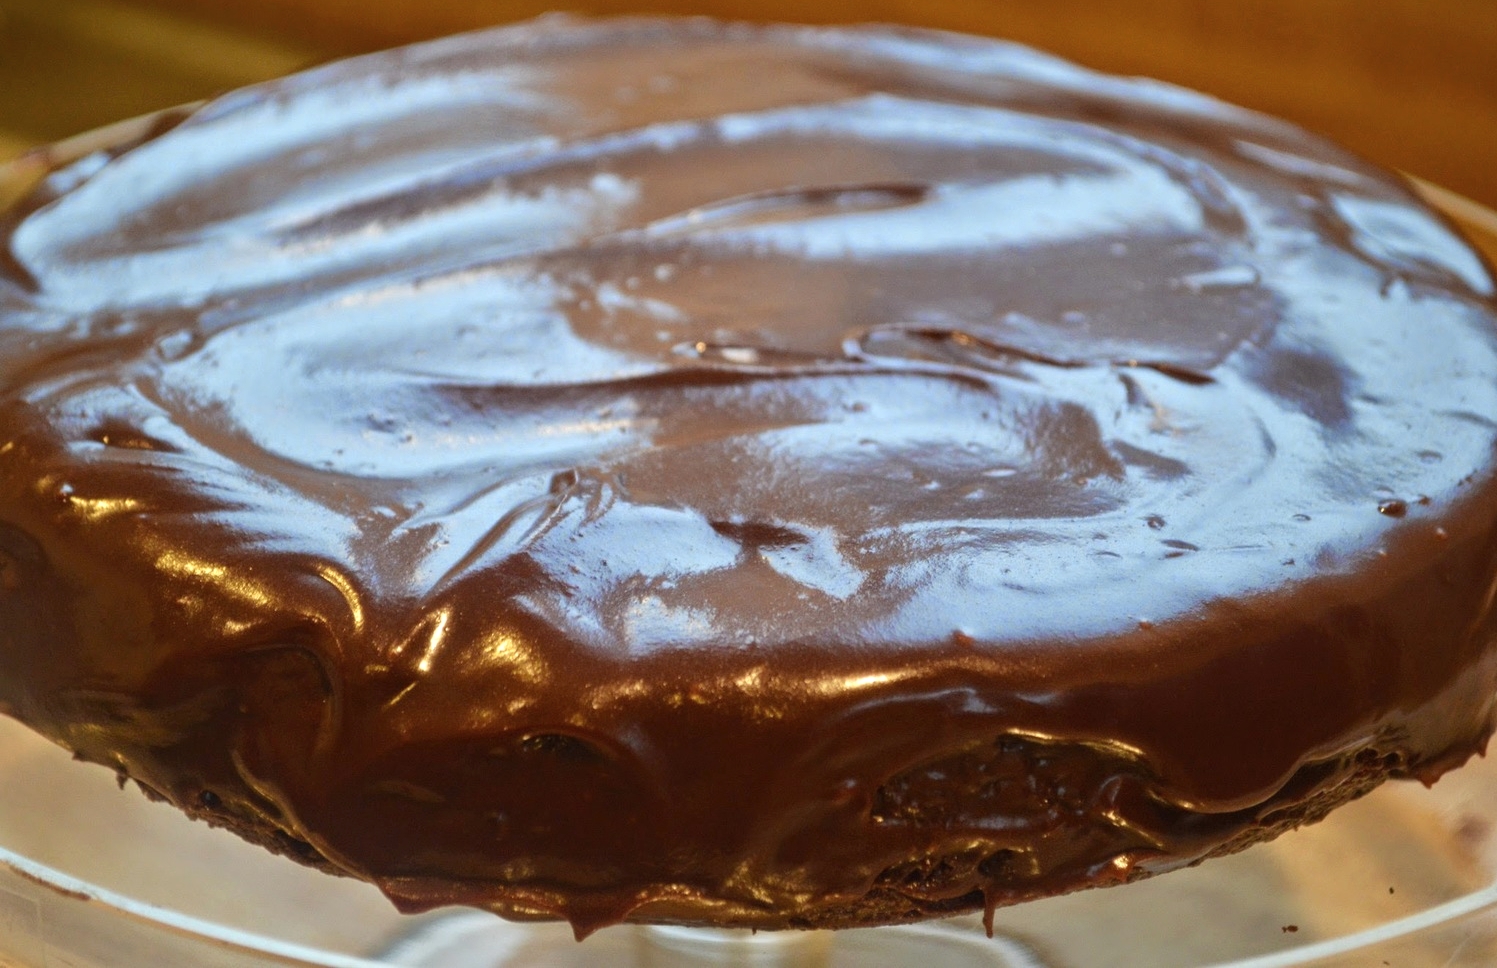
And a marvelous fudgy frosting that elevates this to chocolate heaven!!
It’s not for the faint of heart—in addition to the butter, egg yolks, corn syrup, sour cream and heavy cream, you also add 20 ounces of chocolate (you’ll work it off in the gym!) but it is sublime and totally worth it!
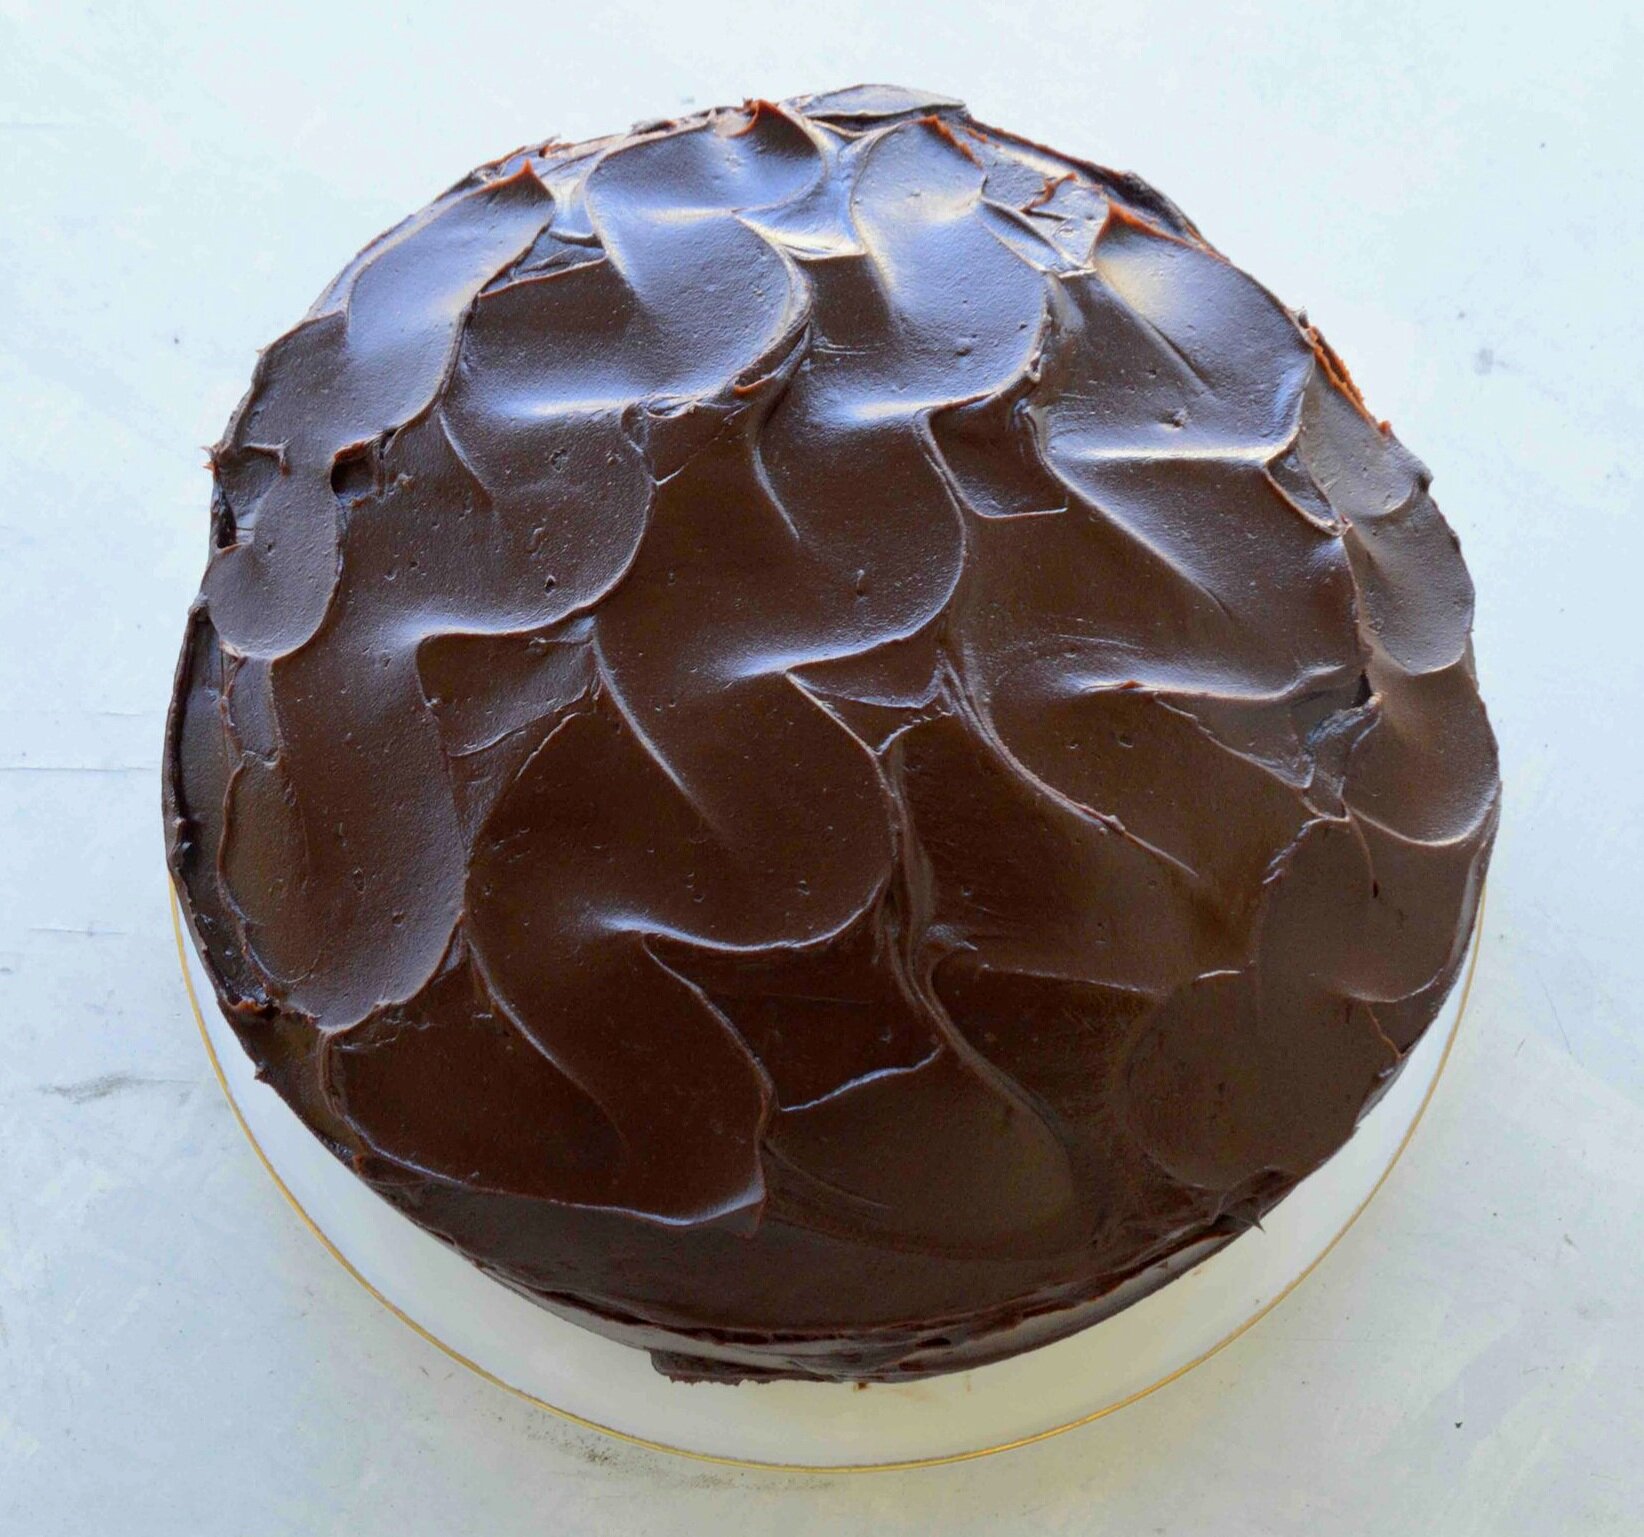
Gloriously rich, satiny smooth and just made for celebrating!!

Plus, it spreads beautifully, so that even a decoratively challenged person like me can make a cake look all pretty and swirly!

One bite and you too will declare this devil of a cake, “sinfully good” (sorry I just had to go there!). In any case, so glad to be back with you guys!! Happy baking!!

Devil’s Food Cake with Fudgy Frosting
Makes at least a dozen servings
Prep Time for cake: 20 minutes; Bake Time for Cake: 45-50 minutes; Prep Time for frosting: 15 minutes, plus at least 30 minutes of chilling time
Ingredients
For the cake
5 ounces unsweetened chocolate, chopped
3 cups unbleached, all-purpose flour
2 teaspoons baking soda
½ teaspoon salt
12 tablespoons (1 ½ sticks) unsalted butter, room temperature
1 ¾ cups light brown sugar, packed
3 large eggs
1 tablespoon vanilla extract
1 ½ cups sour cream
1 ½ cups boiling water
For the frosting
1 1/2 cups heavy cream
⅔ cup sugar
5 large egg yolks
1 teaspoon vanilla extract
20 ounces (1 ¼ pounds) bittersweet chocolate, finely chopped
16 tablespoons unsalted butter (2 sticks), cut into cubes
⅓ cup light corn syrup
⅓ cup sour cream
The Recipe
1. Preheat oven to 350ºF and grease and flour two 9-inch round cake pans. Set aside.
2. Put an inch or two of water in the bottom of a saucepan and bring it to a simmer. Place the chopped chocolate in a bowl that fits over the saucepan and melt the chocolate, stirring often. Don’t let the water in the pan touch the bottom of the bowl. When the chocolate has melted remove the bowl from the heat and set aside.
3. Meanwhile, sift the flour, baking soda and salt together and set aside.
4. In the large bowl of an electric mixer, cream together the butter and brown sugar until light and fluffy. Add the eggs, one at a time, scraping down the sides of the bowl as needed with a rubber spatula and beating well between each addition. Remove the bowl from the mixer and add in the vanilla and melted chocolate, using the spatula to mix them in by hand so that you don’t overmix and wind up with a too-dense crumb.
5. Now add ⅓ of the flour mixture and gently mix together. Add in the sour cream and mix. Then add another ⅓ of the flour and mix, followed by the remaining sour cream and finally the last of the flour. Use a gentle hand and only mix until you can see no trace of the ingredients.
6. Stir in the boiling water and mix until well blended—the batter will be kind of liquidy. Divide the mixture between the prepared baking pans and bake for 45-50 minutes, until a tester inserted into the center of each cake comes out clean and the cakes feel firm to the touch.
7. Transfer cakes to wire racks to cool for about 30 minutes, then remove from the pans and let finish cooling completely on the racks. You can definitely make these up to 1 day ahead. Just wrap well and store at room temperature.
8. To make the frosting: In a medium saucepan, combine the cream and sugar over medium-low heat and stir constantly, bringing the mixture to a low boil. Set aside.
9. Add the yolks and vanilla to a small bowl and whisk well until blended. Whisk about ½ cup of the warm cream mixture into the yolk mixture and then scrape the whole thing back into the saucepan with the remaining cream mixture. Cook it over very low heat, whisking constantly for 3-4 minutes, until the mixture is thick enough to coat the back of a spoon—watch carefully because you don’t want the eggs to start to scramble.
10. Add in the chopped chocolate and the butter, whisking a few times and then remove the pan from the heat. Continue to whisk until the butter and chocolate have melted and the mixture is completely smooth.
11. Whisk in the corn syrup and sour cream until well blended. Scrape the frosting into a shallow bowl and place it in the fridge to help it cool down, stirring every so often, for 30-40 minutes, until the mixture becomes thick, creamy and spreadable. Just be careful not to overchill it or the frosting won’t spread easily.
12. To frost the cake: if the cakes are at all uneven, use a large serrated knife to slice off the top rounded portion and nibble away. Line a cake plate with a 4 strips of parchment or wax paper placed in a square formation near the edges of the plate to catch frosting drips and place one of the cakes, cut side down on top of them. Spread about ⅓ of the frosting all over the top of the cake. Place the other layer, cut side down, on top. Spread the remaining frosting all over the sides and top of the cake. Let set for at least 15 minutes, then slice and serve.
13. Store leftovers at room temperature, covered for up to 2 days and up to 1 week in the fridge.
Enjoy!
Note: Recipe adapted from The Foster’s Market Cookbook. I stuck pretty true to the recipe but used bittersweet chocolate in the frosting rather than semisweet.