French Silk Pie Bars


This weekend, before one of my nieces who is a confirmed chocoholic and pudding pie lover, embarked on a very outdoorsy wilderness adventure tour, I decided the girl could not be expected to tramp through the woods without a serious pre-trip chocolate indulgence, and thus, these French Silk Pie Bars. What’s a dessert-obsessed aunt to do?!!
If you’ve never had French Silk Pie before you should know that it’s basically like a chocolate pudding pie but with a more mousse-like filling which you achieve by folding whipped cream into the custard. Many versions contain raw eggs, but not this one, so no worries here. Oh, and there’s a flaky pie crust and mounds and mounds of whipped cream topping, so YUM!!!!
These bars are exactly like the pie except in cute little individual portions which make them just perfect for spoiling hiking nieces or serving at your upcoming bbq’s (these would be a major hit at any July 4th celebration, I guarantee!!)

And while they may not be the simplest of desserts to prepare, no one part is difficult and you can definitely prepare the separate components a day ahead and then just assemble the bars a few hours before serving.
So let’s get started: First up, an all-butter, make-in-the-electric-mixer pie crust which eventually gets rolled into a 9x13-inch baking pan and pre-baked.


Next: That silky chocolate filling

Which ultimately gets even silkier because you fold a generous amount of whipped cream into it.

Now we spread it into the baked crust.

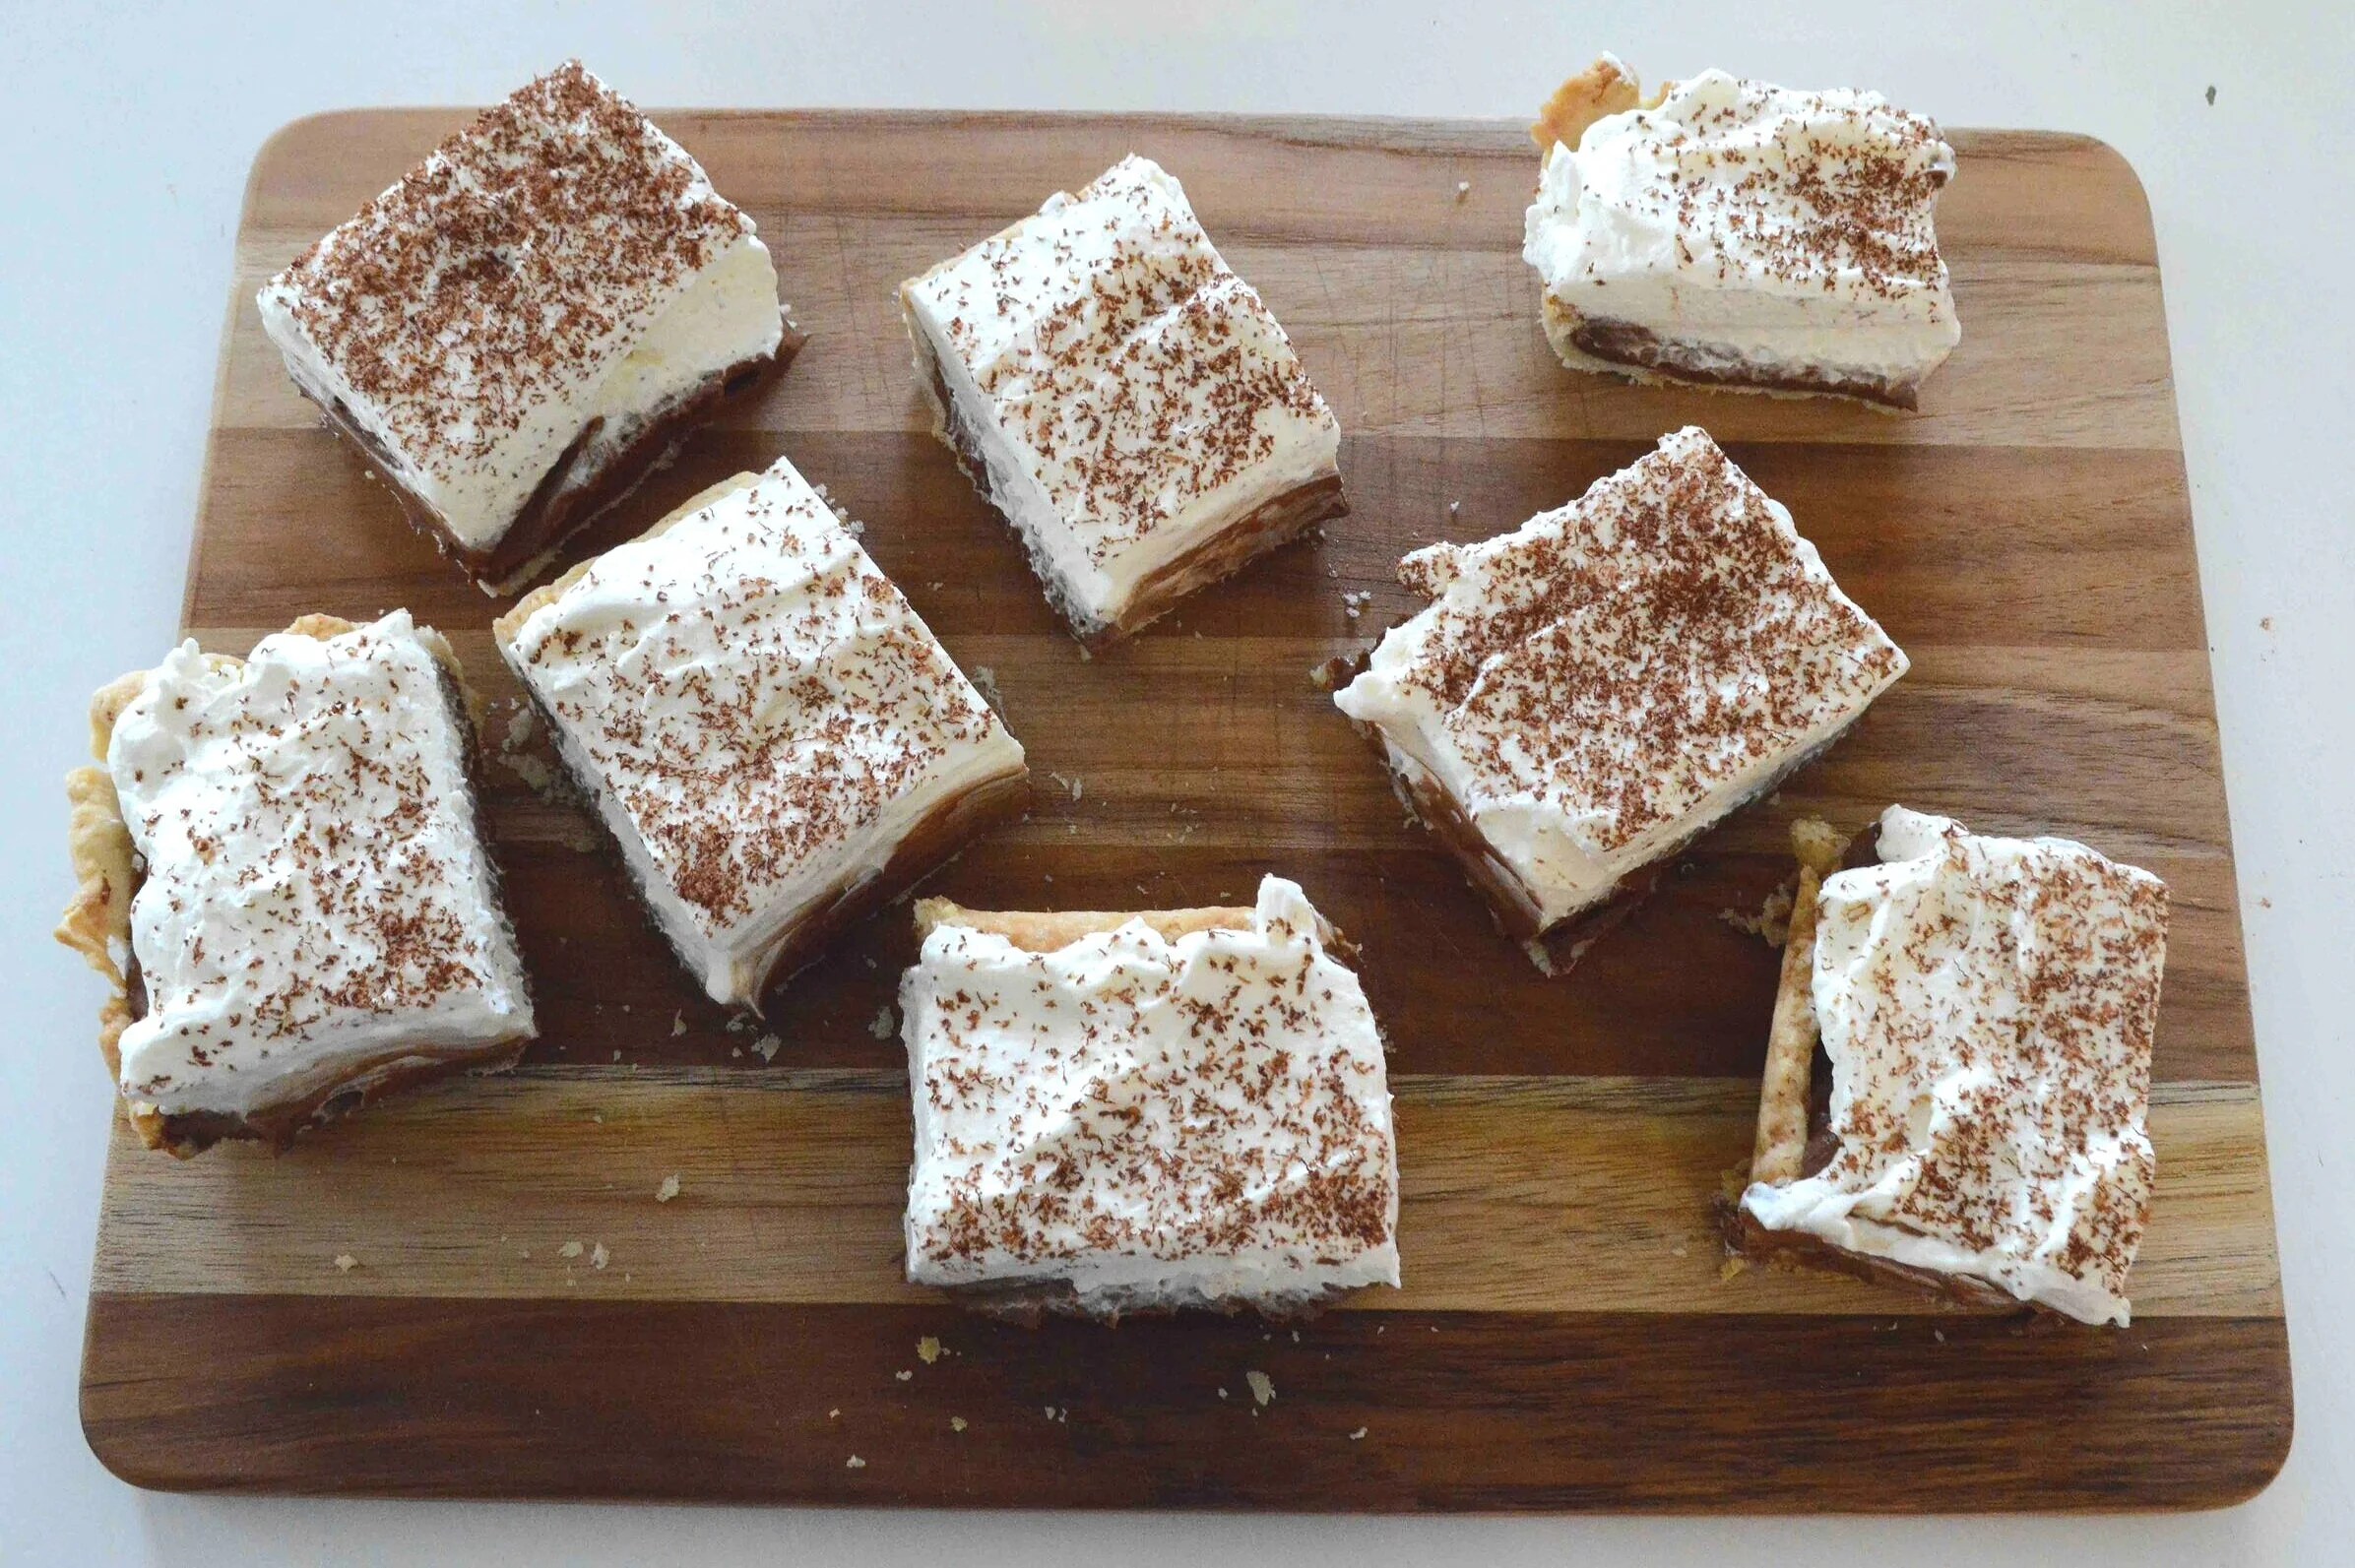
And follow it up with a sweet and fluffy cream cheese/whipped cream mixture layer topped with little chocolate shavings.

Guys, these are seriously amazing! I mean, how could they not be, right?!! Every bite is luscious, decadent and oh so satisfyingly chocolate!

Dreamy!!

Full disclosure—since I first wrote this post my little chocoholic hiker got sick and had to come home but I swear it wasn’t cause of these bars!! In fact, I have the feeling I’ll be delivering another batch in the very near future!!

French Silk Pie Bars
Makes about 16-20 bars, depending on how large you cut them
You will need a ¼ sheet pan for this.
Prep Time for Crust: 20 minutes; Bake Time for Crust: 25-30 minutes; Prep Time for Filling: 20 minutes; Prep Time for Cream Topping: 5-7 minutes, plus pie needs to chill at least 1 hour before cutting
Ingredients
For the crust
8 tablespoons unsalted butter, cut into 16 pieces and chilled in the freezer for 10 minutes
1 1/2 cups unbleached, all-purpose flour, plus a little extra for rolling out dough
1 tablespoon sugar
½ teaspoon salt
¼ cup ice water
For the filling
7 ounces bittersweet chocolate, chopped
4 large eggs, room temperature
¾ cup sugar
¼ dark brown sugar, packed
¼ teaspoon salt
3 tablespoons water, room temperature
2 teaspoons vanilla extract
8 tablespoons unsalted butter, room temperature and cut into 8 pieces
½ cup heavy cream
For the Cream topping
4 ounces brick cream cheese, room temperature (½ block)
2 tablespoons sugar
1 teaspoon vanilla extract
Pinch of salt
2 cups heavy cream
Chocolate shavings for garnish (optional)
The Recipe
1. To make the pie crust: Preheat oven to 375ºF. Use an electric mixer on low speed to combine the flour, sugar and salt together in a large bowl. Add 1/2 of the cold butter and mix on low speed for about 1 minute until the butter starts to break down. Add the rest of the butter and mix until most of the butter is pea-sized (it’s ok if there are still some larger pieces) and there are not huge amounts of dry flour unmixed. Add the ice water in slowly and mix on low-speed just until a shaggy dough begins to form. If you pinch a handful, it should basically stay together—try to resist the urge to overmix.
2. Flour a board or clean counter and dump the dough, along with all the crumbly bits onto it. Form the dough into a rough square. Now fold the side furthest from you over onto itself, so you are essentially folding the dough in half. Flatten it back into a square and repeat the whole process three more times. After the last fold, flatten the dough into a rough rectangle and roll the dough with a floured pin into a little larger than a 9 x13-inch rectangle. Transfer the dough to the ¼ sheet pan, gently pressing into the corners and up the sides. Fold over any overhang. Line with a piece of parchment paper and top with dried beans or pie weights.
3. Bake the dough for 20 minutes, then remove the parchment paper and weights and return the crust to the oven for another 5-7 minutes until it looks golden brown. Let the crust cool completely on a wire rack. You could also make this a day ahead and store well-wrapped in the fridge.
4. To make the filling: While the crust is baking, melt the chocolate in a microwave-safe bowl in 30 second increments, stirring well between each zap, until chocolate is melted and completely smooth. Set aside to cool.
5. Fill a medium saucepan with about an inch of water and bring to a boil. Meanwhile, in the bowl of your stand mixer (or another large bowl that would fit over the saucepan) use a rubber spatula to stir together the eggs, both sugars, salt and water. Place the bowl of the boiling water making sure the bottom of the bowl does not touch the water. Stir the mixture with the spatula until the sugar is completely melted and the temperature of the mixture is about 160ºF. Make sure you stir constantly and scrape the sides of the bowl so that eggs do not scramble. Watch carefully.
6. Transfer the bowl to the stand and fit on the whisk attachment. Beat on high speed for 8-10 minutes, until the mixture is light and fluffy and the outside of the bowl is cool to the touch. Switch to the paddle attachment and add the melted chocolate and vanilla, beating on low speed, until combined, scraping down the sides and bottom of the bowl as needed. With the mixture on medium speed, add in a few pieces of the butter at a time, beating them in until completely incorporated before adding the rest. Scrape the mixture into a separate bowl. Now you can either proceed and make the rest of pie or cover the bowl with a piece of plastic wrap and chill the mixture for up to one day.
7. When you are ready to assemble the pie. beat the ½ cup heavy cream in a clean bowl with clean beaters for about 30 seconds on low speed, then beat on high until it is thick and smooth and doubled in volume but not stiff. Use a rubber spatula to fold the cream into the chocolate mixture. Scrape it into the crust and smooth into an even layer.
8. To make the cream topping: Attach the whisk attachment and in a clean bowl, beat the cream cheese on medium speed until it’s smooth. Add in the sugar, vanilla and salt and beat on low speed, scraping down the bowl, then turning it to medium and beating until the mixture is smooth. Scrape down the bowl and on low speed, slowly add the heavy cream. When all the cream has been added, beat on medium-high speed, scraping down the sides and bottom of the bowl as needed, until stiff peaks form. Spread the cream all over the chocolate mixture in the pan and decorate with the chocolate shavings (if using). Chill the pie for at least 1 hour and up to 8 before slicing into bars and serving.
Enjoy!
Note: Recipe adapted from 100 Cookies by Sarah Keiffer—I stayed pretty true to the recipe but modified some of the techniques.