Angel Biscuits
Yikes! It’s the last Friday in June!! Wh-a-at?!! How did that happen? And how is July 4th only a week away?!! I promise to get a party post of fun, outdoorsy foods to you this weekend so you can start making plans, but first I had to get these amazing Angel Biscuits out to you because if you have even the teensiest bit of time to toss them together this weekend, you are going to make your people (and yourself) so, so happy!
We’ve been on a huge breakfast biscuit kick lately. I’ve been making these and these and even trying out some new recipes that I haven’t posted, but more and more, these flaky, light Southern-style biscuits have been rising (pun intended) to the top of the list!

So…what exactly are Angel Biscuits, you might be asking yourself? Part buttermilk biscuit, part soft yeast roll, some say they got their name from their airy, pillowy “angel wing” consistency. Others attribute it to the fact that they taste heavenly. One of my Google searches even claimed that they got their name because kids loved them so much that they would act like “little angels” just to get their mamas to whip up a batch. Who knows? Maybe it’s a little bit of all three. The most important thing to know is that they are seriously delicious!!
And easy to make. No mixer required! After putting together the dough, you simply roll it out—
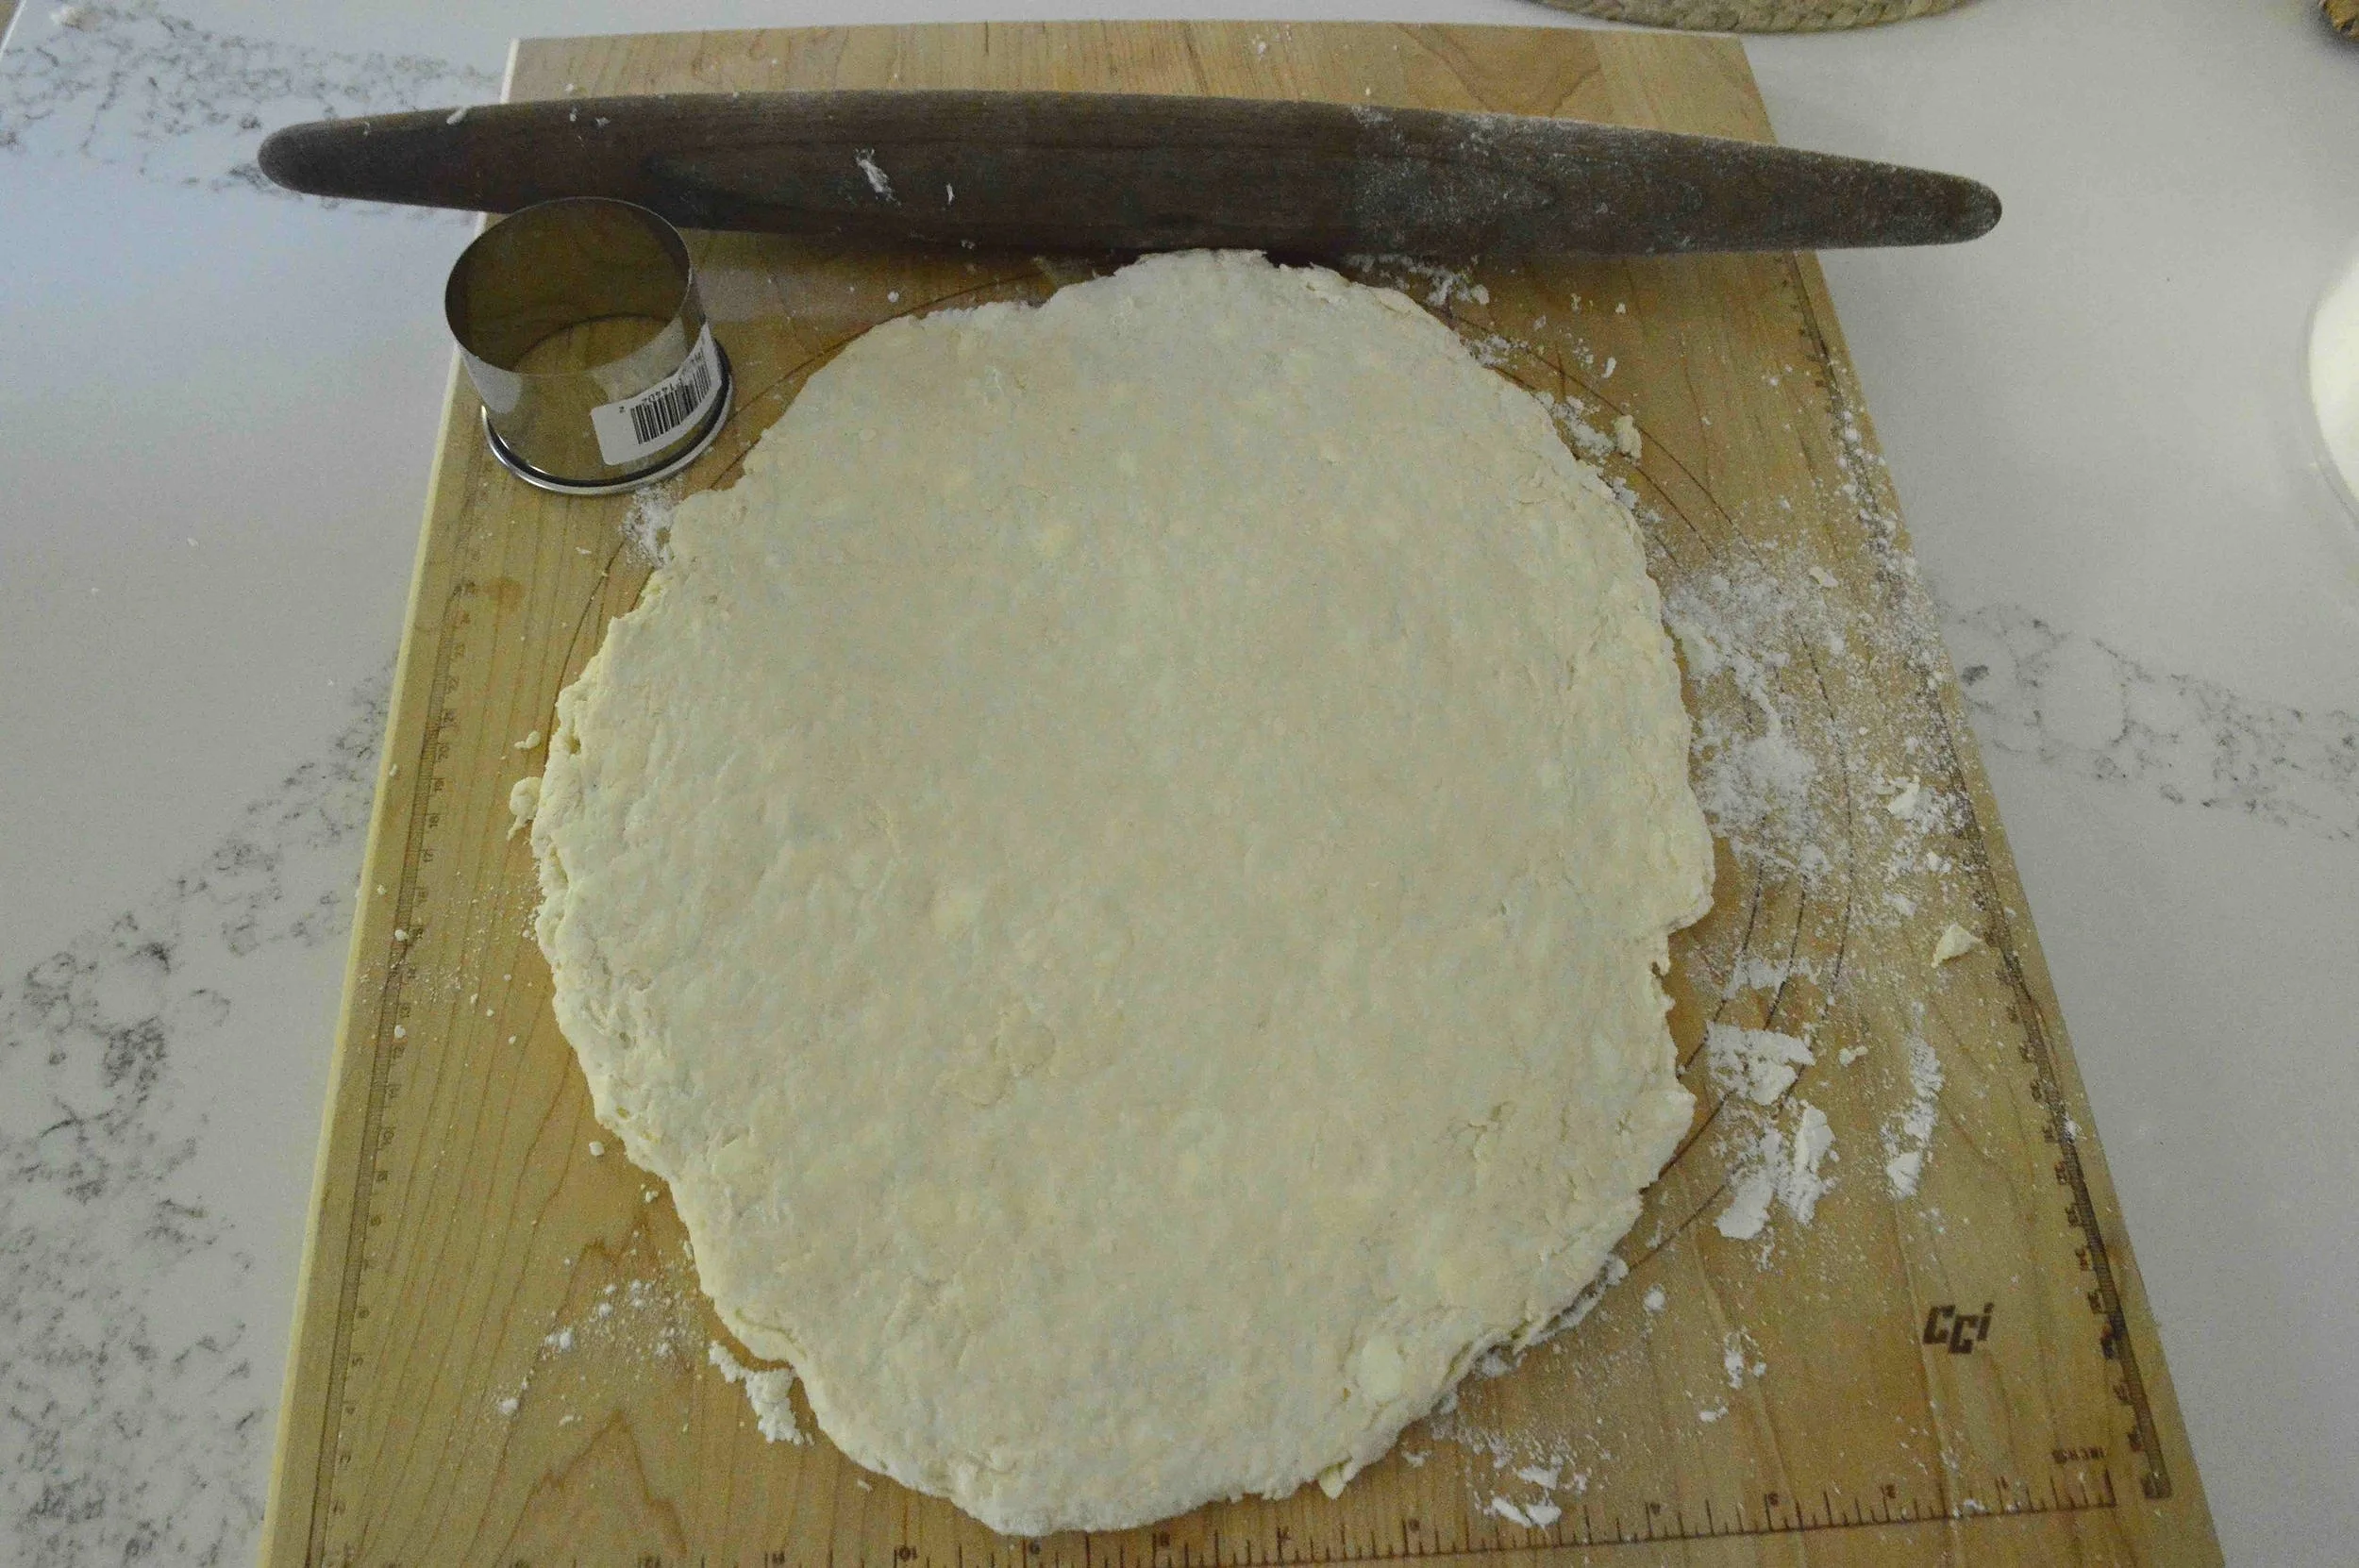
Cut out biscuits—

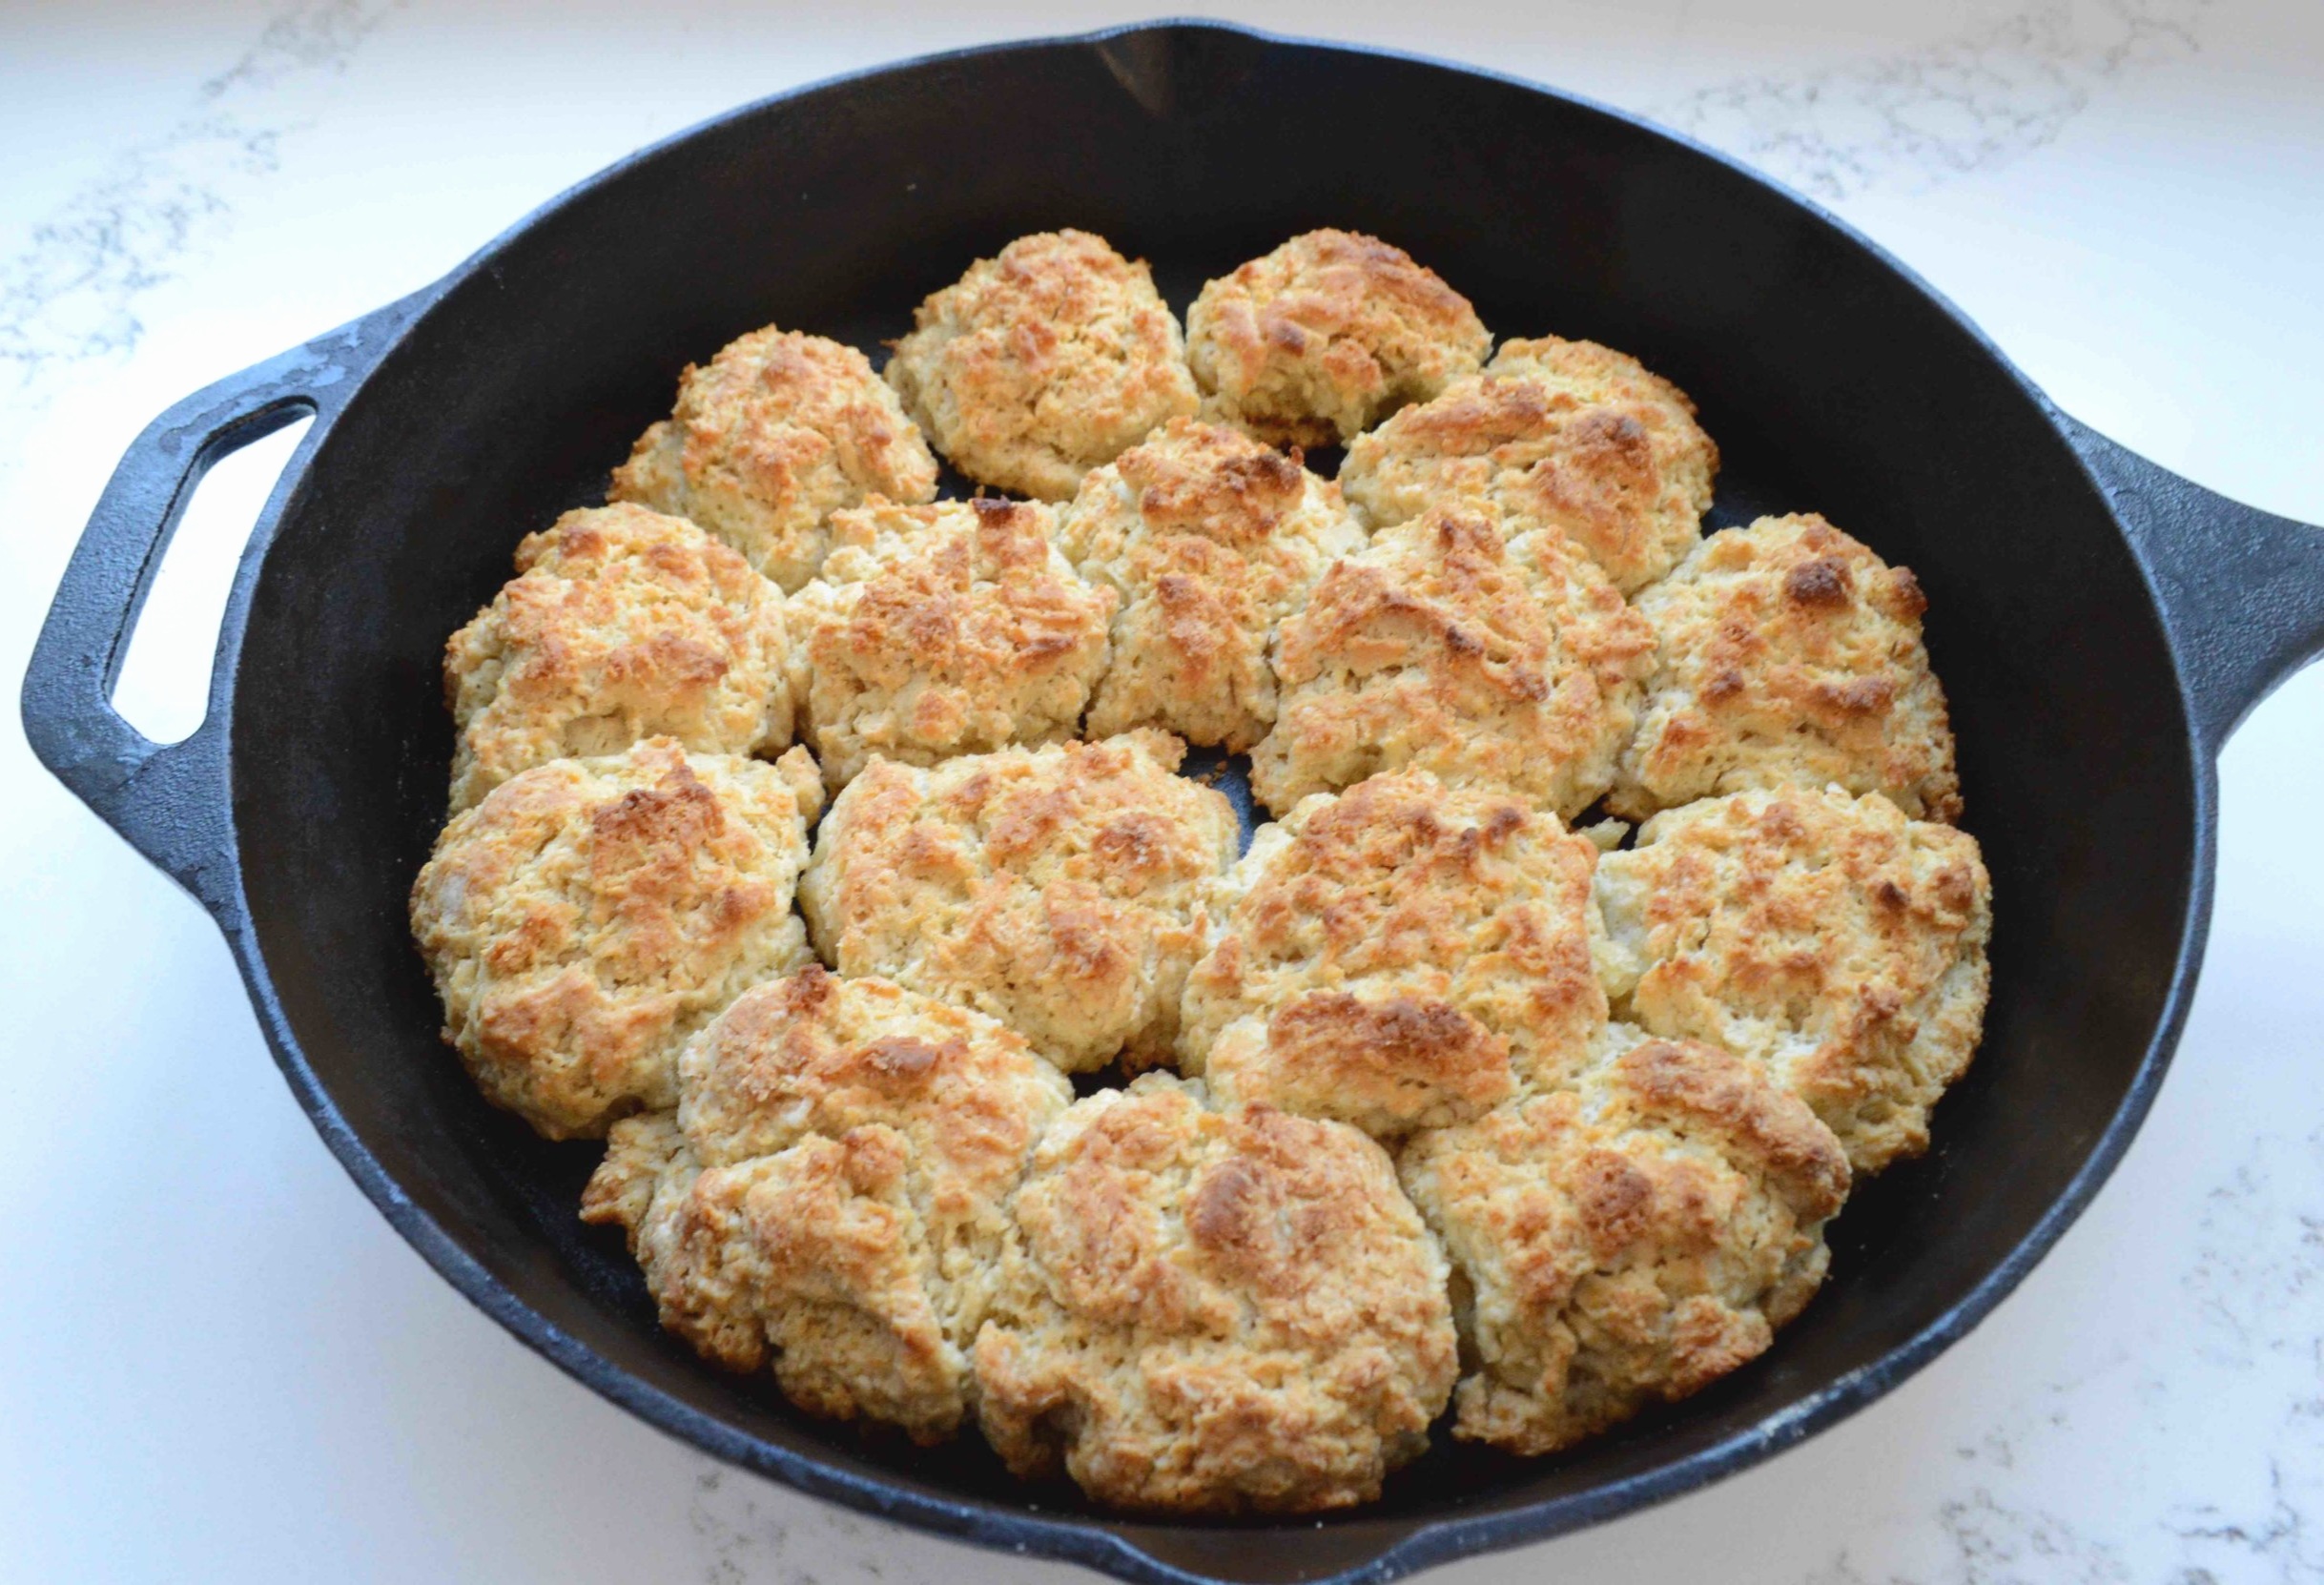
Brush with a little melted butter and bake!

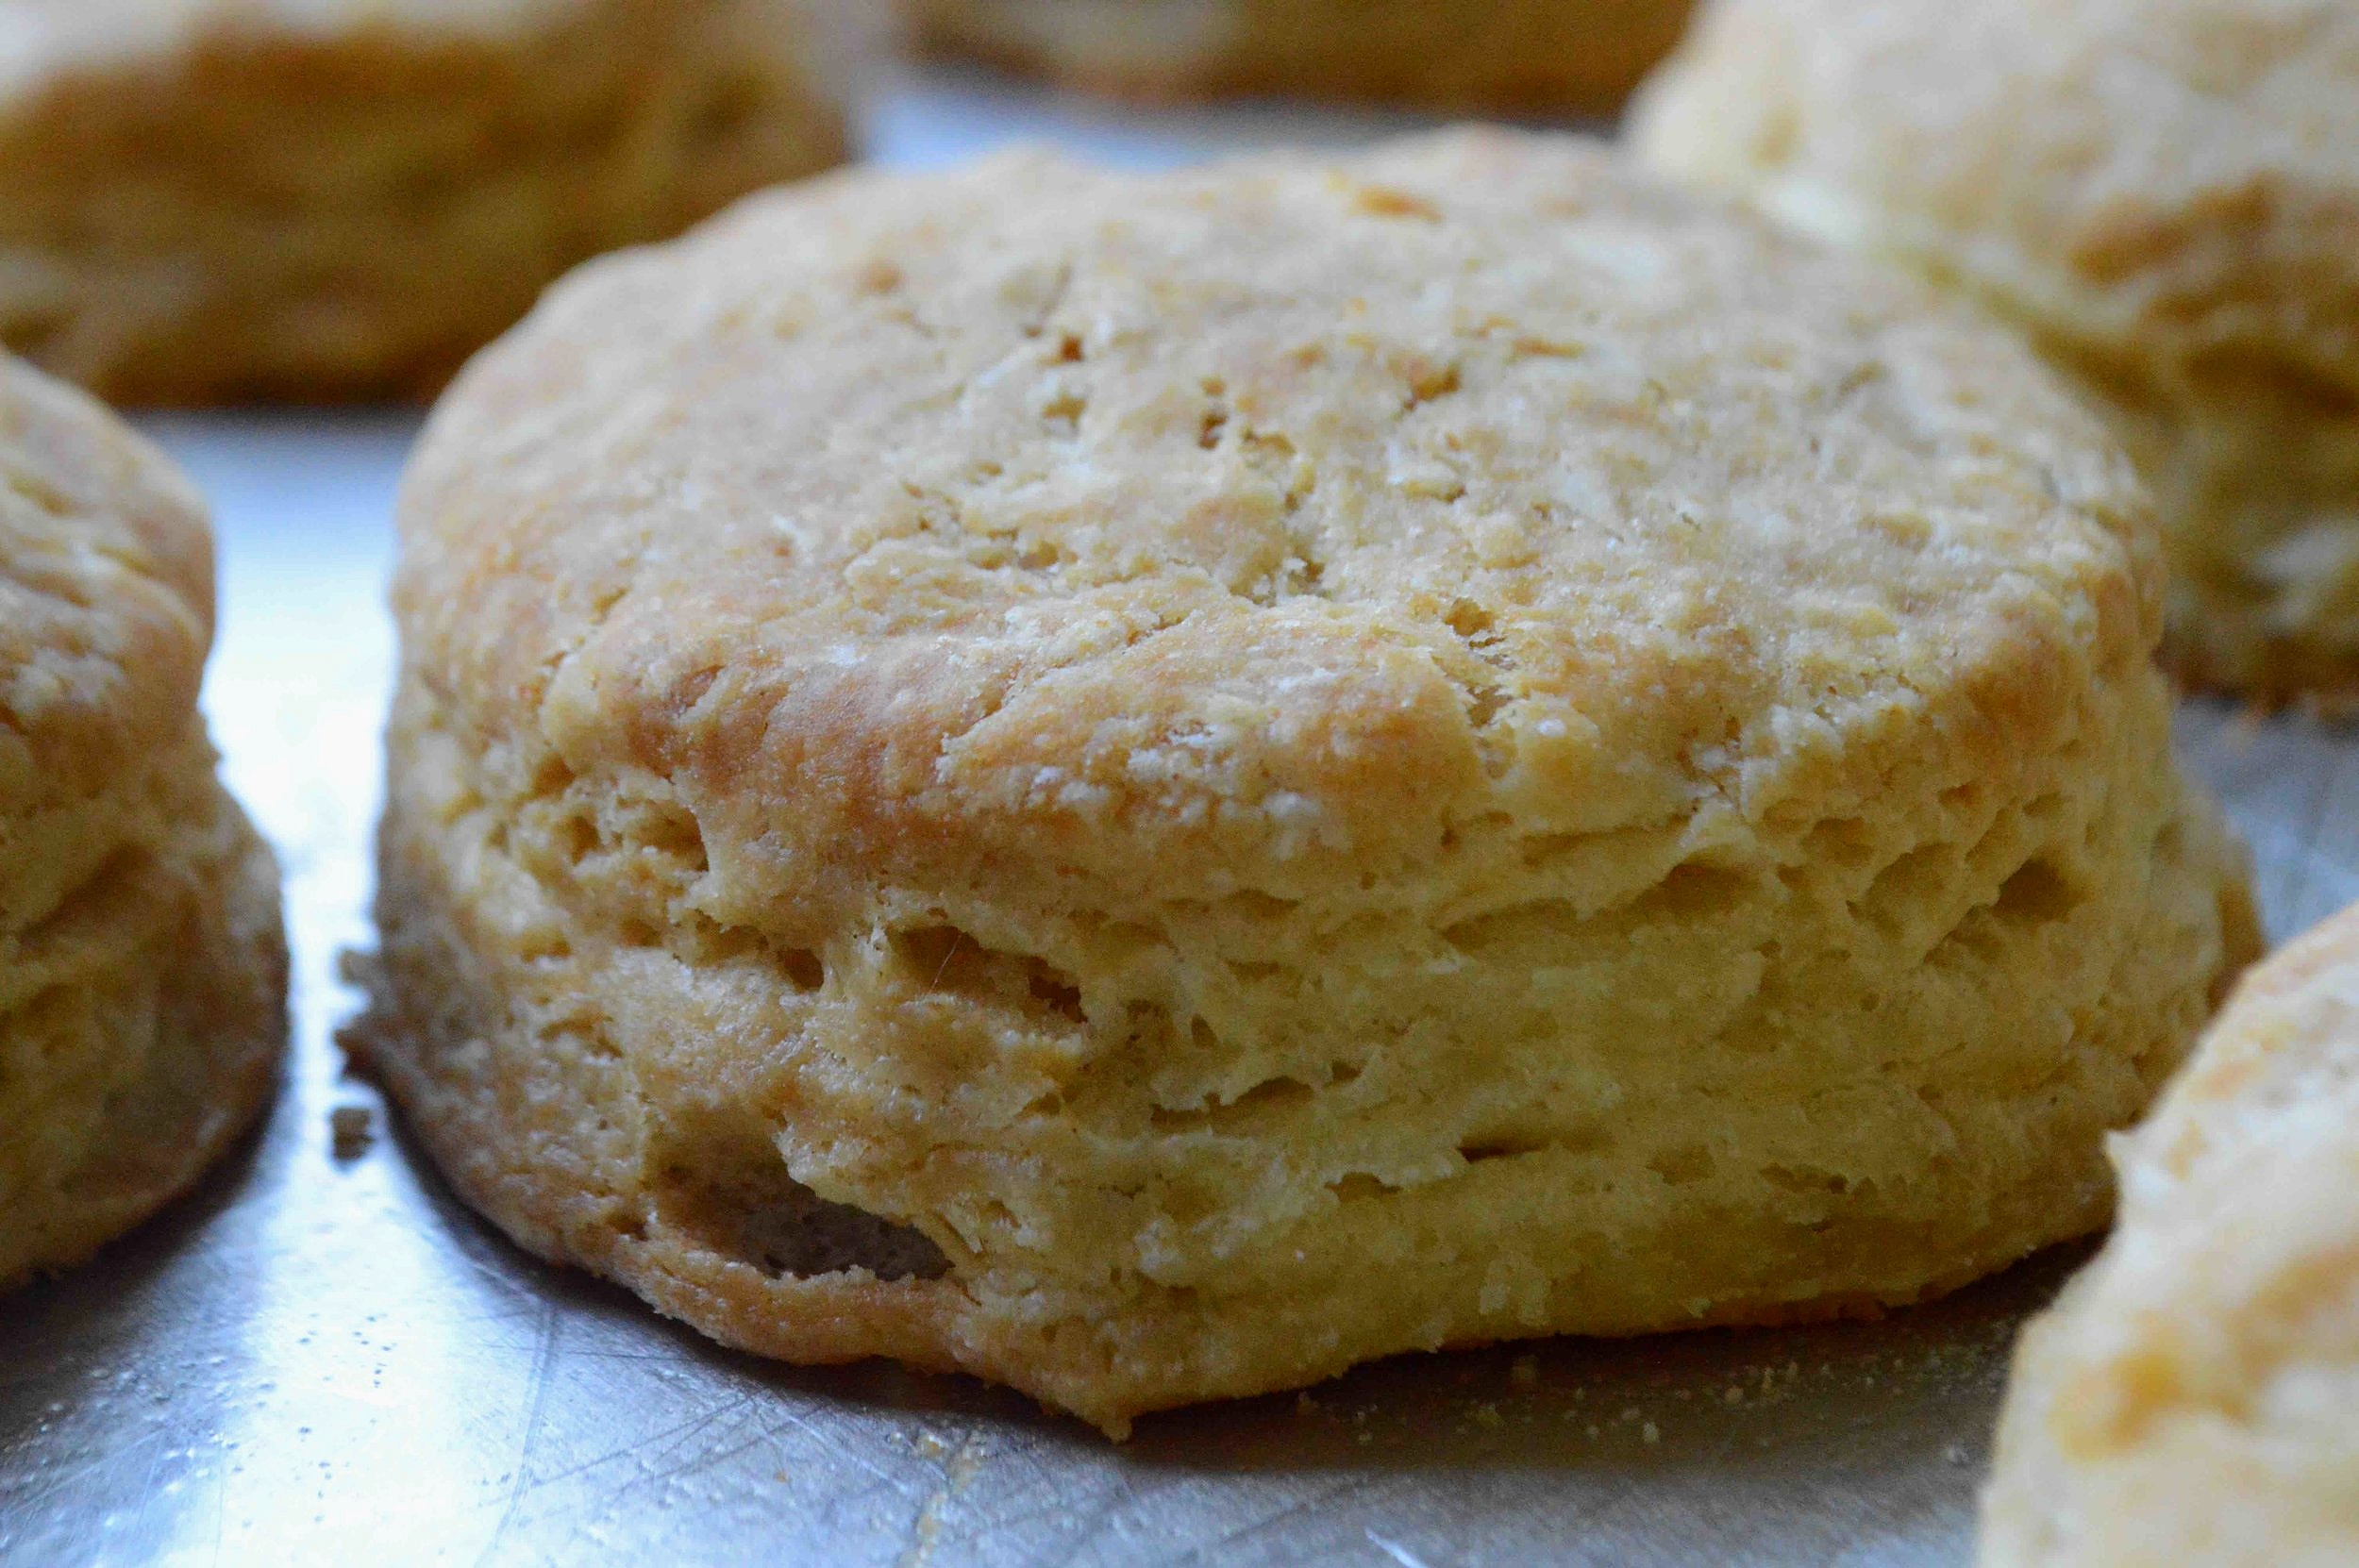
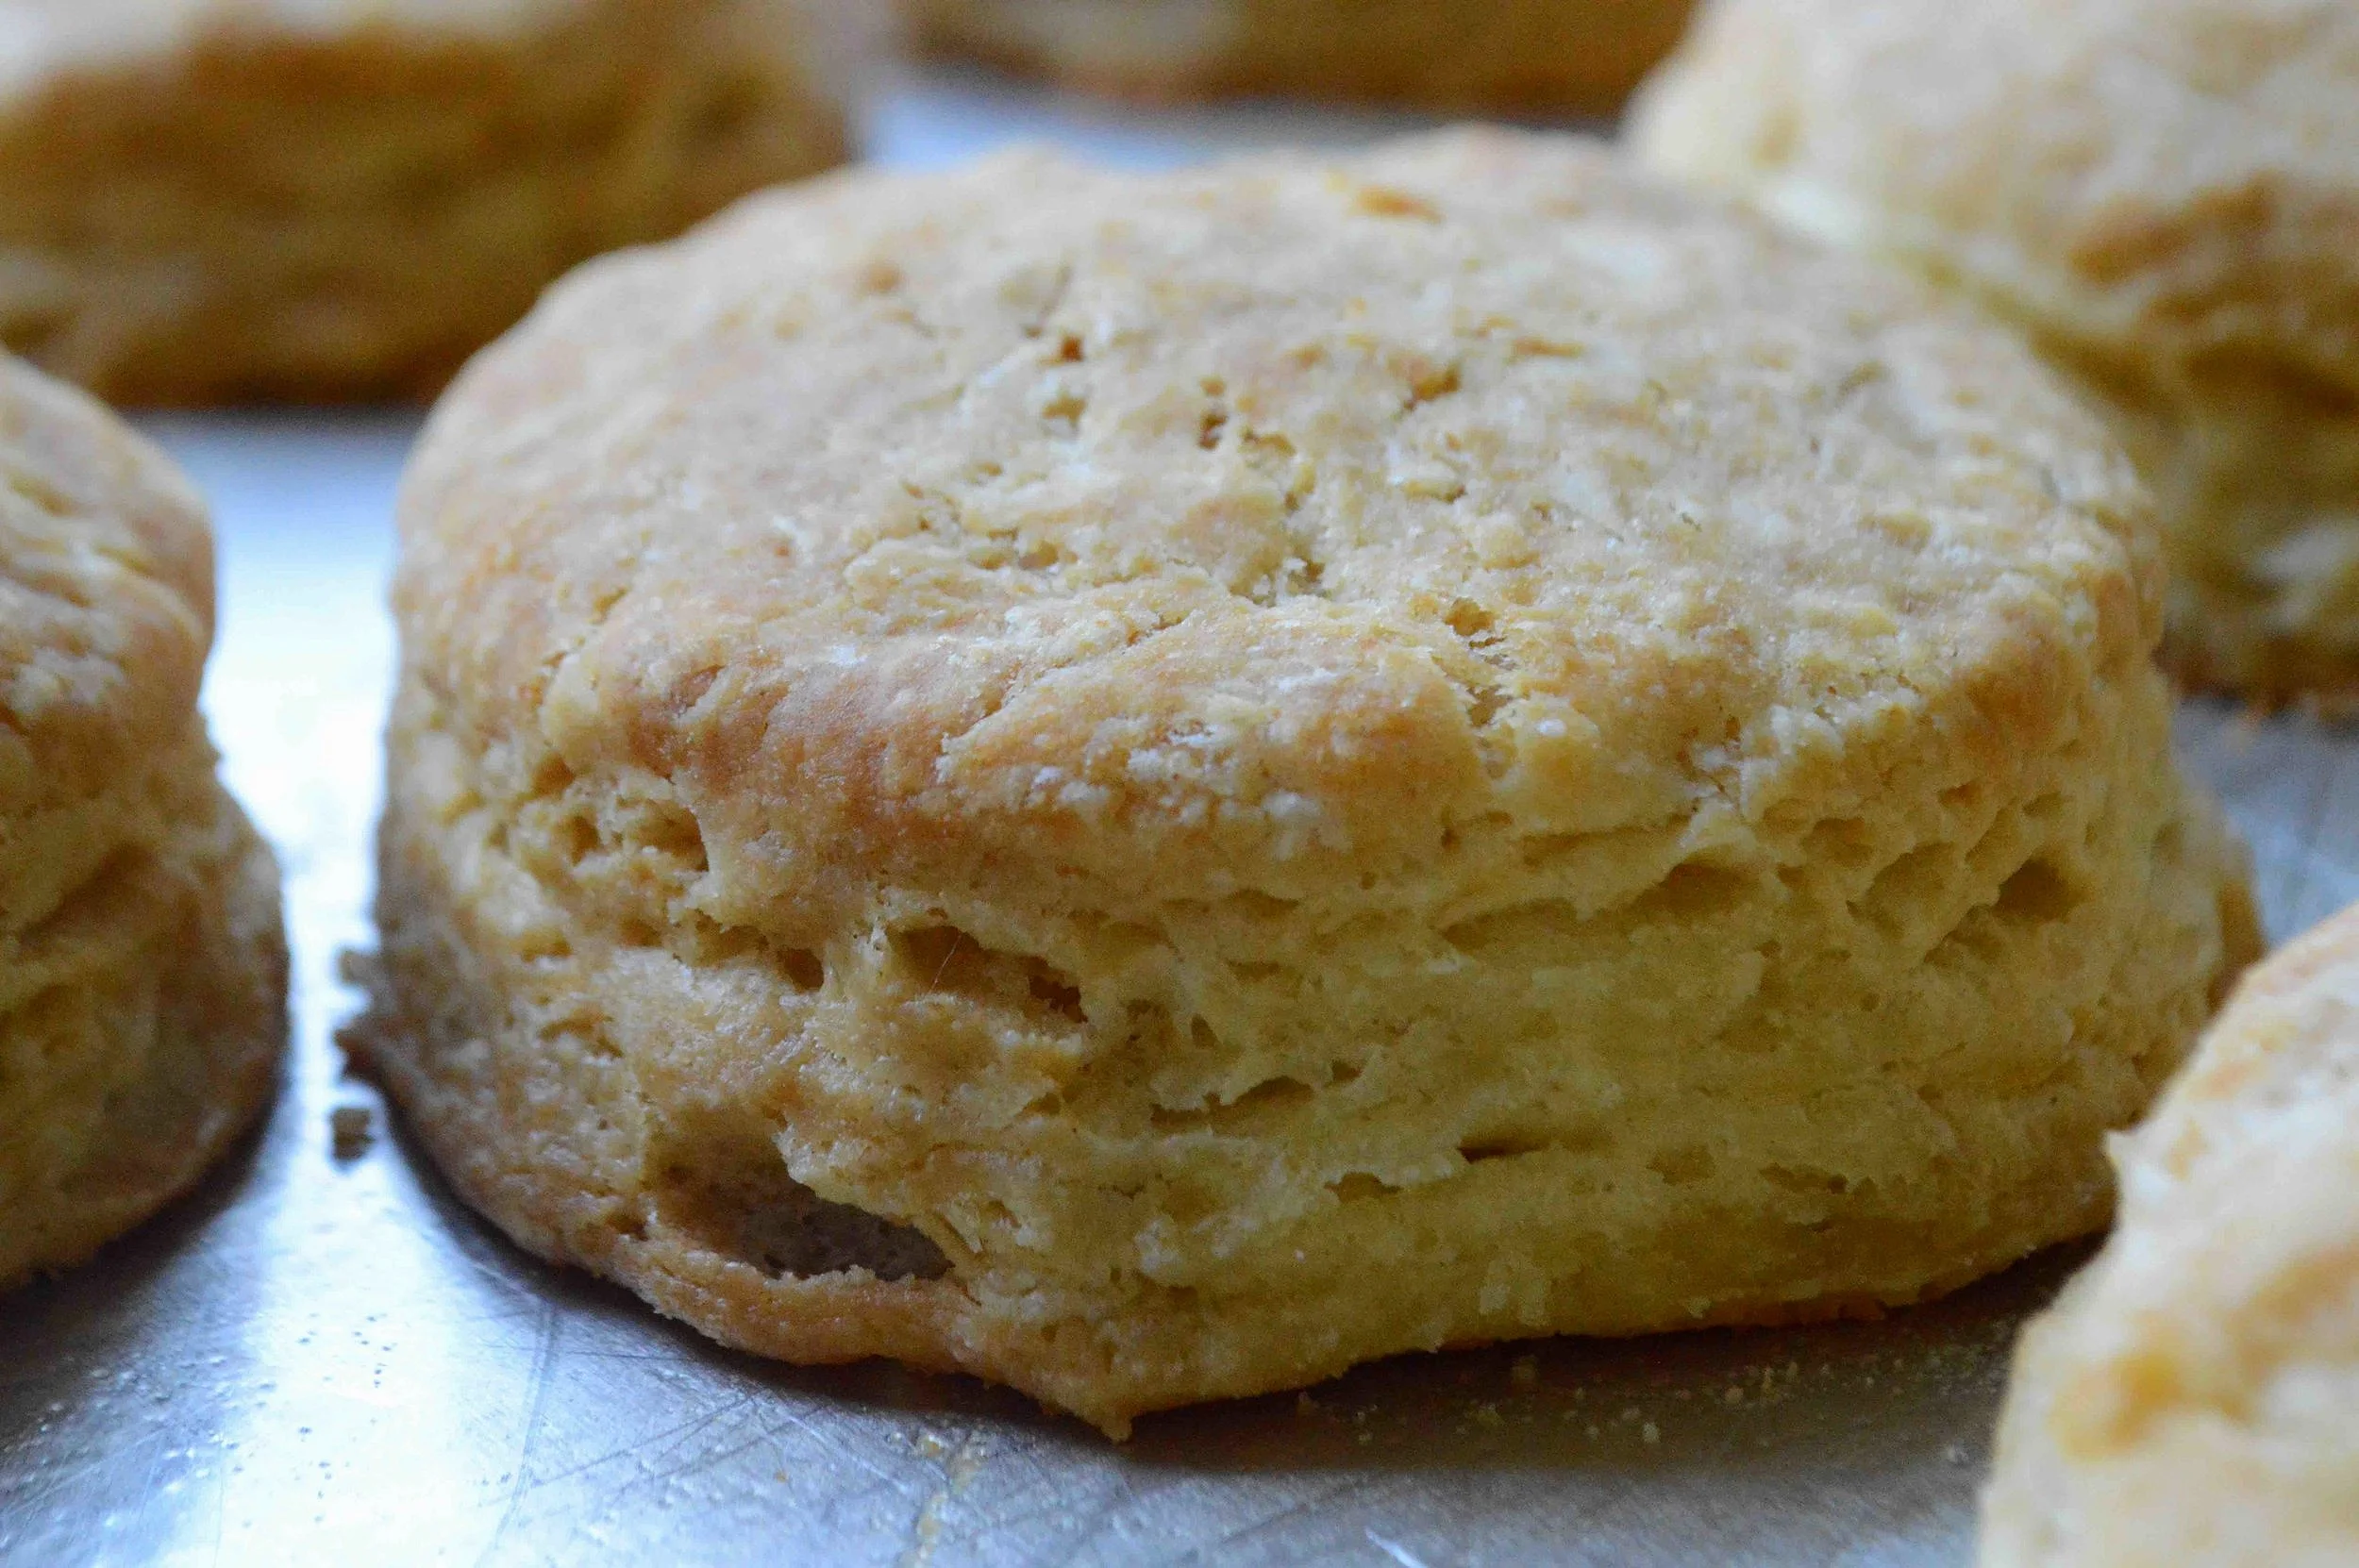
Crunchy on the outside, with a light, almost fluffy center, they’re wonderful just as is, hot out of the oven—

Or with a big dollop of fresh strawberry jam!
You can even store them in the fridge and then split and toast them for several days after you bake them, a little factoid that makes early weekday morning risings so much easier!
One bite and it’s a little bit of heaven on earth. Yup, these little guys are aptly named indeed!

Angel Biscuits
Makes 12-15 biscuits
Prep Time: 15 minutes; Bake Time: 20-25 minutes
Ingredients
2 1/4 teaspoons active dry yeast (one 1/4 ounce package)
1 teaspoon sugar
1/4 cup warm water
3 cups unbleached, all-purpose flour (you could also use an equal amount of self-rising flour. If so, omit the baking powder)
2 teaspoons baking powder
1 teaspoon baking soda
1/2 teaspoon salt
1/4 cup vegetable shortening (like Crisco)
8 tablespoons cold unsalted butter, cut into small cubes, plus 1 tablespoon butter melted for brushing on biscuits (it’s helpful to cut up the butter and then return it to the fridge while you’re getting other stuff ready so that it will be really cold)
1 cup buttermilk, well-shaken
The Recipe
1. Preheat oven to 425ºF. Line a large rimmed baking sheet with parchment paper or spray with non-stick cooking spray and set aside.
2. Place the yeast and sugar in a small bowl and stir together. Add the warm water and use a whisk to combine. Let sit for 5 minutes in a warmish place until the mixture is bubbly and doubles in volume.
3. Meanwhile, whisk the flour, baking powder (if using), baking soda, and salt together in a large bowl. Add the shortening and cold butter to the bowl and use a pastry blender to cut them into the dry ingredients, until the mixture looks like coarse cornmeal.
4. Add the buttermilk to the yeast mixture and whisk to combine. Then pour it into the flour mixture and use a wooden spoon to stir everything together just until a shaggy dough barely forms. Don’t over mix or the biscuits will be tough and heavy. It’s ok if some of the flour isn’t entirely mixed in. Lightly flour a board or your counter and turn the dough out onto it. Knead all the bits together to form a ball, adding as little flour as possible as you go, but do add a bit if it is really sticking to the board.
5. Working quickly, roll out the dough with a lightly floured rolling pin, until it’s about 3/4 inch thick. Use a 2 1/2 inch biscuit cutter, dipped in flour so it won’t stick and cut out circles, trying to cut the circles as close as possible to each other so that you leave as little dough leftover as possible and trying not to twist the cutter but just to push straight down and pull up to remove.
6. Transfer the circles to the prepared pan, leaving about an inch between them. Gather together the scraps and roll out again, cutting out more biscuits until all the dough is used up. Brush the tops of all the biscuits with the melted butter and bake for 20-25 minutes until golden brown. Serve immediately or at room temperature.
7. Leftover biscuits can be stored in an airtight container in the fridge for several days and either reheated or split and toasted.
Enjoy!
Note: Recipe adapted from Fresh Every Day by Sara Foster. I cut some of the butter and cook these a little longer too.